Over the past few weeks I’ve been thinking a lot about my terrain and what is useful for playing a Kursk (or even Eastern Front) themed game. Looking through what we have in the office as well as my collection at home I found that I had quite a few great options for creating themed tables.
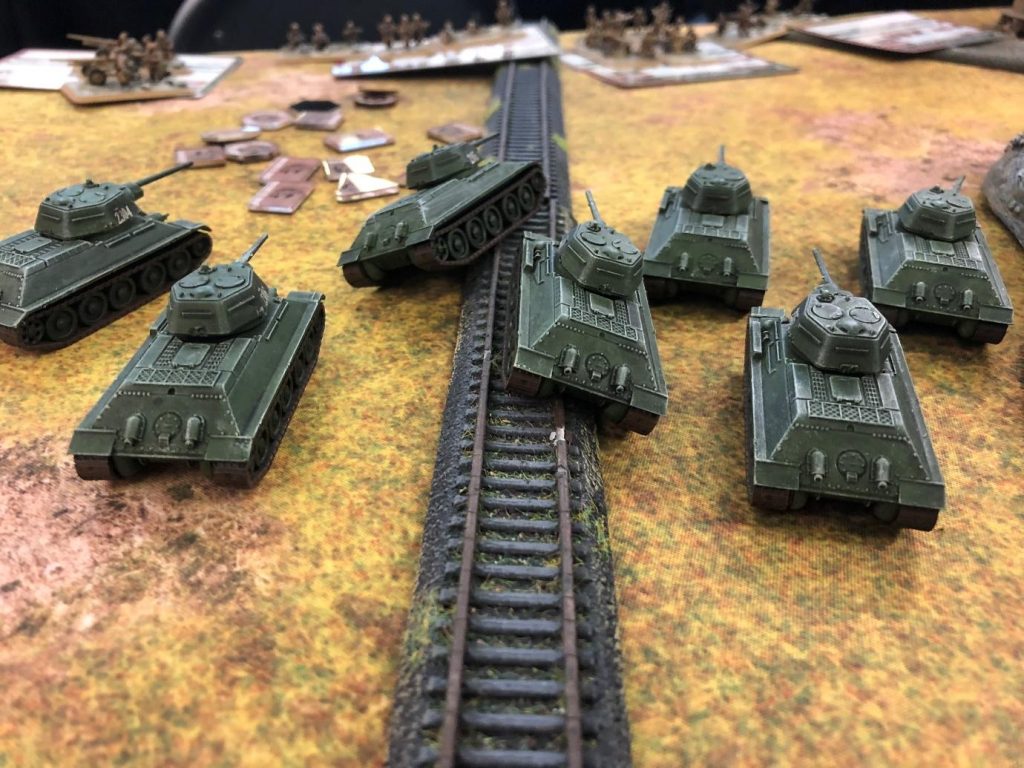
Prokhorovka – have a look at Alex’s table building article for more, but here you can use a nice mix of hills, forests and even a rail line.
Voronezh Front – Here the Soviets built extensive defences in layers. Time to dig out my Great War Trenchlines and Shattered Battlefields.
The Donets River – Rivers provide a natural defensive barrier and are a pain to deal with, making them great for a thematic game.
I put together a list of the terrain I thought might be useful. One of the graphic designers thought a spreadsheet looked a little dull so whipped up this PDF.
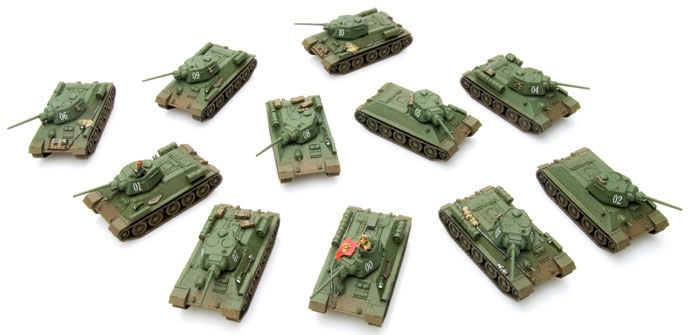
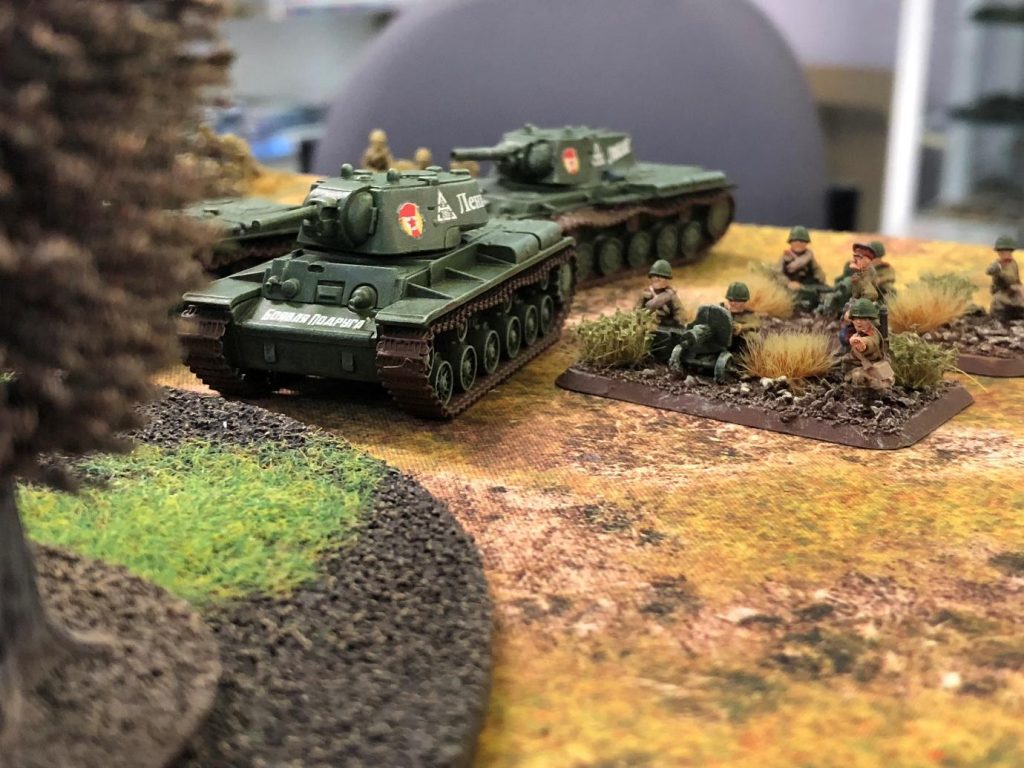
With another launch event I once again get a chance to dust off one of my old favourite armies and give it a bit of TLC and V4 update. This time I am going to dive into my old Rota Razvedki reconnaissance company. I originally built the list for V3 Late War using the Red Bear book. With their inclusion in the Red Banner book, I feel that I need to re-tweak the army so that I could run it in both Late and Mid War.
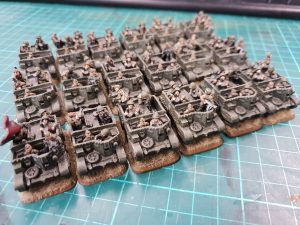
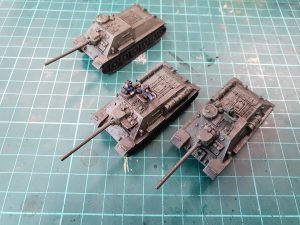
The Images in this article are in progress shots of my old list, I did the math and I think I painted this army originally seven years ago. I am planning to do some plastic updates to my army, over the release I will work on the ZIS-3 guns. After the release, I have further plans. First I am going to update the SU-85s to plastic and then I am going to rebase the infantry as some of the old basing has started to separate from the base.
Full warning: I love Universal Carriers, and will use any excuse to put them on the table. There is just something about their design that clicks with me. Thanks to the Red Banner Command Cards I get to use Carriers in my army, and I am going to get as many as I can.
It’s All About That Speed When I am running an aggressive list the first thing I think about how long it’s going to take to get my troops to the objective, and how many turns will my opponent get to shot my troops along the way. One of the features of the Reconnaissance Company is that their combat platoons all have Spearhead. This rule is massive, getting a free move before the game means that I can get a full turns worth of movement without risking any enemy fire.
Deadly Assaulters Now speed is worth nothing unless you have some sort of payoff. The Infantry units in the Reconnaissance platoons have a massive 2+ to hit in assaults, meaning that if they can get into an assault they will kill almost anything in their way. The formation does have a weakness you need to be prepared for—they are really small—so you do not have the ability to take on heavy losses. So getting the extra movement form Spearhead is critical to your aggressive strategy.
To make my troops more of a threat I added two Command Cards to my Company Commander, the first one, Tenacity gives my HQ and any platoon he is attached to counterassault 2+. The second card I added was Ferocious Valour, this card allows my Company Command team to roll two dice in assaults. These two cards make it worth it to risk my Company Commander in assaults, and on top of that the HQ will add two more deadly assaulters to my assaults.
Universal Carriers Are Just Too Cool Looking Like I stated above I love Universal Carriers, but apart from looks there is a good reason to run these awesome transports in your list. When using the US or German halftracks you have two stands of infantry in each transports, so each time one is destroyed you may lose 1/3 of your platoon. If you take the extra Carriers when you lose one transport you are only risking one stand of infantry, only 1/6 of you platoon. Also they just look cooler, so yeah why wouldn’t you use them?
Support My troops are good at one thing: assaulting and shooting infantry. This leaves a big gap in the form of Anti-Tank (AT), so I really need to add some AT assets. I could also use an artillery battery to help get my assaults to go in. Luckily, the Soviets have a unit that can multitask as artillery and anti-tank: the 76mm Artillery Battery. The flexibility of the 76mm Artillery Battery makes it ideal for my list. But I don’t think that will be enough AT, I think I want to add some mobile AT. First off I want to add the cheap and efficient SU-76s to my list, they have a great gun and are cheap enough to allow me to take the more expensive SU-85 option as well. SU-85s are a bit pricey but worth their points, they have a higher to hit stat as well as a massive Anti-Tank 12 gun, giving me the ability to threaten both Tigers and Panthers.
Support 76mm Artillery Battery (8 points) -4x 76mm guns
SU-76 Light SP Battery (13 points) -4x SU-76
SU-85 Tank-Killer Battery (36 points) -3x SU-85
Tactics This is not an army that wants to sit back and defend objectives, it’s all about forward movement, a win fast or die fast kinda army. I plan on always choosing Maneuver or Attack when using More Missions to make sure I am never fully on the defence.
In games I plan to blitz my infantry towards the objectives, while having my SU tanks provide covering fire. The 76mm Artillery Battery role will be determined by my opponents forces, if they have a lot of infantry and gun teams I will be bombarding them as much as possible, if they have a massive tank army then I will use my spearhead to get them into a good position and use them to help thin out the opposing tanks.
Final Thoughts I love the new life that V4 is giving my old armies, with the V4 formations I feel like I have more freedom to create the exact army I want. I am a really big fan of Build Command Cards, they let me as a designer add more interesting options that did not fit in the book while at the same time I get all the weird and wonderful things that I want. It’s a simple card pack but it adds so much to the game.
What eastern front armies interest you? How would you build a Soviet Reconnaissance Company? Why not tell us and join in the global discussions on our Facebook Flames of War group.
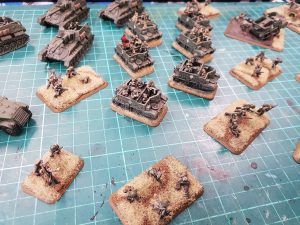
I am the first to admit that my painting skills rank as mediocre at best. However, the results which I manage to achieve against the battles of children, work and The Wife are more than acceptable for tabletop games. I’m happy with the results and what it looks like, and whilst not ever going to win me any awards, the schemes and methods I use allow me to have a completely painted army to game with, in not a lot of time. Which is key when having so many models to paint with an army such as Soviets!
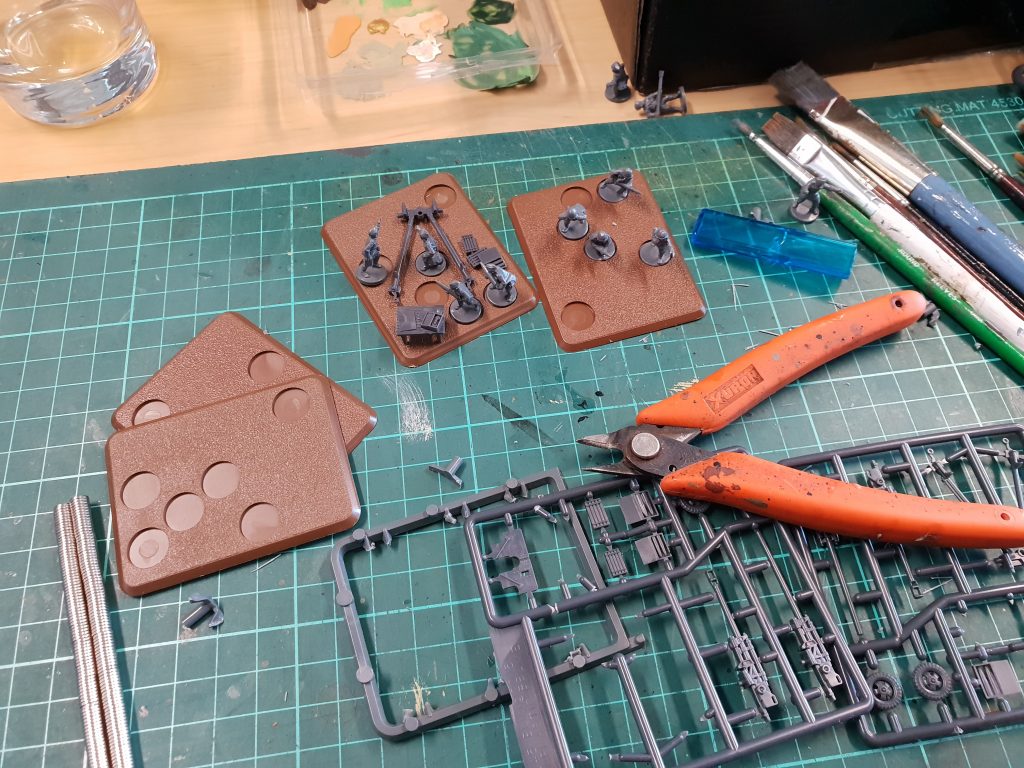
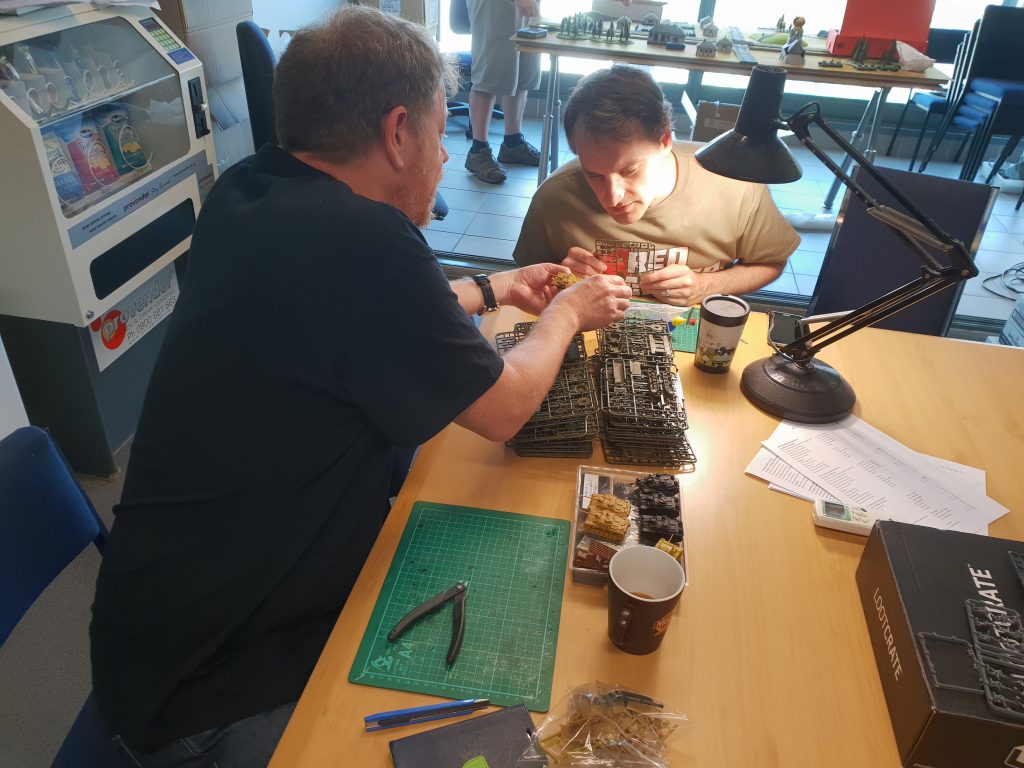
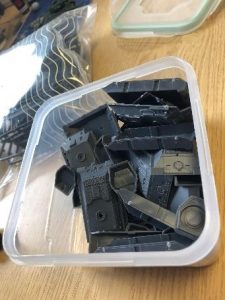
I might be starting to regret taking so many tanks in my list… There was so much clipping and gluing.
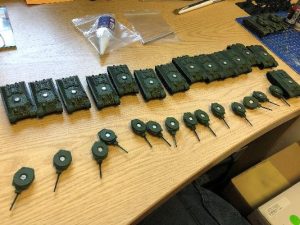
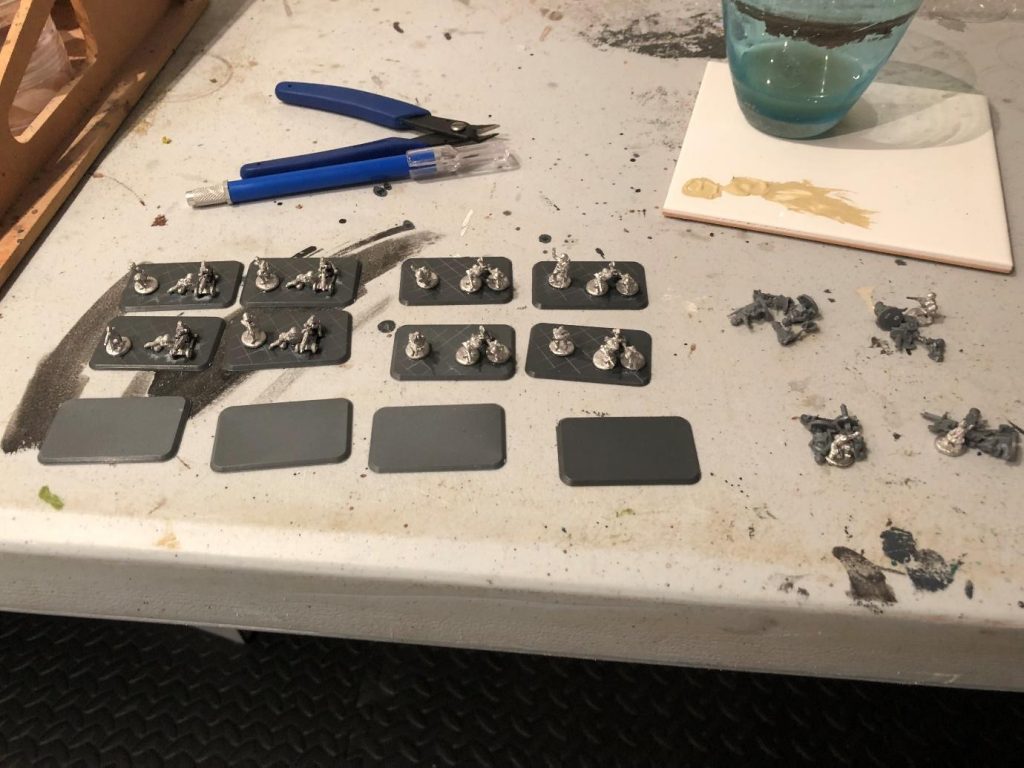
Tanks: Step 1 after assembling the models and spraying them with a primer, I spray the models again with Tankovy Green for the hulls and turrets. I highly recommend leaving the tracks separate to the hull, as it’s easier to paint the tracks black now and then attach them later rather than risk getting excess paint onto my nicely sprayed, even-tone hulls, when I’m painting all the nooks and crevices.
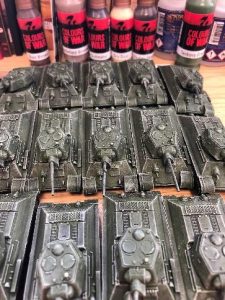
Step 2 I wash the whole tank and road wheels on the tracks with Zhukov Shade, ensuring that none of the wash pools on the tank, but gets into all the details.
Step 3 Using Tankovy Green from the bottle, I use a mixture of drybrushing and layering to not only reduce the darkness of the wash but it serves to highlight the edges of the tank, and any straight lines to make them ‘POP’ Then, using Tankovy Green from the bottle, I paint the road wheels, ensuring that I don’t get any green on the tracks.
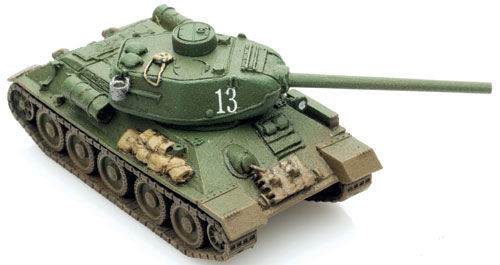
Step 4 is to apply decals anywhere you want them on the tank. Here I have applied them to the turrets. Whilst these are drying I used Boot Brown on the tracks to give them the illusion of being worn and used, over the black base coat.
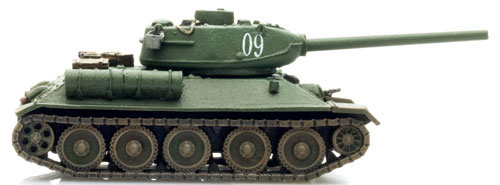
Step 5 over the Green highlight, as well as the decals to help them blend onto the paintwork, I use Dry Dust as an extreme highlight on the top of the hull and the turret to create an instant bling to the tank.
Step 6 is to paint the exhausts and machine guns Dark Gunmetal. I then drybrush Dark Gunmetal over the tracks, leaving just a little Boot Brown showing through. After the exhausts and MG have dried, I apply a dilute wash of Ordnance shade over them to dull the shine down and create shading on the metal areas.
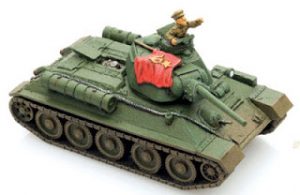
Step 7 after attaching the tracks to the hull and letting them dry, I complete a final drybrush/a light specking of Battlefield Brown in a random and haphazard pattern around the tracks, road wheels, front and rear of the hull, to simulate road dust and dirt splashes.
Step 8 finally, I use a small amount of delicate drybrushing to simulate cordite stains and exhaust stains on the front of the barrel and below the exhausts, with Black from the Quartermaster’s set. This is just an approximation, not exact, but rather to give the impression of.
You may have seen some of my articles on the last live launch about how I chose my army for Enemy at the Gates and some of my ‘rationale’ behind why I took what I took.
For those who didn’t it went like this: I wanted a tank army, but realised that Stalingrad wasn’t the place to deploy hordes of T-34’s. So after painting 100pts of T-34, KV-1 and Valentines, I switched and painted up 100pts of pure infantry (ok with a little support from Valentines and 76mm guns)
For Red Banner, I clearly didn’t learn from my mistakes, and like a kid in a sweet shop, took all over the best looking units and then thought about how well they would work.
Someone likes painting lots of tanks and infantry!
In a brief respite from the madness, some clarity resumed and I decided to use some of my Enemy at the Gates minis that were already painted. At least this meant my painting queue was considerably shorter!
Thankfully with the amount of models I already had completed, for me my list did include things I was really excited about.
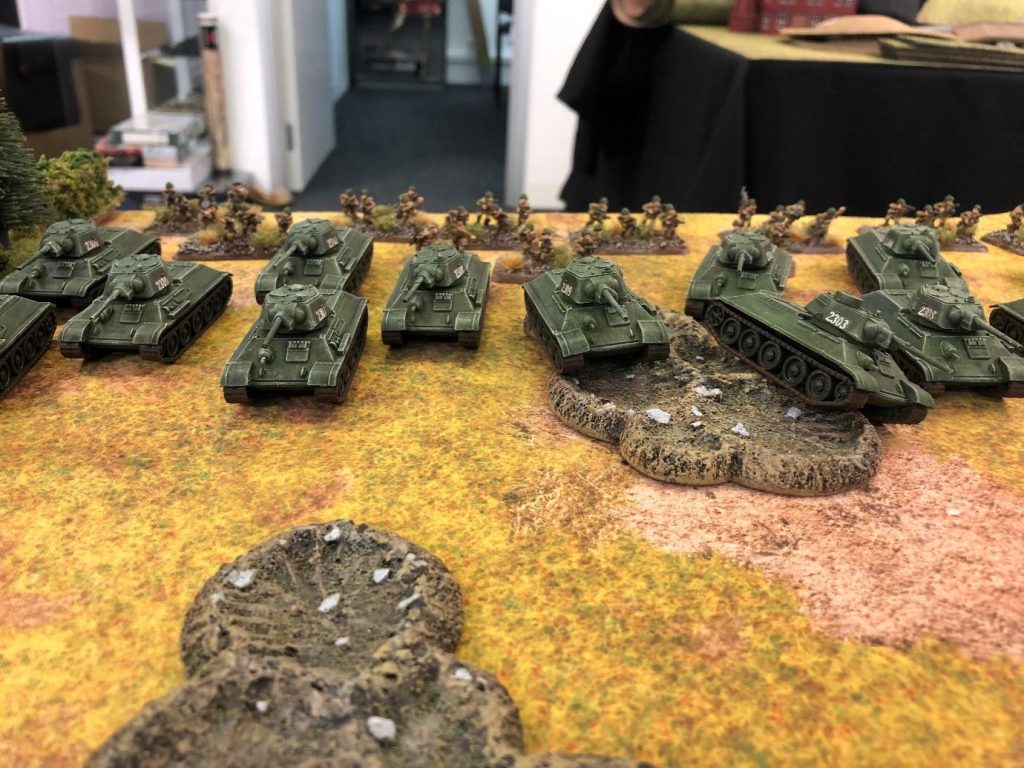
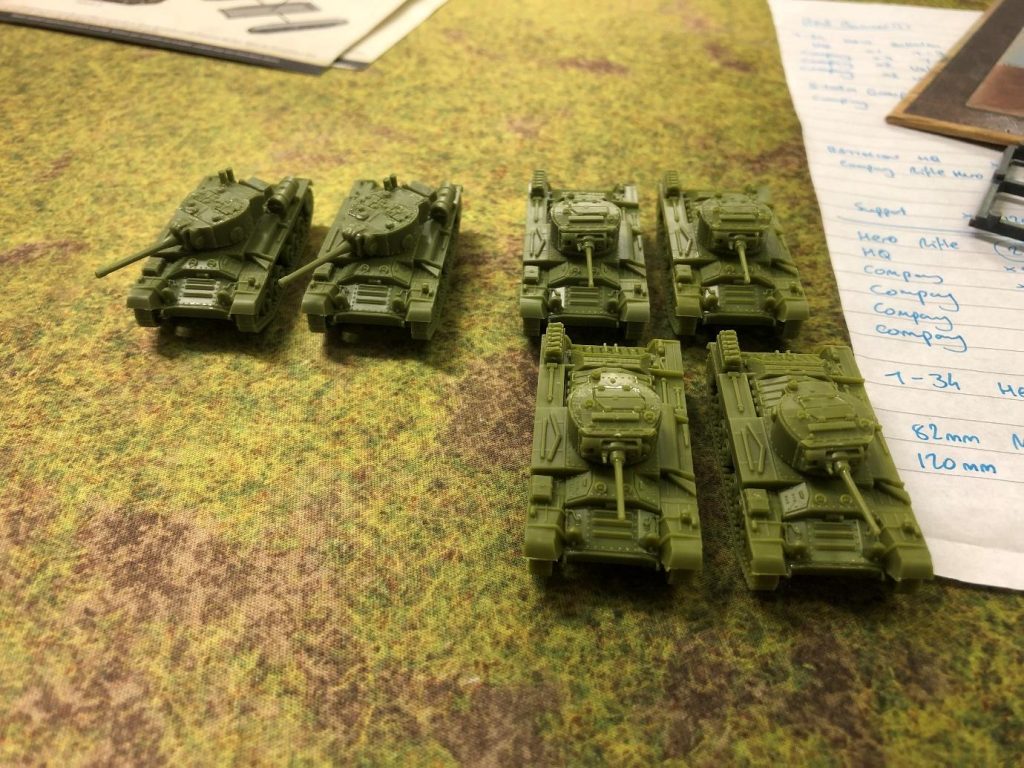
I had to take my main formation as T-34’s. I had fallen in love with these plucky little medium tanks – and what better way to honour this love than by upgrading them to Hero status?
Better skill rating (+4 instead of +5) and also a better hit on rating (+3 instead of +2) meant a much hardier and survivable unit.
So I took a T-34 Hero Tank Battalion consisting of:
8pts T-34 Hero Tank Battalion HQ, 1x T-34 24pts T-34 Hero Tank Company, 3x T-34 10pts Valentine Hero Tank Company, x2 Valentine 2pdr & x1 Valentine 6pdr 10pts Valentine Hero Tank Company, x2 Valentine 2pdr & x1 Valentine 6pdr
Total 56pts
This was a great start to the army. Me being me, despite my clarity of the previous day, took the plunge and decided to paint up my new tanks individually, as befits their Hero status. Each T-34 and Valentine would receive distinct details, damage and even specific decals.
The infantry…
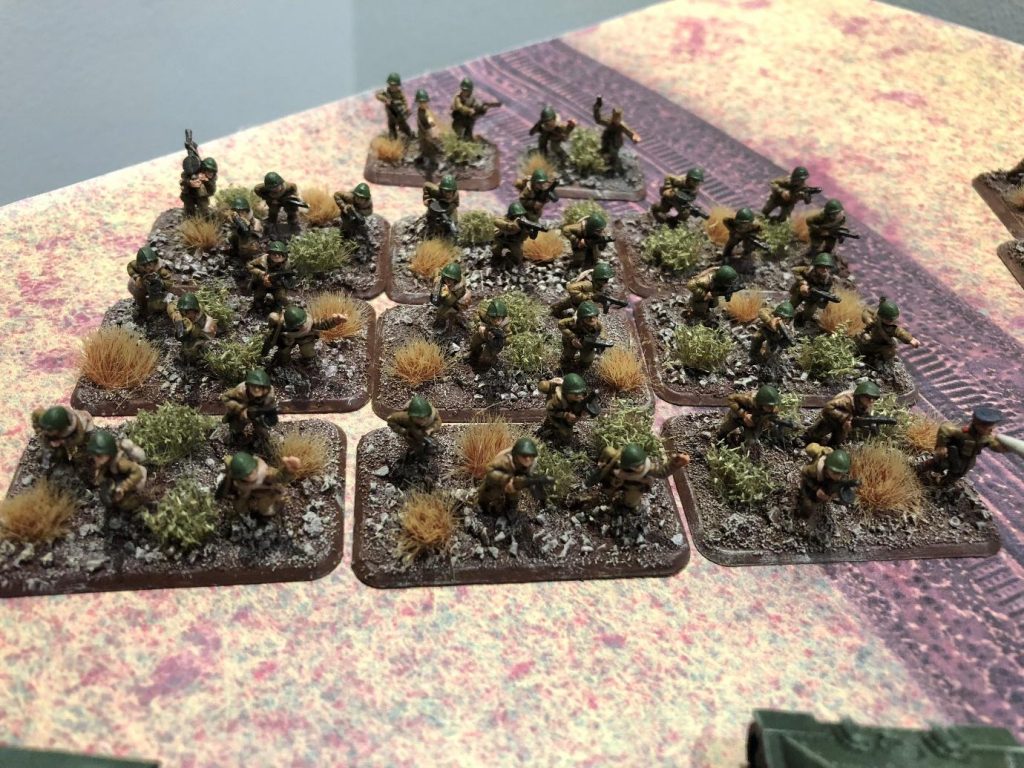
I had to take a Storm Group. These were invaluable in my games amongst the ruins of Stalingrad. Their 4+ hit on score meant that they were a lot more survivable than your average Soviet soldier. Combined with the ability to add flamethrowers and PTRD AT rifle teams for a moderate score meant they became an all round unit, that could assault (Fearless 3+) and hold objectives.
Plus, with them being a compulsory (black box formation) from Enemy at the Gates meant I could take them with my Red Banner force as a support formation. Urrah!
Support: 19pts Storm Group, x7 PPSh teams, x2 Maksim HMG, x1 PTRD AT rifle & x1 50mm mortar 6pts x1 PTRD AT rifle 2pts & x2 Flamethrower (optional).
Total 27pts
At this point I have two solid choices that can, crucially, support each other (and one of them is even fully painted…)
Now to flesh out the remaining 17pts…
Easy!
After looking through the Red Banner book the old me popped up and wouldn’t relent until I took another support – this time artillery. SU-76 at just 10pts for x3 meant I was able to add some direct fire (AT9) and some artillery template that is survivable.
My remaining 7pts were spent on: IL-2 Shturmovik Company x2 for 7pts
That’s a 100pts dead on.
Now to paint them up and play a game, work out my weaknesses and re-evaluate my choices!
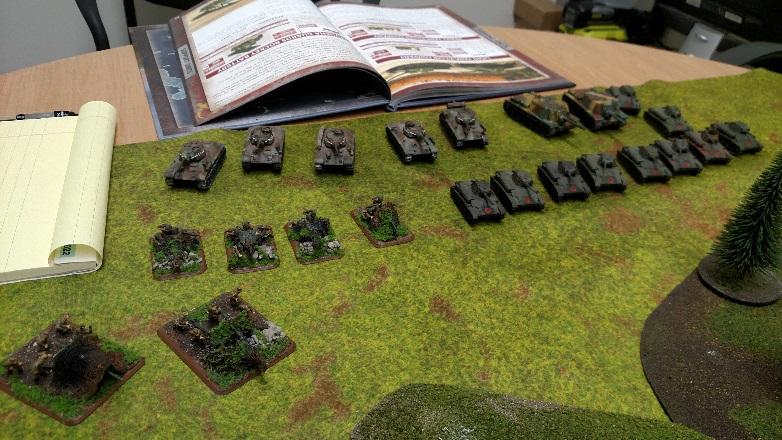
Dave’s Forces: 6ptsT-34 HQ 23pts T-34 Tank Company, 3x T-34 13ptsT-70 Tank Company, 10x T-70 30ptsSU-152 Heavy SP Battery, 2x SU-152 14ptLight Tank-Killer Company, 4x Long 45mm 9ptsHeavy Tank-Killer Company, 2x 57mm
Brian’s Iron Cross Panzer III Company with Ghost Panzer Support 16pts Panzer III (Uparmoured) Tank Company HQ, 2x Panzer III 15ptsPanzer III Tank Platoon, 3x Panzer III (short 5cm) 15ptsPanzer III Tank Platoon, 3x Panzer III (short 5cm) 10pts Panzer II Light Tank Platoon,5x Panzer II 39ptsStuG (late) Assault Gun Platoon, 3x StuG (late 7.5cm)
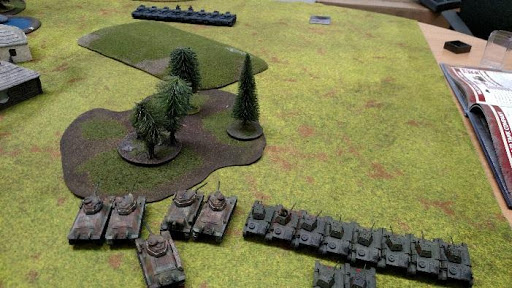
We decide to try out some of the new lists and threw together an interesting Free For All. I positioned the SU-152 in the middle with both AT gun groups on the left in cover facing the PzIIs and StuGs, both tank groups on the left facing his PzIII tanks.
The 45s moved up through the trees with no problem on the left while the tanks moved forward to get shots on the right. There must have been a brisk breeze because nothing hit on the first turn. Brian then blitzed every unit he had (successfully) and returned fire much more effectively, killing both 57s on the left, one T-34 in the middle and two T-70s on the right.
The 45s then blitzed to the side and engaged the Pz IIs killing one and bailing one. The T-34s killed a Pz III in the Hq and the T-70s on the right moved forward to get side shots but missed entirely. My SU-152s moved to the left side and engaged the Stugs, missing both shots.
Brian then, in true form, killed one and bailed one with his Stugs. His Pz II attempted to get in the woods and assault the 45s, but only succeeded in getting one before breaking off. On the right his PzIIIs kill three T-70s and bailed two.
Needless to say, with my luck, my SU-152 ran away, leaving two poor 45s all by themselves on the flank. Time to try to kill some platoons and break the company. The 45s kill a Pz II and Bail another while the T-70s get in and bail one of the HQ Pz III. The T-34s move forward and kill two Pz IIIs in the send platoon. Return fire is substandard this time, but succeed in bailing all T-70s.
The T-70s run leaving only the T-34s on the field with a couple 45s, which drive off the Pz IIs. Unfortunately Brian makes all the rest of his morale rolls and the company stays intact with his Stugs on the objective.
8-1 victory to the Germans. It will take some work to get used to the overworked issue on all the units, although the better save on the AT guns are a relief and kept them in the fight.
Following on from Chris’ handy article during the Enemy at the Gates launch (which you can find here), we’ve put together an addendum article to help with the new Soviet infantry units from Red Banner. Red Banner brings with it three new Soviet infantry battalions for players to field, bringing the number of mid-war Soviet infantry formations up to five. This addendum to ‘Human Waves to Storm Groups. What to Buy’ will cover what box or blister you’ll need to put together the infantry formations in Red Banner.
SBX50 contains 18x DP MG & M1891 rifle teams, 4x Command teams, 2x Komissar teams, 2x PTRD teams, 2x 50mm Mortar teams, 5x Maksim HMG teams, 2x Flame-thrower teams, 16x Unit Cards—all the things you need to put together the following units:
Motor Rifle Company The Motor Rifle Company is much like the ubiquitous Rifle Company apart from the fact that a motorised battalion had no horses and anything not carried by the soldiers themselves was moved by trucks. On the table the Motor Rifle Company has a higher skill rating than the Rifle Company, but carries a more streamlined selection of weapons.
Hero Motor Rifle Company Hero Motor Rifle Companies are made up of those men who survived long combat long enough to learn the hard lessons of war. As such, the Hero Motor Rifle Companies were afforded more machine-guns than their greener compatriots to match their comparatively higher level of tactical skill.
Reconnaissance Platoon Reconnaissance Platoons were employed by the Soviets to advance until they crashed headlong into the enemy. At that point, they would overcome and destroy the enemy and allow the advancing columns behind them to continue uninterrupted. Reconnaissance Platoons use rifles and machine-guns, with the option of a flamethrower for urban combat.
SBX51 contains 21x PPSh SMG teams, 2x Command teams, 2x Flamethrower teams, and 8X unit cards. SBX51 is used to make the following units from Red Banner:
Hero SMG Company The Hero SMG Company, like the Hero Motor Rifle Company, has seen enough action to be whittled down to a battle-hardened core. Armed with the impressive PPSh SMG, the Hero SMG Company is called on for fearsome hand-to-hand combat.
Armoured Reconnaissance Platoon Mounted in lend-lease armoured cars or half-tracks, the Armoured Reconnaissance Platoon is the main assault element of a Soviet Reconnaissance Company. The Armoured Reconnaissance Platoon is Tasked with closing the ground and assaulting the enemy ahead of the main Soviet forces.
These options make up all the new infantry additions from Red Banner, and hopefully this additional piece will help make choosing your infantry purchases straightforward and simple.
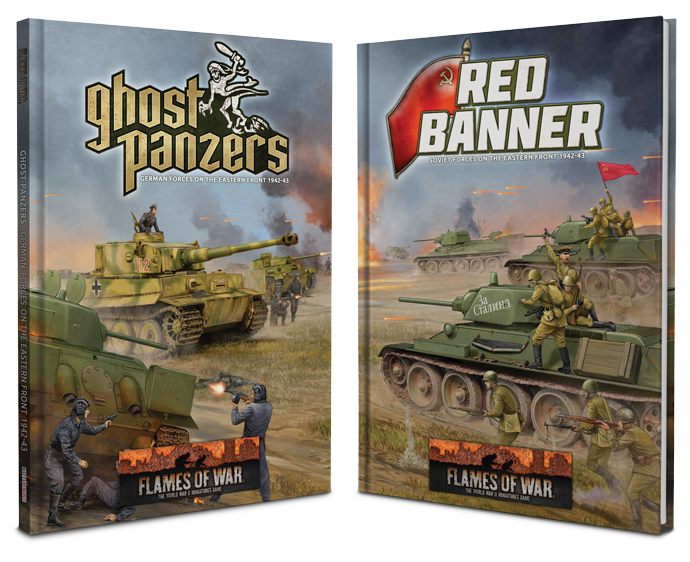
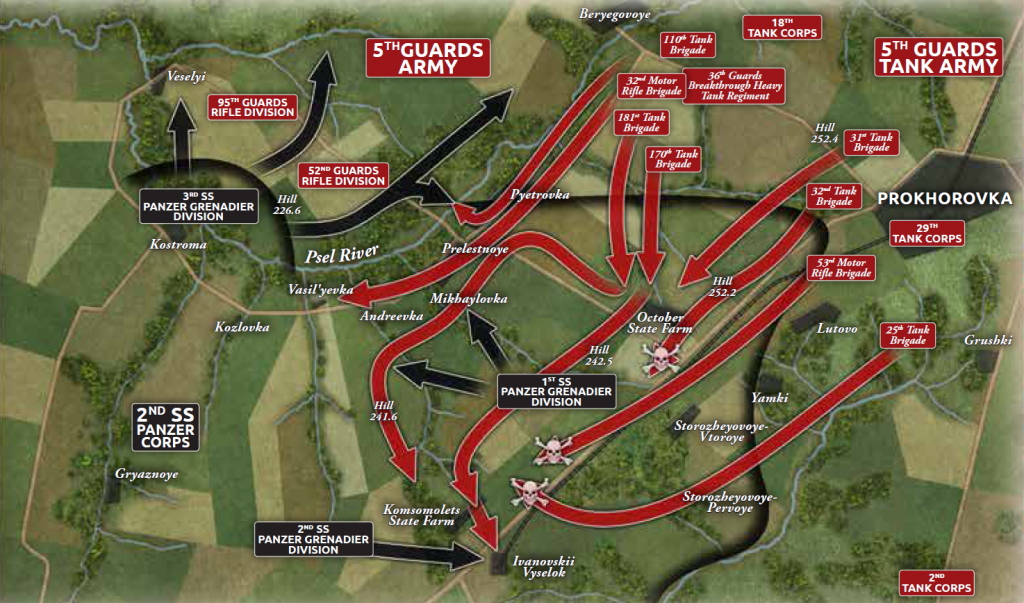
Both Red Banner and Ghost Panzers contain stories of great battles on the Eastern Front. One such battle, famously one of the largest and fiercest tank battles of the Eastern Front, took place outside the small town of Prokhorovka.
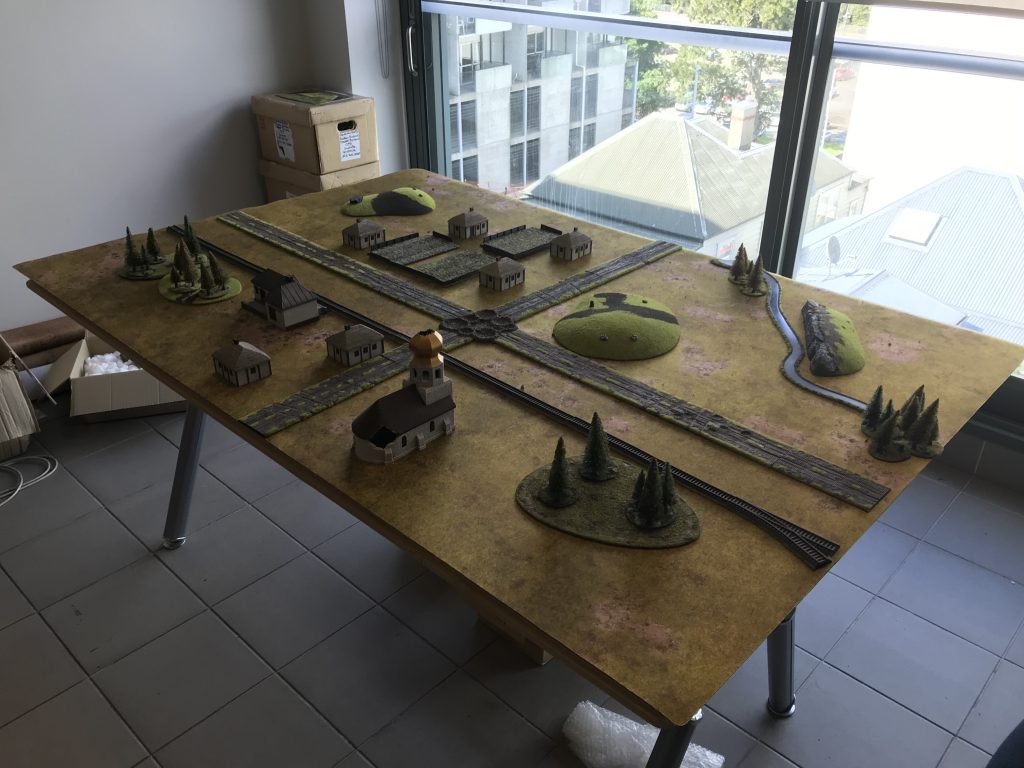
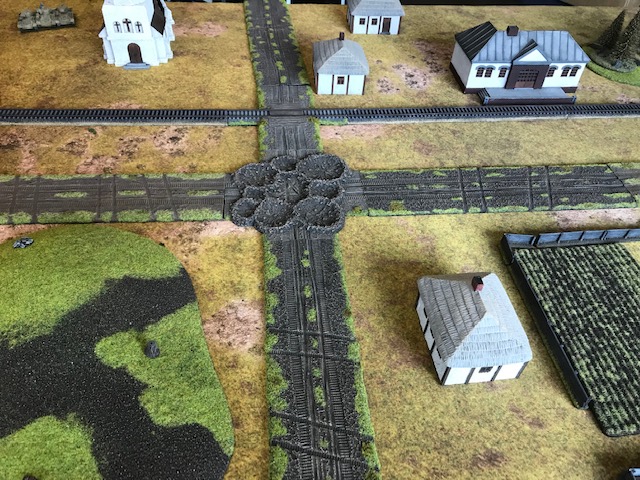
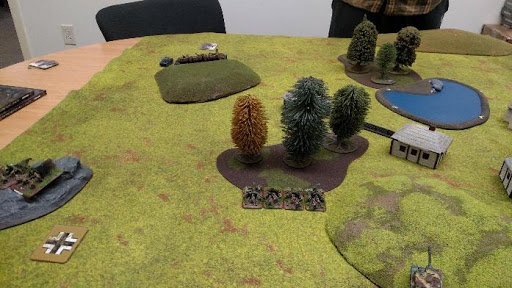
Using Battlefield in a Box terrain, you can recreate any number of historic battlefields for your Ghost Panzers and Red Banner armies to fight over. Knowing that I had a Live Launch to orchestrate, which would inevitably require battles needing to be fought, it seemed a fair opportunity to whip out some of the studio Battlefield in a Box terrain and put together my own representation of the Prokhorovka battlefield.
As an aside, it is probably prudent to mention that on a 6 x 4 table it is unlikely that one will be able to represent a full scale battlefield such as the one shown in the image above. As such, I settled on a particular section of the battlefield to represent. This gave me the chance to cover the battlefield in enough detail to make it recognisably Prokhorovka, without trying to condense hundreds of miles into a few feet.
Perfectly illustrative of combat during the Battle of Kursk, fighting around Prokhorovka, especially in and around the October State Farm, took place place over expanses of Russian steppe punctuated by the occasional village and forest. Hill 252.2, captured by 1st SS Panzer Division Leibstandarte SS Adolf Hitler on July 11 offered a commanding position over the field of battle.
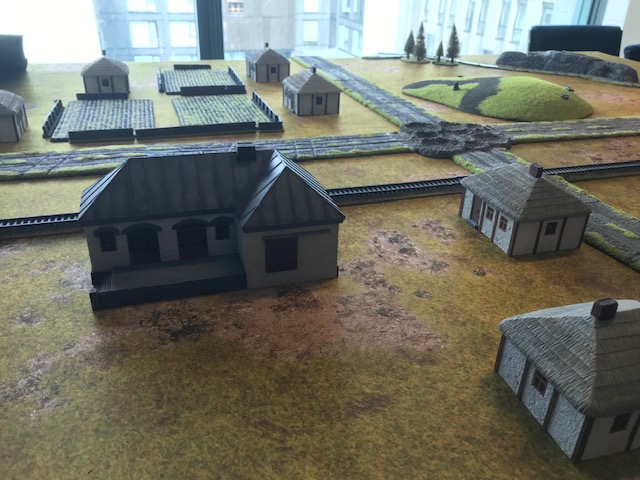
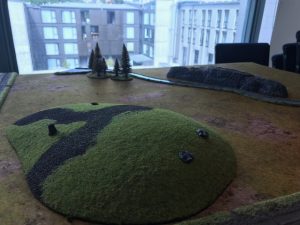
To recreate the battlefield around the October State Farm, I had to focus on some key features. Using Battlefield in a Box 2019 Premium Terrain Sale Rolling Hills, I was able to recreate the two hills on either end of the battlefield.
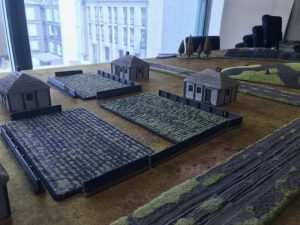
Rural Farm Buildings gave me what I needed to put together both the October State Farm and the small town just outside it.
Rural Roads and Rural Road Expansions, as well as Train Tracks criss cross the board.
Escarpments and Streams sit in one of the corners to represent the rocky streams the Red Army had so much trouble crossing.
Finally, a few woods dotted about provide concealment as well as representing the heavily forested areas outside the farm.
You will have already seen the battlefield in Chris and Casey’s Battle Report, and while it’s potentially a little too sparse for tournament play, the intention was always to evoke something of an ope Eastern Front feel.
A few years ago I painted up a T-34 Battalion for Late War, putting myself under a bit of pressure to knock out the 21 models over 28 day. You can find out more about the army here…
As a deadline painter, having a definite finish date helped me to focus and actually get the job done on time.
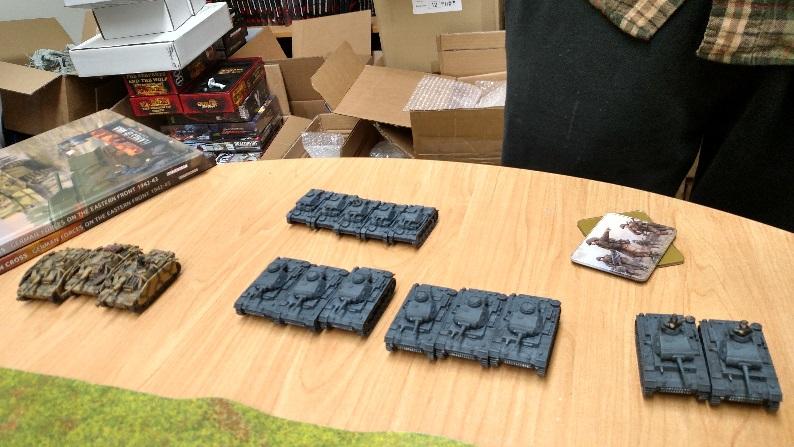
Five years later with the release of Red Banner I thought it might be fun to dust off the army and challenge Casey (my office nemesis) to a big game where I got to put the entire battalion, plus a few Mid War models borrowed from the work collection, on the table for a big tank smash.
Since we wanted to keep it “all about the tanks” I chose not to add any infantry or “pad out” the Force with any Formation Support options. I did however have a look through the Command Cards and found a few fun ones to add in.
Guards Tank Battalion (1 point) – this increases my chances of remounting to a 3+. Seemed like a great way to spend a point, especially since I need all the vehicles moving or firing.
Desperate Heroism (1 point) – I really don’t have a plan for this. I figured it was 1 point and it might be situationally useful to be able to guarantee that I passed a Follow Me Movement Order.
Ram Attack (2 points) – Once again, I don’t have a plan in mind here as the chances of pulling off a successful ram attack vs a Tiger is pretty darn low
T-34 Passing a Skill Test
33.3%
Tiger Failing to Avoid
33.3%
Chance of Winning the Dice Off*
8.3%
Kill Chance (failure means a Bail Out)
50.0%
0.462%
*to win the Dice off I need to roll a 5 or 6 and the Tiger needs to roll a 1 (or a 2, if I roll a 6)
However, an almost 1% chance of killing or bailing a Tiger in the front is significantly more likely than the 0% chance of killing (or bailing) it through the front with the T-34’s 76mm gun. Seemed like an implausible but amusing way to spend 2 points.
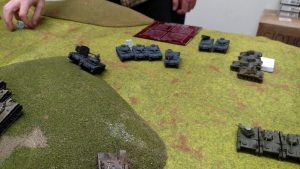
The real question is, how am I going to use the army to beat Casey? I know he is bringing Tigers and Panzer III escort tanks so that means I’ll have a couple of different types of targets to destroy. Luckily for me the disparity in their armour means whilst I am closing to flank (and kill) the Tigers, I can shoot up the Panzer III tanks.
I suspect the match up will come down to terrain as much as anything else because Casey will be using it to protect the flanks of his Tigers, whilst trying to stop me from advancing up behind it and avoiding his fire.

 Prokhorovka – have a look at Alex’s table building article for more, but here you can use a nice mix of hills, forests and even a rail line.
 Support
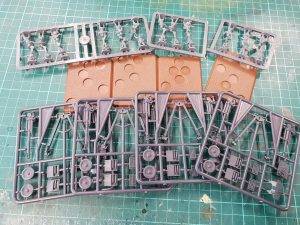
 results which I manage to achieve against the battles of children, work and The Wife are more than acceptable for tabletop games. I’m happy with the results and what it looks like, and whilst not ever going to win me any awards, the schemes and methods I use allow me to have a completely painted army to game with, in not a lot of time. Which is key when having so many models to paint with an army such as Soviets!
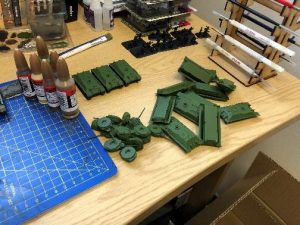 Tanks:
 Brian then, in true form, killed one and bailed one with his Stugs. His Pz II attempted to get in the woods and assault the 45s, but only succeeded in getting one before breaking off. On the right his PzIIIs kill three T-70s and bailed two.
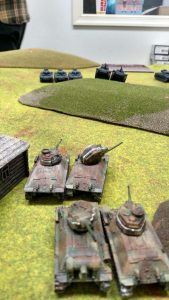
 The T-70s run leaving only the T-34s on the field with a couple 45s, which drive off the Pz IIs. Unfortunately Brian makes all the rest of his morale rolls and the company stays intact with his Stugs on the objective.
 Rural Farm Buildings gave me what I needed to put together both the October State Farm and the small town just outside it.