Thanks for watching, reading and of course interacting over on social media. Wayne and Chris really enjoyed the battle report live feedback and hope that we can arrange another one of these for a future Live Launch event.
Hopefully you have picked up some great ideas on how you can build a new WWIII: Soviet army, or if nothing else have a few ideas on how to counter them on the tabletop.
This was our last Live Launch before Christmas so make sure you take care of yourselves, have a large pile of Flames Of War and WWIII Team Yankee models on your Christmas list and we will see you in the New Year for the Bagration: German Live Launch.
Chris has already told us how much he likes the Czechoslovakian OT-64, if you want something similar but a heck of a lot lighter, in plastic, and cheaper for your wallet then the BTR-60 is exactly what you need.
Check out another video from our archive and find out what a dream this model is to assemble!
Until the release of the T-80 the T-64 was the baddest boy on the block for the Soviets, but whilst the T-80 is newer, that doesn’t necessarily mean it is better, at least that is what the team at the Kharkiv transport machine-building factory No. 75 would have said when they were developing it!
Join Chris as he shows how easy the T-64 is to build.
One more from the archives, this time Wayne (who has since built many many BMP’s) takes a crack at building one on camera. Join him as he shows off the two versions of this iconic infantry fighting vehicle found on this great little sprue.
With the original launch of Team Yankee we managed to pry Phil away from his keyboard long enough to share his secrets on how to built this great little tank. If we were being cheeky we would say if Phil can build it, then anyone can…
Some years ago when we launched WWIII: Team Yankee Casey sat down to build an Mi-24 Hind live on camera. As one of the must have models in any Soviet force this is a great reference for new hobbyists.
WWIII: Soviet is live on Forces, and on the Digital app so you can finally deploy the legendary T-80 and BMP-3 to the tabletop, and bring freedom from capitalist oppression for the peoples of Western Europe!
Check out everything you need to know about Digital right here…
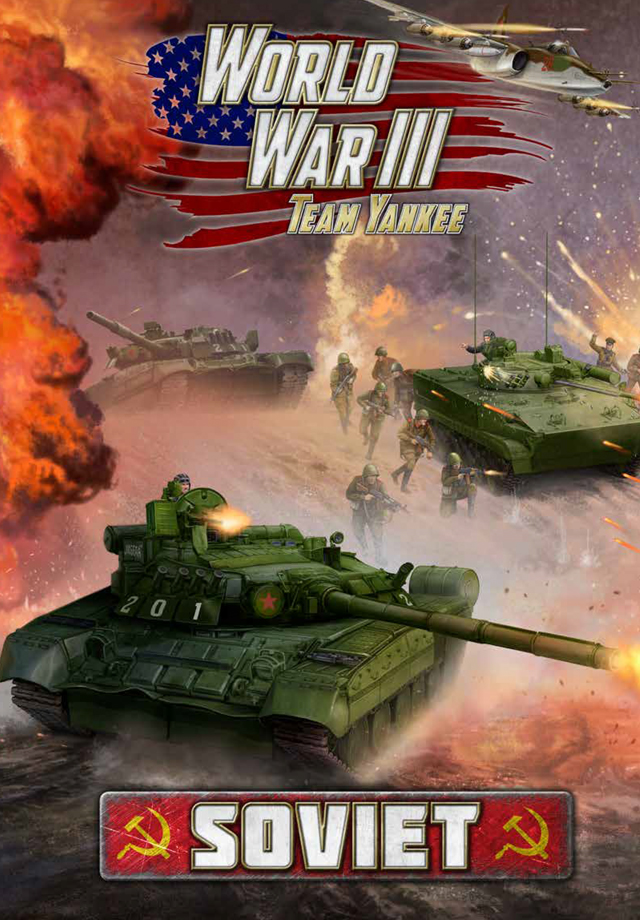
Following on from the Flames Of War launch of the Bagration Soviet book a couple of months ago we are keeping with the Red Army juggernaut, this time though the year is 1985 (more or less) and the T-34 and IS-2 has been replaced by the fearsome T-80.
Inside the WWIII: Soviet book you will find:
• Background on the Group of Soviet Forces in Germany, 2nd Guards Tank Army, 94th Guards Motor Rifle Division, 7th Guards Tank Division, 18th Guards Motor Rifle Division, and Yuri Volkov’s Tank Battalion.
• Instructions on how to build a T-80 Tank Battalion, T-64 Tank Battalion, T-72 Tank Battalion, T-62M Tank Battalion, T-55AM Tank Battalion, BMP Motor Rifle Battalion, BTR-60 Motor Rifle Battalion, Afgantsy Air Assault Battalion, or a T-80 Shock Tank Company.
• Three Scenarios to test your skills with your Soviet force.
Over the course of the next 12 hours you can expect to see the exciting LIVE conclusion to Wayne and Chris’ battle report, a Big Four Of Late War live chat about the book, various articles, list builds, videos, hobby guides and plenty more, so by all means jump in and check it out.
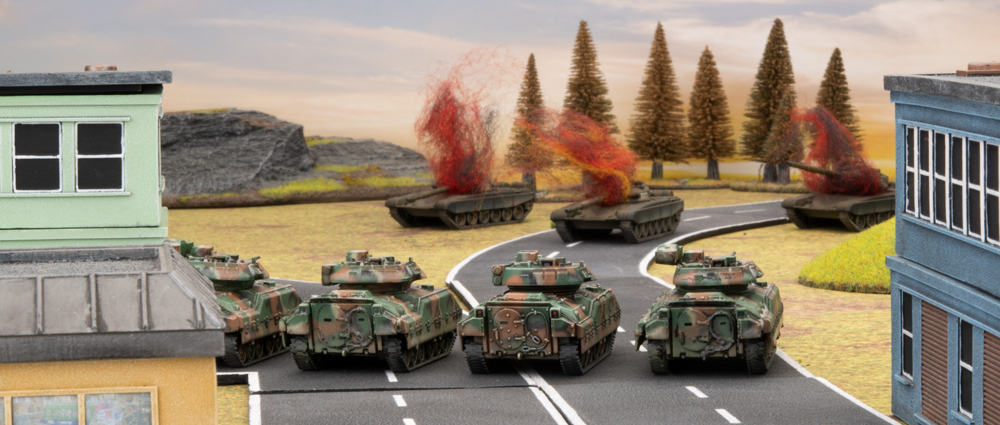
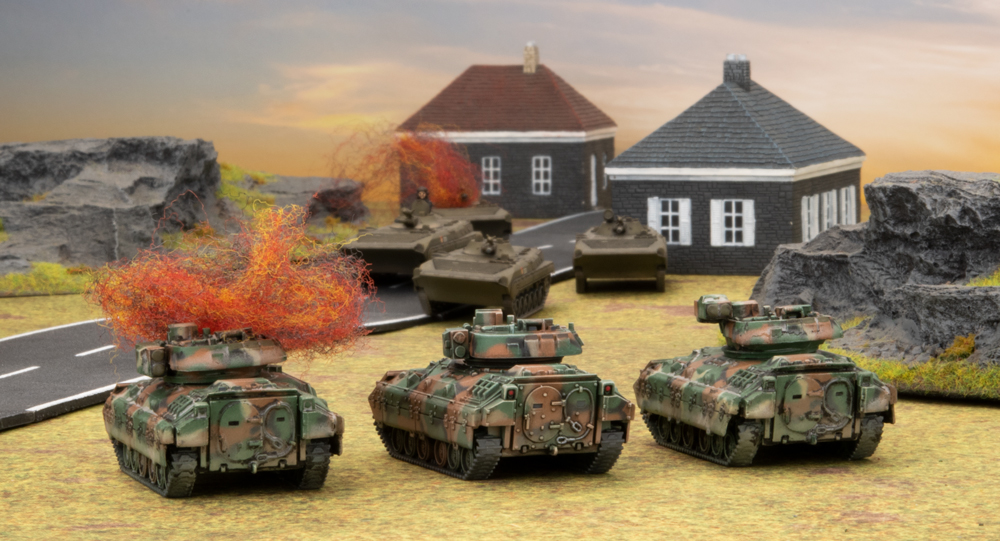
The stage was set for a confrontation outside a small town. The US forces had occupied the town prior and were dead set on defending it from the Soviet interlopers. The buildings would provide cover for the Americans as the hills and valleys outside the town would help mask the Soviet advance. As the sun rose over the small town, shots rang out.
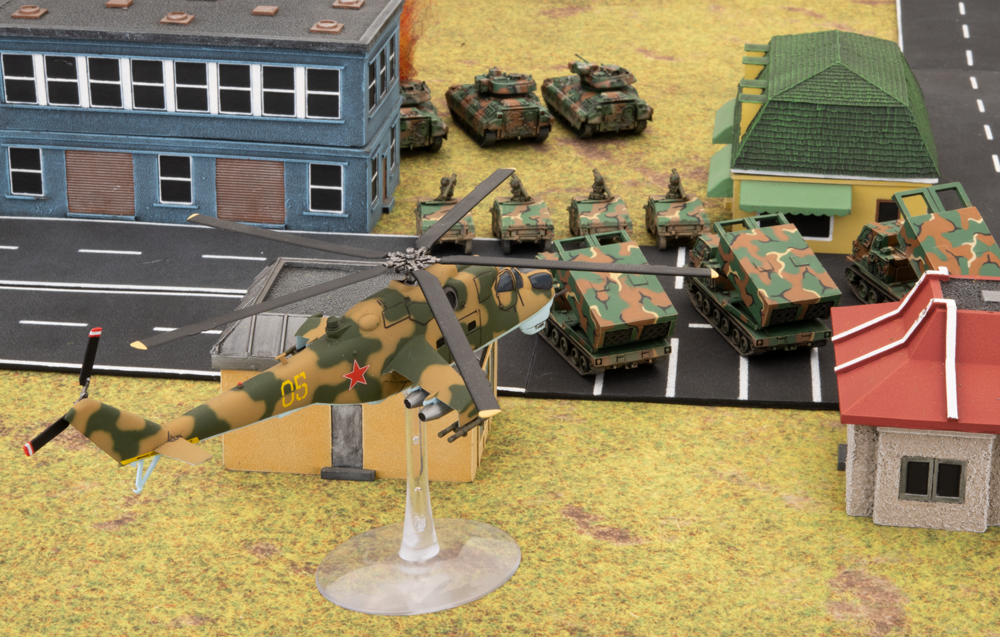
Brandon’s American list hinged on the new Bradley. The appeal is that for a relatively low points cost, he can bring to bear a large amount of firepower in the form of their TOW-2 missiles. Even in this smaller 50 points game, Brandon was able to bring eleven M2 Bradleys, across three platoons in addition to his Combat Team HQ, using the M2 Bradley Mech Combat Team formation. He fleshed out the rest of his list with three MLRS Rocket Launcher Batteries and four HMMWVs with Stinger AA missiles.
Lonnie brought the Red Thunder with a Soviet list utilizing the T-72 Tank Battalion. As such, he had his Battalion HQ T-72 accompanied by two additional companies of four T-72s each. He rounded out his forces with a small BMP-1 Motor Rifle Company and two MI-24 Hinds.
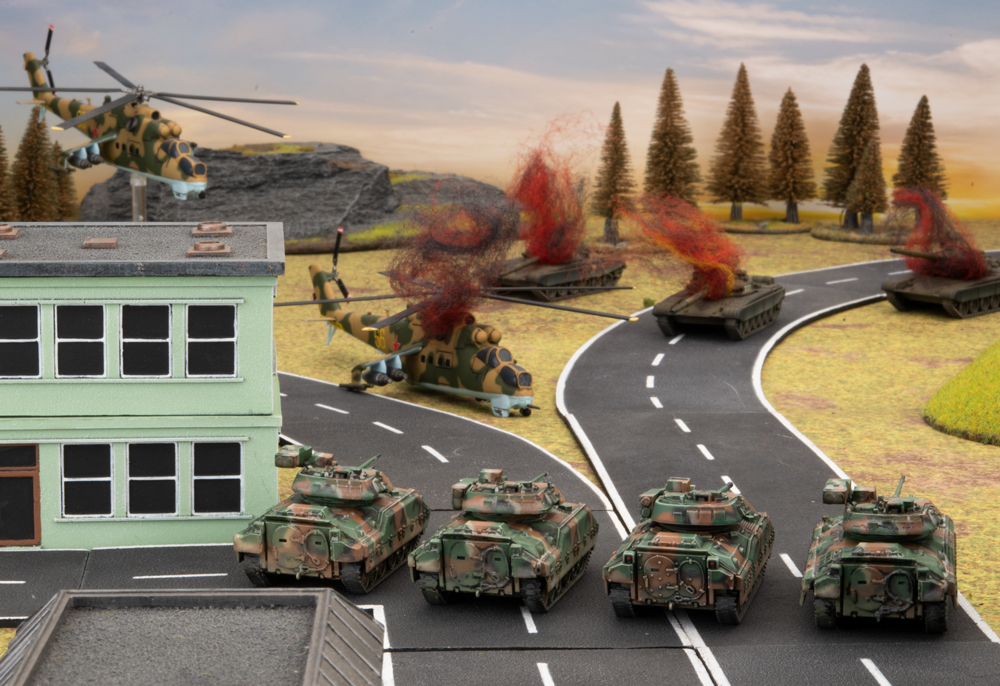
The scenario would see Brandon defending the small town from Lonnie’s Soviets in a scenario of their own devising. (With a late game surprise element.) Brandon deployed his Bradleys in a defensive perimeter around the edge of the town protecting his more vulnerable HMMWVs and Rocket Batteries in the interior, along with his HQ Bradley. Lonnie’s deployment was mostly along the long board edge opposite from Brandon’s perimeter as his plan was to overwhelm Brandon’s deadly yet somewhat softer Bradleys with the firepower from his T-72s. His Hinds would start off the board and his BMPs, filled with eager Soviets, would begin further back in his line. However, with Brandon winning first turn, this plan was not to be.
Brandon kicked the game off with a bang. Having sufficient fields of fire, he would strike first and hope to cripple any counter attack before it could form. All his Bradleys opened fire with their TOW-2 missiles to great effect. His Bradleys closest to the T-72s blasted three of the Soviet tanks off the table with the last remaining fleeing instead of facing another barrage. Brandon’s middle platoon of Bradleys only had line of sight on the T-72 command tank and made short work of it as well. The last platoon of Bradleys had the least amount of luck only being able to destroy a single T-72 leaving three of his comrades in the hunt. The American luck would continue to fizzle out as the MLRS batteries were unable to range in on the distant BMPs. However, it was a bloody and eventful turn seeing the Americans gain a strong early advantage that the Soviets would have to work to surmount the rest of the game.
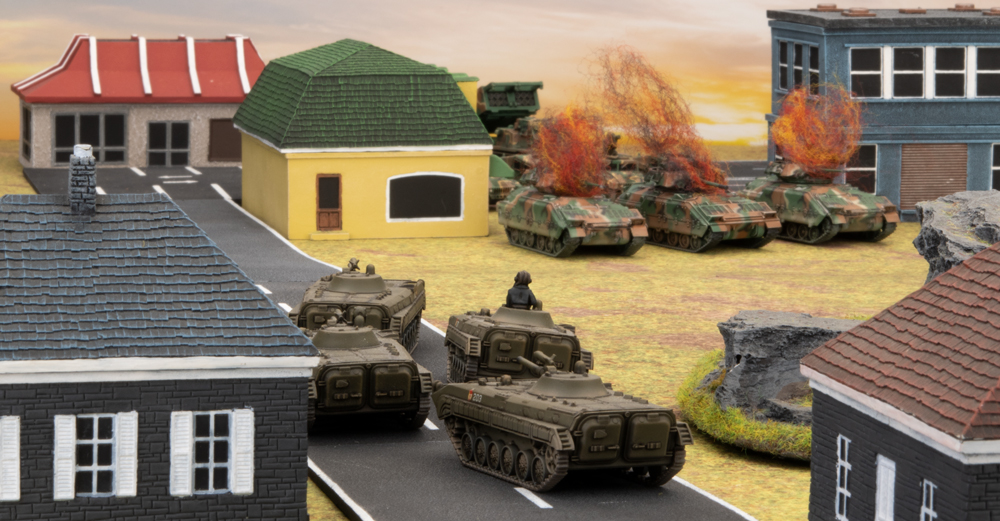
Having taken a browbeating in the American turn, the Soviets were looking to get some modicum of revenge. But first they had to shore up their defenses. Lonnie disembarked his infantry from his BMPs into the cover of a shallow ravine and then shuffled the BMPs out of sight for their own protection. The remaining three T-72s would then advance with the cover of some escarpments on their right. Finally, the Reds would hope to change their fortunes with the arrival of the Hinds. The Hinds went straight to their 57mm UB-32 rocket launchers and looked to drop a salvo on a large portion of Brandon’s Bradleys. The Bradleys would fire their Bushmaster guns in vain prior to the barrage. However, it wouldn’t matter in the end as the Soviets failed their firepower rolls and left the Bradleys unharmed. The T-72s would have slightly more luck firing downrange at the central Bradleys and destroying one. But this was not the counter punch the Soviets had hoped for. They would now need to survive another turn of American shooting.
The American turn began with the HQ tank moving into firing range of the Hinds and the HMMWVs trying to get a better angle on them as well. Both the HQ tanks and the HMMWVs fired at the Hinds to no effect. The Bradley platoon nearest to the Hinds unleashed their Bushmaster guns at full tilt and managed to down one of the menacing flying tanks, however. The Bradleys on the far edge continued their punishing barrage on the T-72s. But due to some unfortunate dice, only one T-72 bailed out and the remaining two were unscathed. The rocket batteries tried to finish off the T-72s but failed in this task. The Soviets were down but they were not out and it was again their turn.
The crew of the T-72 remounted and the company advanced. The infantry and now-empty BMPs also closed the distance. The single remaining Hind moved right into the thick of the American defense in hope of punishing some of the softer interior targets. Its plan was thwarted however; as it was about to fire, the unit of Bradleys that had fired out of turn before turned their sights on it. It was blown out of the sky before it had a chance to make a difference. The T-72s, in a desperate bid for revenge, fire on the Bradleys on the far end and manage to destroy one, thus securing a small victory in an otherwise troubled advance. But it was about to get more troubling for the Reds.
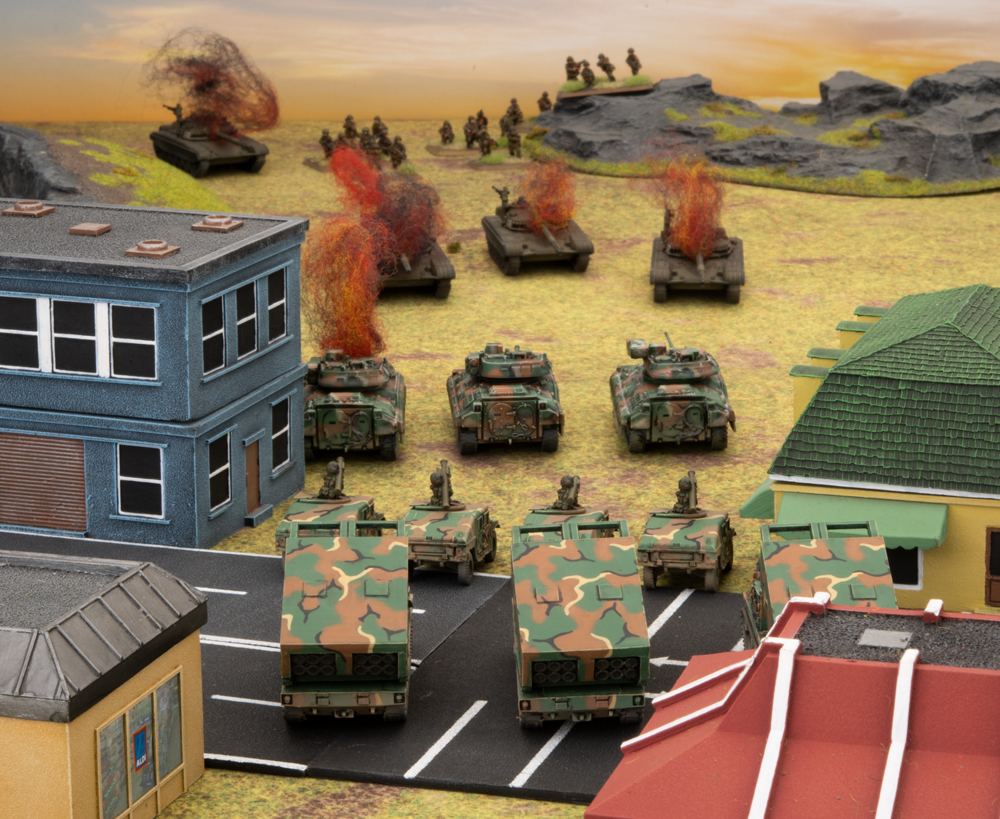
The third turn began with the combined fire from two of the Bradley platoons finishing off the remaining T-72s while the third platoon moved onto the offensive. The MLRS rocket batteries fired on the infantry but they proved to be too dug in to be removed easily. So the turn moved to the Soviets who had their small BMP motor rifle company facing down a nearly unscathed American force.
Lonnie began his turn by advancing his Soviet infantry taking advantage of the cover afforded to him by his own destroyed tanks. The BMPs unleashed their Sagger missiles on the center group of Bradleys and managed to secure another kill. The Soviets were on the ropes, but they intended to bleed the Americans if they could. However, numbers were against them and it seemed that the days may be numbered for these comrades.
The fourth American turn would prove less bloody purely because there were hardly any targets left to destroy. The Bradleys that had dealt with the Hinds moved out of sight beyond the escarpments and the others on the far side destroyed one of the remaining rogue BMPs. The MLRS fired on the BMPs as well but only managed to spook them. The turn shifted to the Soviets, though the writing was on the wall.
In a last defiant effort, the infantry fired off their RPGs over the escarpment at the cost of a single Bradley and the BMPs tried and failed to destroy another. This ended up being the last turn as Lonnie conceded a gentlemen’s victory to Brandon instead of facing down a hail of TOW-2 missiles.
In the end, the Bradleys proficiency for destruction in the first turn left Lonnie’s Soviets an insurmountable climb. The constant pressure the Bradleys provided just wouldn’t let the Soviet advance get enough steam to crack the perimeter. Truly, the Bradley has demonstrated its efficiency and may be a contender for most aggravating transport to face, up there with the BMP. It was most definitely on the Bradley’s back that Brandon’s American victory was earned.

 Thanks for watching, reading and of course interacting over on social media. Wayne and Chris really enjoyed the battle report live feedback and hope that we can arrange another one of these for a future Live Launch event.