
With Chris Allen
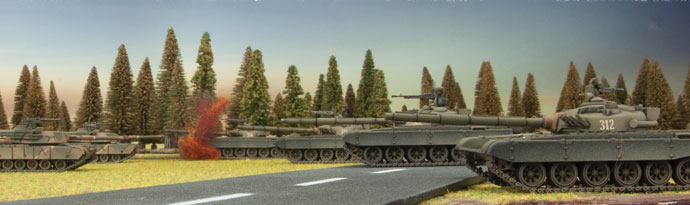
When most Western armies conduct warfare they support movement with fires, providing artillery support and other fires to assist manoeuvre. The Soviet Army has always seen things differently and supports fires with manoeuvre. Utilizing massed artillery and the devastating effects that they can deliver to an enemy force they reinforce artillery success with unit movement. Simply put, the Soviet army doesn’t go anywhere without artillery. Lots of artillery. I’ve said it before and I’ll say it again, this is especially true in WWIII:Team Yankee.
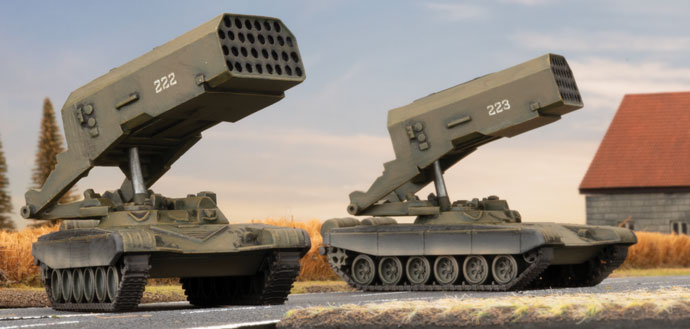
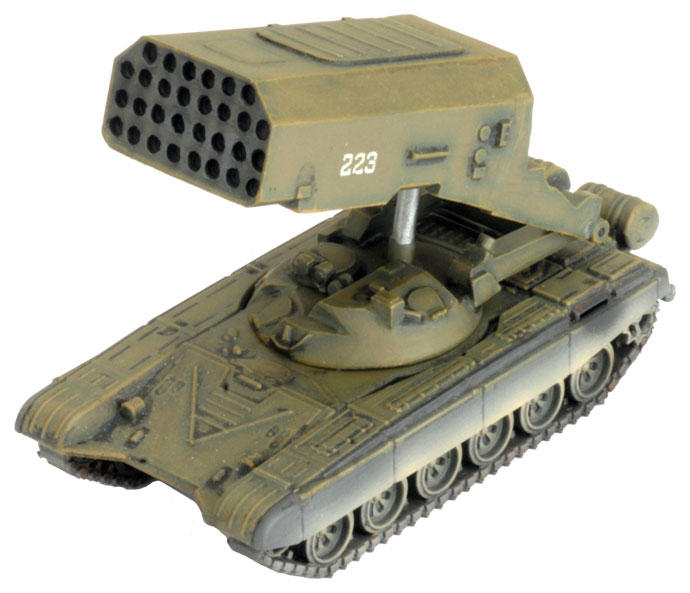
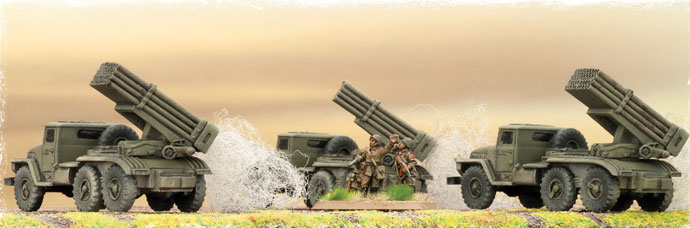
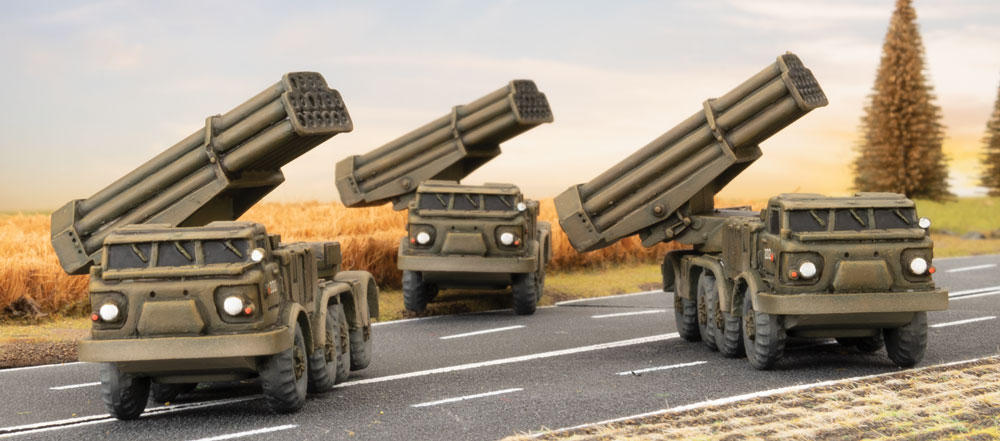
When Red Thunder I was released I was excited to get to put down even more artillery for my Soviet force with the release of the 2S3 Acacia. Now with WWIII: Soviets dropping I’m even more excited by the addition of two new artillery units. I’m a huge fan of MLRS systems and have long advocated for the humble BM-21 as an amazing sleeper unit in Soviet forces. Many people write it and other MLRS off due to their low firepower. But with about 2.8 times the area coverage of an artillery template, they can cover a shocking number of stands. With the release of WWIII: Soviets players are offered the opportunity to include both the BM-27 Uragan and the TOS-1 Buratino MLRS systems, and the sky is about to fall.
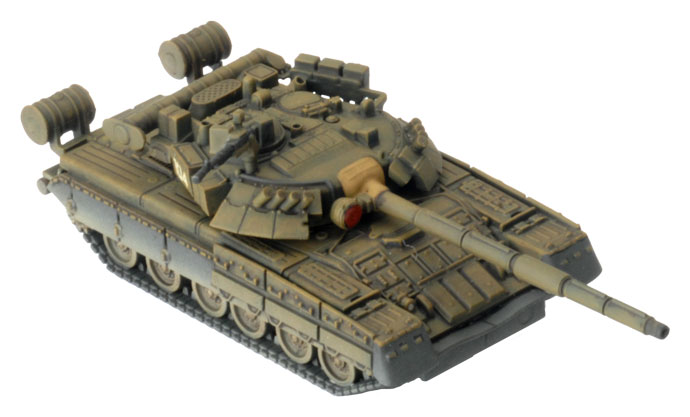
All Soviet Formations with the exception of the Air Assault Battalion have the option to take a 2S1 battery. This gives players an amazing base artillery system that can also act as an assault gun with a direct fire AT 21 gun. The 2S1 is the artillery equivalent of a Swiss Army knife. It can do it all.
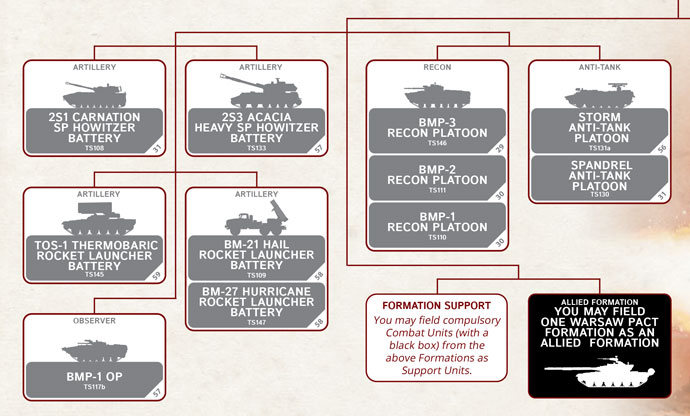
From here Soviet players have the most diverse and numerous artillery support options in the game. There are four boxes of artillery support available to Soviet commanders, an additional 2S1 battery, a 2S3 battery, an MLRS battery of either BM-21s or BM-27s and the option to take a TOS-1 battery in addition to the ubiquitous BMP-1 OP. A single formation has 5 artillery platoons available to it: fires supported by manoeuvre.
 So what do these two new systems bring us? As you can see from the support chart above, you get an extra salvo option, allowing players to drop two salvos a turn on the enemy with either a BM-21 or BM-27 salvo, and a TOS-1 salvo going down range at the enemy. The second thing it brings players is more firepower. The BM-27 is the BM-21s big brother and brings with it AT 4, enabling it to bail and damage vehicles regularly, and FP 3+ to dig out infantry teams more reliably. The BM-27 also has minelets which give Soviet players a fantastic board control option. The TOS-1 brings the heat. With its thermobaric warheads the TOS-1 has a FP of AUTO and with brutal forces all teams hit to reroll saves. It is an infantry deletion machine, and it’s armoured so ignores pinning and can consistently survive small arms fire.
So what is all of this artillery here to do? I would argue there are two basic tasks for artillery in a Soviet list: they dig out infantry, and they cover your force.
Digging out infantry is nothing new to players and is the common reason to take artillery. But while many other armies will take artillery to pin infantry so that they can be assaulted, this commonly isn’t the case for Soviet infantry or tanks. Facing facts, Soviet forces aren’t great at assaulting generally speaking. But they don’t need to be. Here Soviet doctrine calls for the use of “Posledovatel’ Noye Sosredotocheniy Ognya” or successive fire concentrations to neutralise, by artillery fire,the enemy in proximity to motor rifle and tank units.
Soviet doctrine is clear that the breakthrough is the least preferred situation, and that the meeting engagement or pursuit is dramatically more advantageous to Soviet forces. So what does this have to do with artillery? Manoeuvre supports fires. Soviet artillery is there to force people to move or die in place. With the quantity and quality of artillery and salvo fire you can put down on a position, there is no infantry force in the game that can simply sit and take it. This forces your opponent to move, changing the situation to a pursuit, something tanks and the Motor Rifle companies excel at exploiting.
So how good is Soviet artillery at digging out infantry? The simple answer is with the new MLRS systems, it just got better. Soviet players can trust that military scientists have applied great efforts to compile the following algorithm table.
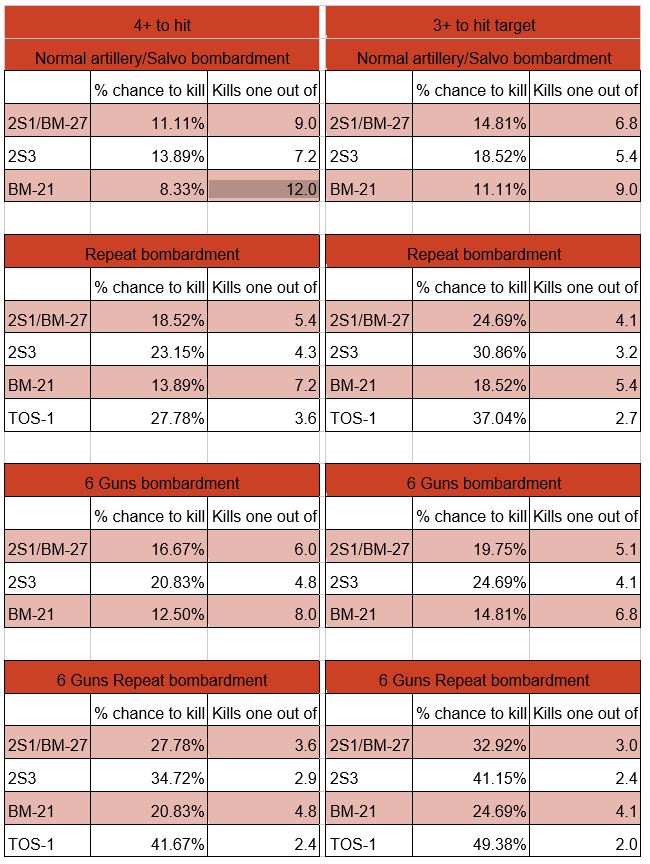
The above table gives you % chance to kill a given dug in team under a template, along with the average number of teams required under a template to destroy a dug in team. The TOS-1 doesn’t have stats for normal or 6 gun bombardments because teams hit by it always reroll saves.
So how can you use a table like this? You can use it both in designing your list and during a game when faced with an enemy position. When you’re designing your list you can use.
these tables to help you prepare for situations you think are likely. Take every player’s nightmare, the British Infantry platoon. With 9 teams it’s hefty, it’s skilled and it’s covered in weapons. Even if you manage to assault them, they’ll more than likely assault back and kill more of you than you did of them. So instead of going in, burn them out. With a six gun battery of 2S3s and 3 TOS-1s hitting the position, how long does a platoon last? If you sited the TOS-1 on the objective to start and the Brits dug in there, you can expect to kill just under 1 out of 3 teams. The 2S3s wiill kill around 1 out of 5 teams as you range it in and then subsequent turns will kill 1 out of 3. This would average killing 4 teams on the first turn, and while the number drops each turn, so does the number of survivors. This essentially removes the platoon in 3 turns. So either they sit and take it or they move, at which point your vehicles move in and gun them down (the pursuit), or just take the objective. Either way, artillery wins you the day.
The thing to note about artillery is that against any given target it provides diminishing results. Unlike a tank’s main gun or a machine gun, artillery has no rate of fire but instead has a template. This means that unless an opponent feeds your artillery more units to drop bombs on, a battery firing at any point should kill fewer and fewer each turn. Killing fewer of the enemy can seem like a bad thing, but when it’s because there are fewer alive to kill, it can be forgiven. Again, artillery makes someone die in place, or move to be gunned down on the run. Let them make that choice.
Covering a Soviet force in the advance is critical to success. NATO and other opposing forces need to attrite a Soviet force prior to it becoming decisively engaged. Soviet forces need the cover that only their artillery can provide in the advance, the defence and while on the objective. It is possible to cover a Soviet force in three ways, through concealment to fire, by fires and by providing counter mobility. You can fire smoke to cut off the enemy from shooting you; you can lay down fires where the enemy wants to go to force them to go somewhere else; or, you can drop mines on them and have them stay a while, and think about what they’ve gotten themselves into.
While terrain can assist in the concealment of a force, there is seldom a situation where it alone can provide the cover that is provided. Where the ground may fail you, artillery will not. A 3 or 6 gun battery can provide you with between 12 and 24 inches of smoke. A single battery can block off between half and a third of the table. Two batteries can basically block off the enemy’s line of sight. Smoke should reside in and be used by all Soviet forces. It helps a Soviet player shape the battlefield, and the enemy, pushing them with fear and metal from their defensive positions to new locations.
Smoke can be used to cut off fires, commonly by placing it close to your force in order to ensure that units don’t come within 6 inches to be able to fire on you. You can however use this to bait aggressive enemies into coming out of cover to shoot. By placing the smoke bombardment close to the enemy positions you can dare them to come out of cover to shoot at your forces. This can often allow you to shoot back at targets now in the open and closer to you. Smoke forces your opponent to choose between bad options and for this reason alone should be employed where possible.
While smoke cuts an enemy’s shooting off from affecting Soviet forces, there are other ways you can cover your advance. Soviet doctrine calls for the use of “nepodvizhnyy zagraditel’nyy ogon’”, or standing barrages to obstruct the movement of the enemy. Salvo fires are amazing in that they take up a huge amount of space. 100 square inches of coverage allows a player to block off routes to objectives with salvo fire. Few infantry unitswant to risk running through the fire to help an objective in danger, and now with the BM-27 bringing AT 4, few vehicles will join in that risk. If your cutoff fires are ranged in before the enemy arrives, you’ll have the added benefit of using repeat bombardments and any infantry teams hit will be rerolling saves. Artillery and Salvo cutoffs are rarely thought about as we often try and range in on where something is and not where it will be or where it needs
to go. Using this cunningly will again shape the enemy and make their destruction that much easier.
The BM-27 Uragan now adds the options to drop mines on the enemies of Socialism, forcing enemy vehicles to either hold in place, risk moving or wait for infantry or specialist vehicles to extract them from the minefield. Few of these options end both well and quickly. Usually players have the choice between the two. In every situation Soviet artillery forces the enemies of Socialism to make choices that expose them and enable your manoeuvre forces to exploit.
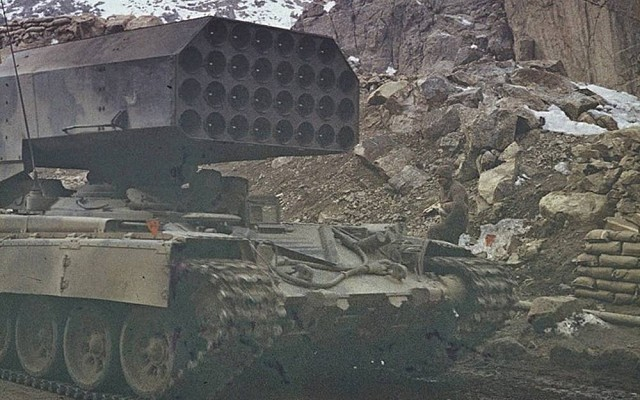
Overall the new artillery available to Soviet players is exciting. First off it just looks cool. A T-72 driving around with a bank of 30 220mm rockets on top? Yes please. Secondly it just fits the army, its huge, numerous and brutal. And thirdly it’s fun to play. It all comes together in a scary amount of firepower that can now be wielded with careful planning and consideration to ensure Soviet objectives are reduced prior to arrival or protected from the scourge of capitalism.
See you on the firing line.
~Chris


 Contains ten Story Episode Mission Cards, eight Story Epilogue Cards, ten Side Mission Cards, 16 Ace Cards, 20 Reward Cards and one Ace Campaign Rule booklet.
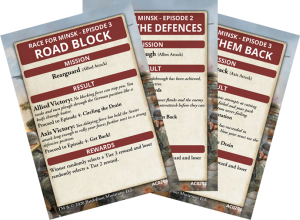 Story Mission Cards
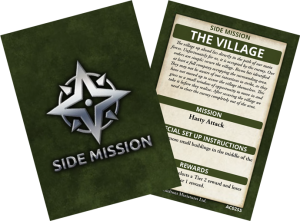 Side Mission Cards
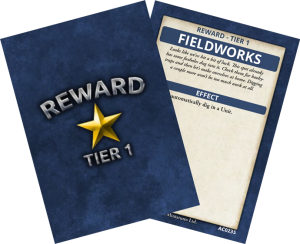 Reward Cards
 Ace Choosing an Ace