With Chris Allen
“Sergeant Ferris!” Lieutenant Armstrong bellowed as he walked up to his platoon for the first time, just having arrived with the reinforcements.
“Sir”
“I know I’m new here but we’ve got to police up these tanks.”
“Sir?”
 “Sergeant if you look at anyone else’s tanks they’re bare hulls, maybe a little kit in the bustle but our tanks, Sergeant there’s more kit on theses tanks than in the quartermasters shop, look at that one, does that tank have a DShK on it?
Sergeant Ferris blinked, looked up at the sun and looked back down, blinked again, “Sir, we could have left it for the commies to pick back up, but in all honesty it’s kinda a good luck charm. Plus you should have seen how confused they were when we opened up on them with it one time, the Int guys said there was comms chatter for days about friendly fire”
“Fine, but sergeant you can’t tell me we need that many Jerry’s on a tank, I’ve been assured we’ll receive nightly resupply, in my experience on course…”
“Lieutenant, I’m happy you’ve been assured, but in my experience in battle”, he let his word hang “when resup’ doesn’t show for two days because things get hot and we get caught behind the lines, those jerry’s keep us killing Ivan and get us back home.”
 The Lt looked down, and then back at the tanks. “Sergeant, is that a case of beer on the back of that tank?”
A head popped up from the back of the tank, the young man stared down from the tank “Sir, you ever tasted a beer after killing commies?”
“No”
A wry and knowing smile crossed the sergeant’s lips as the Lt looked back down “You will”
With some social distancing going on it’s a great time to not only start something new but spend a little extra time making it something special, something of your own. I’ve been playing Soviets since the introduction of the game, but after moving across the country I wanted to start a second force to help introduce the game to new players. There was no more appropriate or iconic force to pit against the Soviet threat than the might of the American military. So picking up a box of Bannons Boys I wanted to make something that really showed the differences in the two forces.
My Soviet force is a monument of simplicity, uniformity and application of conscript forces. So what better way to make the opposition stand out and show the divide of culture and doctrine than to make each vehicle individual. With this as the concept there was only one option, the M1A1 Abrams main battle tank.
With the new Team Yankee Americans book coming out, we all knew that the M1A1 Abrams was about to appear in the game, so what better opportunity to jump in ahead of the release to have built a model we all have access to but isn’t yet on the table!
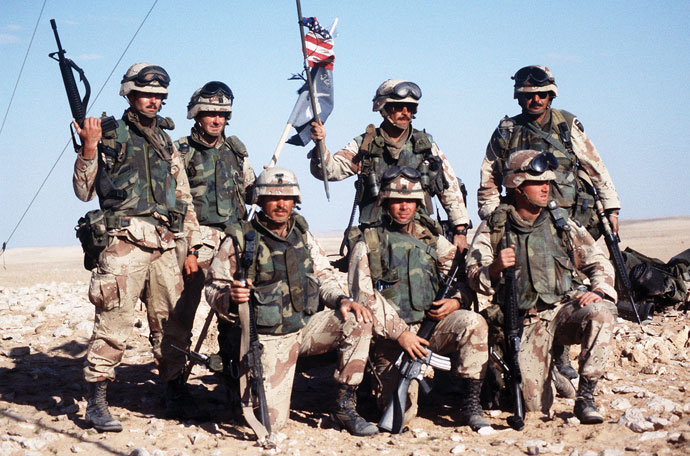
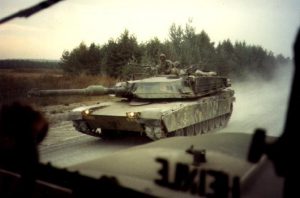
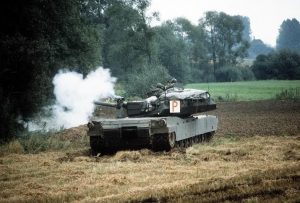
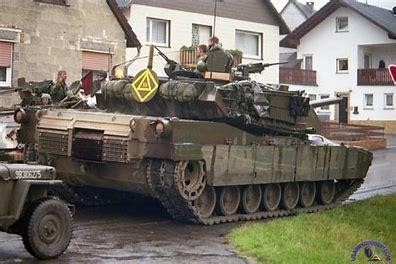
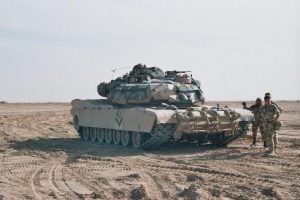 All you need to do is type in Abrams in google and you’ll find pages upon pages of pictures of Abrams tanks through the years, and every single one looks different. But the pictures give great inspiration for stowage, paintjobs and just getting the models on the table. I tried to find pictures from Operation Reforger and other major exercises but also looked for inspiration in the conflicts in Iraq. While I didn’t want to put on all the really modern pieces like recognition panels and such there were tons of examples of how to stow kit on a high speed tank.
 I didn’t have too look far to find what I needed to accomplish this. Battlefront is amazing at providing us with extra pieces of kit to customize our forces and make them not simply markers on the table but our own private armies to command. Looking at most sprues you’ll find extra pieces, boxes, road wheels, guns and such, all ripe for the picking and enabling us to make our toy tanks individual and our own.
For my Abrams I found some of the parts in the following places:
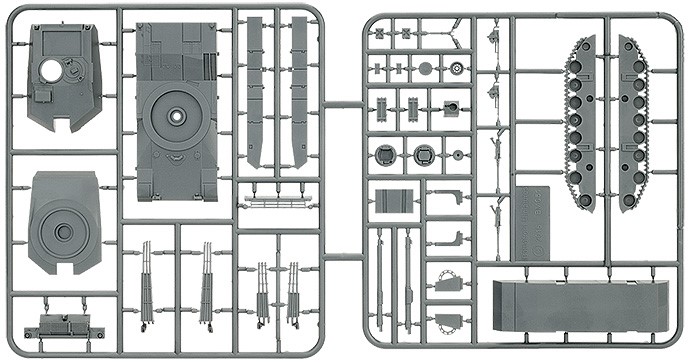
The Abrams sprue itself: Road wheels, jerry cans, tool boxes, even extra machine guns are all there.
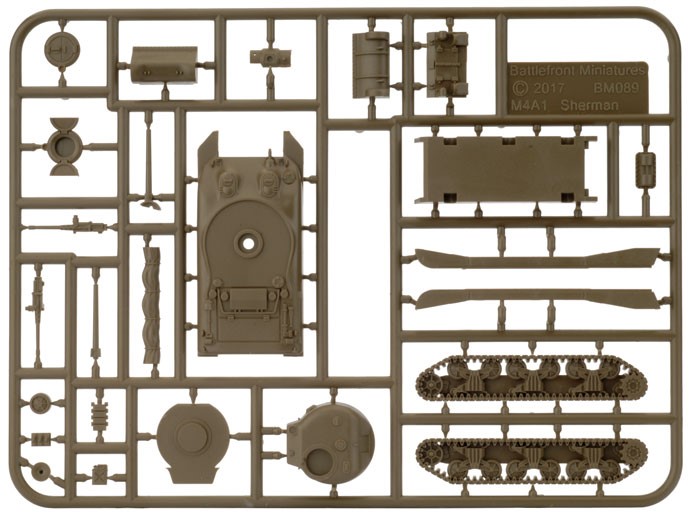
The Sherman Sprue out of hit the beach: tarps, jerry cans, oil cans.
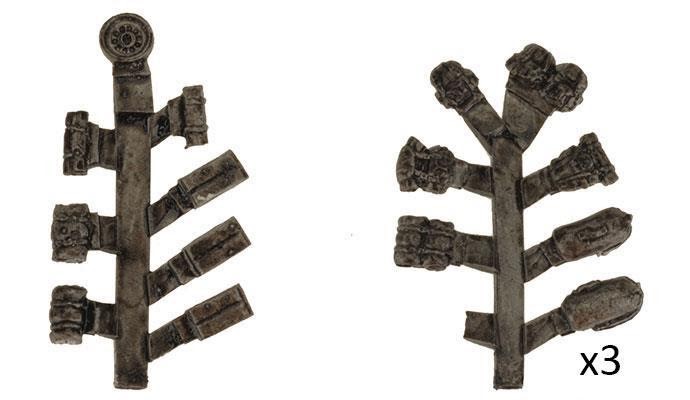
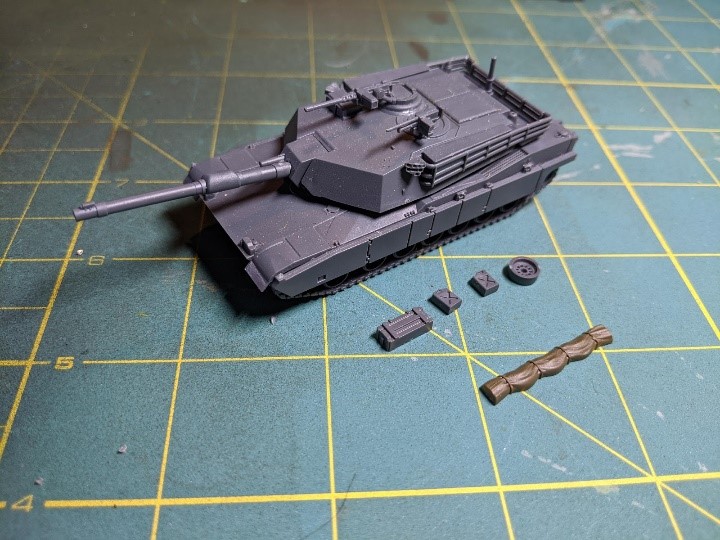
TUSO10 US Vehicle Stowage (below): This blister is life. With rucksacks, kit bags, ammo crates, road wheels, tarps and wrapped kit, this has a lot of everything you want. I need to order more to customize up my Americans as I expand the force.
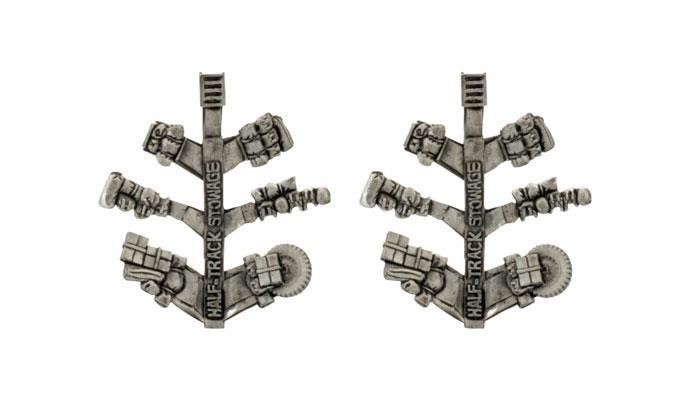
USO212 Half-Track Stowage (above): This is full of wrapped kit and equipment and is pure gold for adding strapped down equipment to vehicles in any era and if you have it for your Mid or Late War Americans, you can use it to give a little love to your Team Yankee Americans.
These made up the mainstay of my bits, but I scrounged weapons like machine guns off of M113 and T-62 Sprues, there are literally great bits on almost every sprue that can work and add to your force being unique and your own.
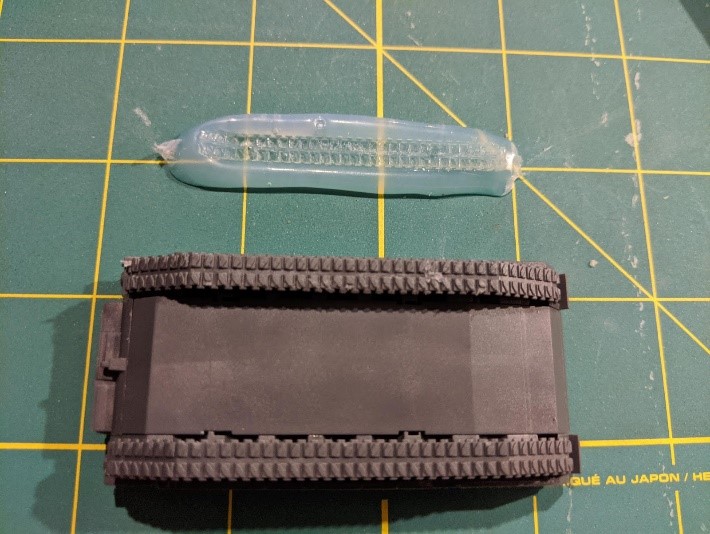
The one bit I wanted but couldn’t get was spare tracks. There is spare track on the Leopard-2 sprue but it’s not quite right for the Abrams. So what’s a guy to do? Improvise, adapt, overcome.
To be honest I didn’t know if this was going to work, but it did.
I laid down a thick bead of hot glue onto my cutting mat and let it cool down to where it was starting to get that white colour back and I pushed the Abrams track down into it and let it fully cool. I carefully pulled the Abrams off of it and voila a push mold for an Abrams track.
I mixed up some GF9 green stuff and poured some water into the push mold (poor mans release agent) and in a few minutes I had more track than I knew what to do with. If I was to do it again (Which I did) I’d of put the hot glue on a large Popsicle stick so I could reuse it and move it easily.

This is the mindset a modeler needs, everything can be a bit, or become one. I cut up and shaped sprues and squared them to become boxes of rations, and a case of beer.
Now came the fun part, adding it all together.
If you’re a Sergeants Major or First Sergeant, skip ahead a paragraph, you won’t care to follow where I’m about to lead you. Uniformity only goes so far. Every armoured vehicle I’ve ever lived out of was different. There were some key things in some key places, stretchers, admin boxes, tools. After that it was up to the vehicle commander, and each had their likes, wants and needs. This for an army on the table means variety but commonality and can make a cohesive army of individuals.
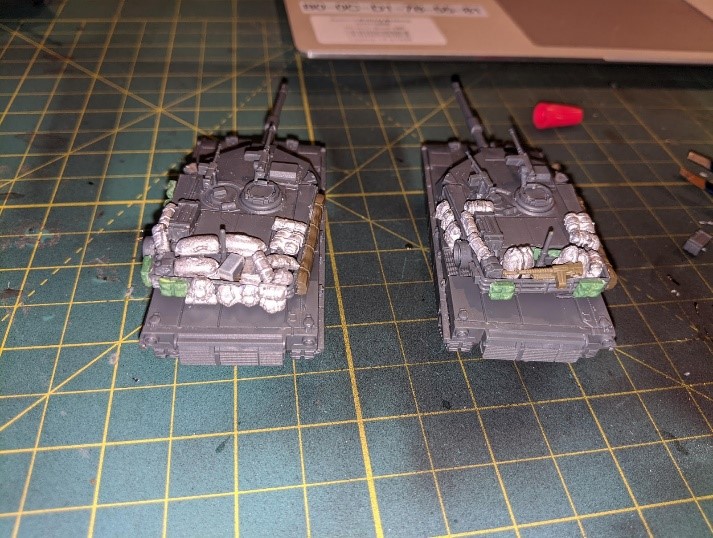
I started my Abrams platoon by picking what my key essential kit would be. For my vehicles it was an ammo box made into an admin box, two jerry cans, a road wheel and the vital sleeping tarp. I picked where these were going to go by test fitting with blue tac and glued them down on the four tanks. This gave me a base to work from and individualize further.
With that I was open to do what I like but I ensured to keep the blow out doors of the protected ammunition and the antenna mounting points free and clear of stowage. It’s a safety thing. And knowing is half the battle.
I wanted these tanks to be really lived in and so I made sure that each crew member would have not only a ruck but a kit bag, a bit much sure but the tanks doing all the lifting so who cares, might as well bring everything you might need.


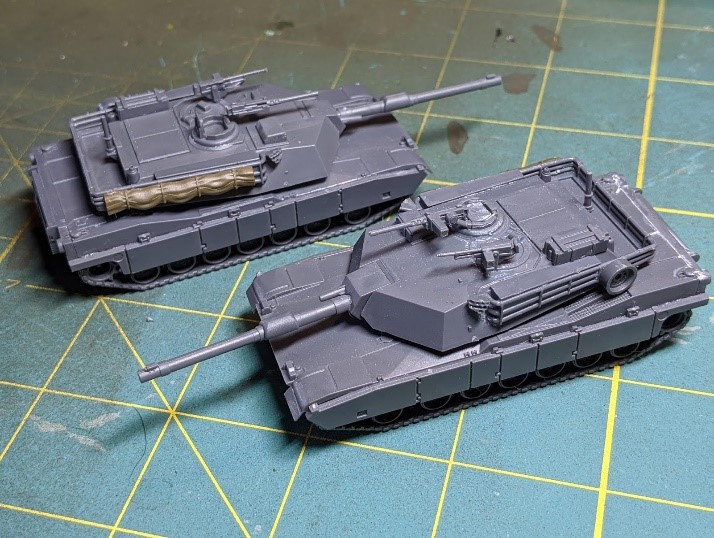
I tested and moved around stowage to make each vehicle individual, but the common items and open space of the blowout panels made the platoon cohesive. They looked not uniform, but common.
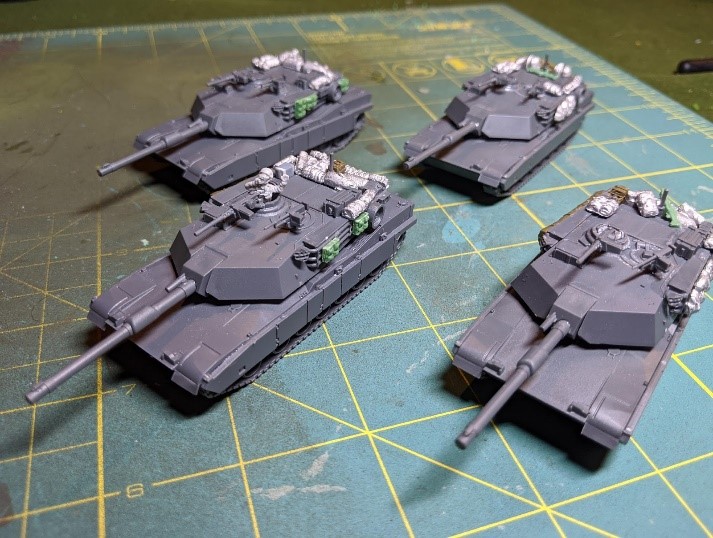
Things really started to come together and each story started to tell its own story of the crew manning it. In the field I’ve seen no end to crazy things strapped to tanks by the crew so the machine guns, boxes of MREs or even a case of beer started to come together.
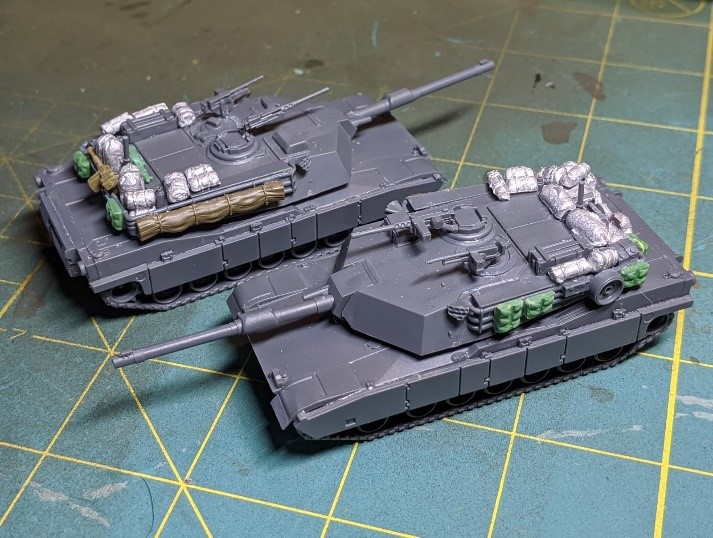
One thing I will note is that if you plan on putting this much stuff on your Abrams I suggest magnetizing the turrets. I didn’t. And then once I had more than doubled the weight of the model, all on the rear of the turret, I had to dig out the pins and insert magnets. They work amazingly well and I have no issue with the turrets tipping now. Learn from my pain.
In the end I’m really happy with how the platoon turned out. It’s my first American unit for Team Yankee and I think it’s going to set a trend for my force.
Now I just need to figure out if I’m adding camouflage nets and find a paint scheme I like. I’m thinking NATO 3 Colour so they can blend in with the allies.

The new Team Yankee American book is going to add a lot of fun and flavour to the game and I for one can’t wait to see the iconic M1A1s hitting the table. Some people love the look of stock tanks, stripped down to the essentials, ready to fight light and fast, I know I do with my Soviets. For my Americans I want a lived in tank that nobody is going to confuse as anyones but mine, and the M1A1 has the stowage capacity and cool factor to help make this happen.
Happy hobbying.
~Chris