With Evan Allen
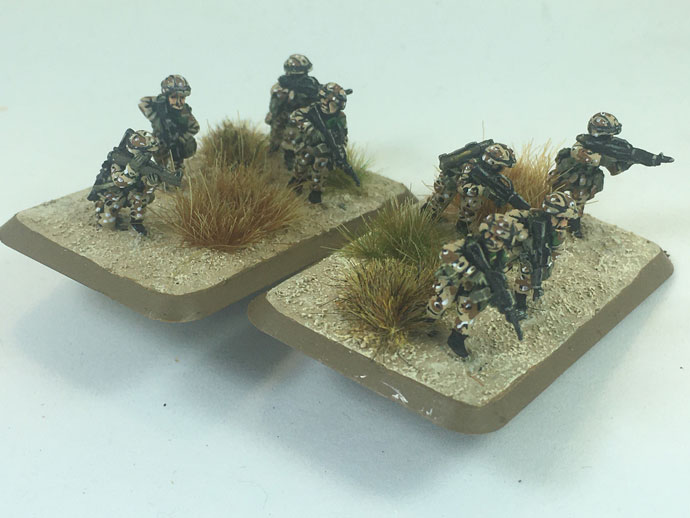
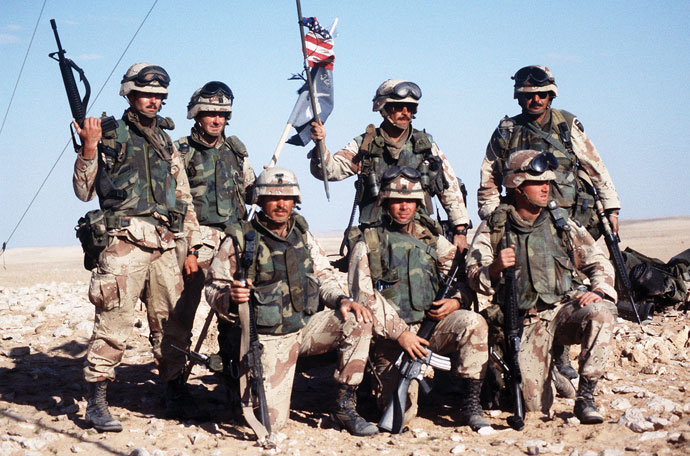
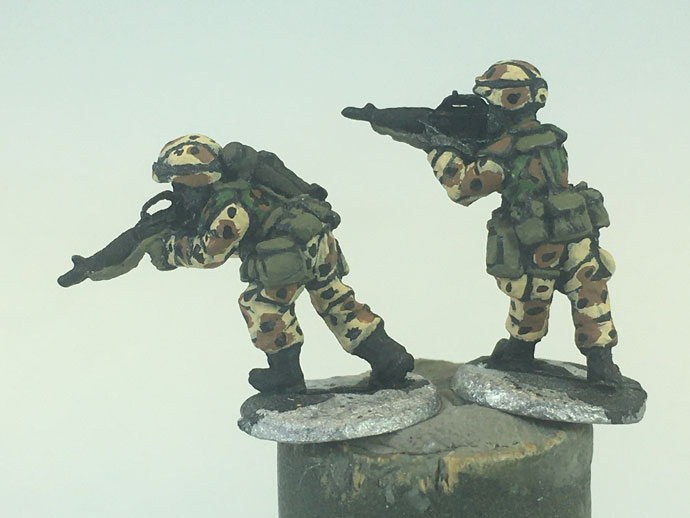
With the timeline for World War III: Team Yankee expanding out somewhat I decided to paint my US forces in a Desert Storm type paint scheme instead of adding to my existing Euro force. After some research that meant the infantry would have to be in Desert “Chocolate Chip” uniforms but with Woodland pattern body armour. All the paint I used is from the Vallejo model colours range.
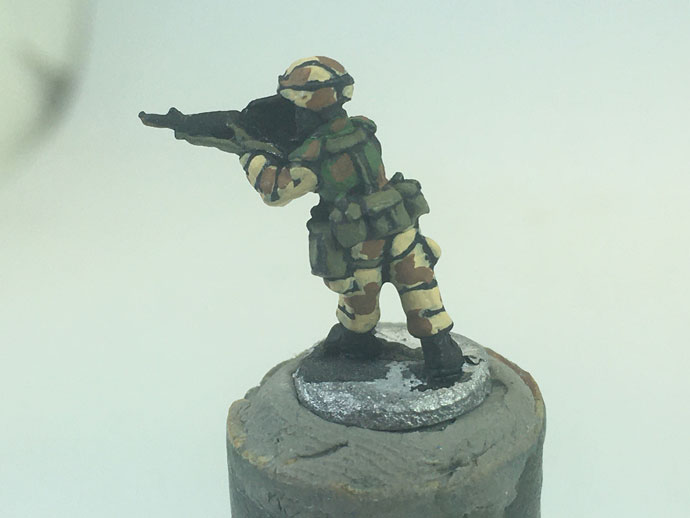
European Uniforms
I’d already painted two platoons of US infantry in Woodland pattern for my Euro US force so I just copied that again for their body armour jackets. I also copied the same colours for all the web gear and weapons, Russian Uniform (924) on the web gear and pouches, black for the M16s and Olive Drab (887) for the LAWs etc.
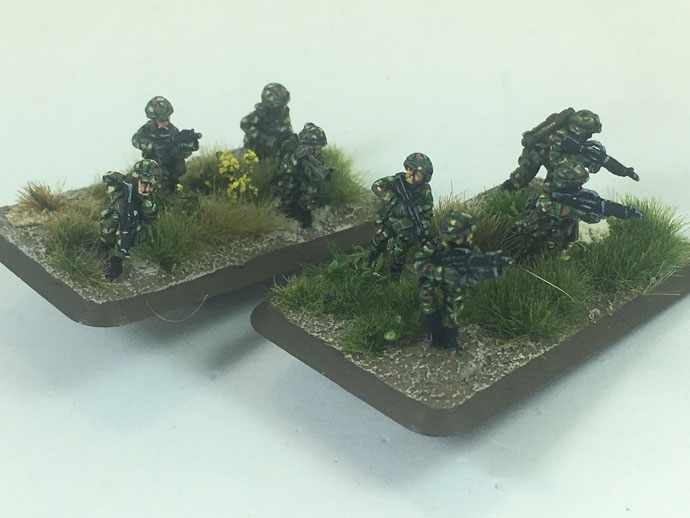
The base colour I used was a quite bright USA Uniform (922), the effect darkens up when the rest of the camouflage scheme is done so the extra brightness to start off with works well here I think. Next I added large blotches of Beige Brown (875). Finally, I painted thin strips of Black and Dark Sand (847), I try to do these in “Y” or “V” type shapes. One thing I also do is think about where the clothing seams are and stop blotches of the brown at those lines. Also resist the temptation to add too much at the beginning, less is definitely more here!
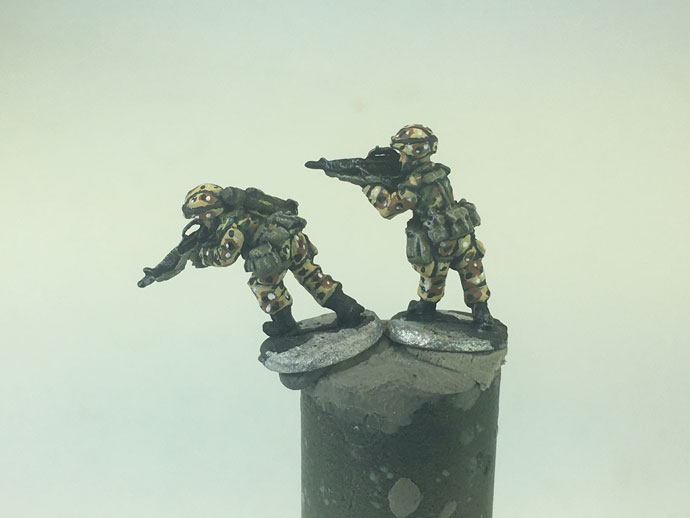
Chocolate Chip
After a black undercoat I start off with base colours for the uniform (Dark Sand 847), body armour (USA Uniform 922) and the webbing and pouches (Russian Uniform 924). I block paint in the three colours leaving thin black lines around the clothing and equipment, sometimes I rush this and have to go back later and re-do some of the black lining if I’ve covered too much or want to tidy up. I also use the Russian Uniform on the hands to represent the gloves commonly worn as well.
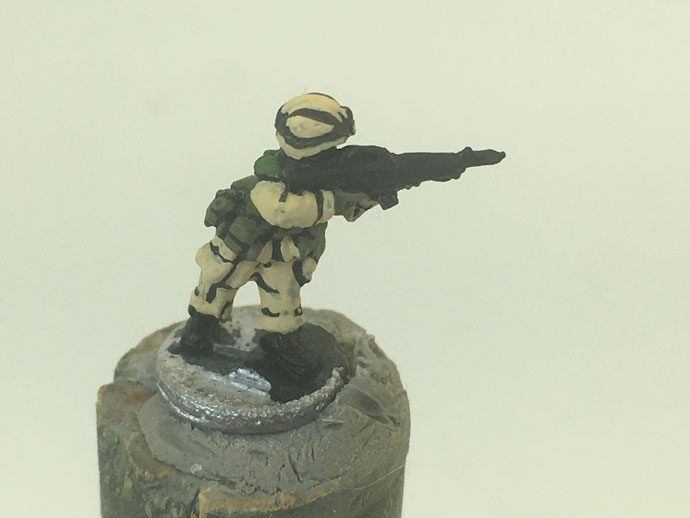


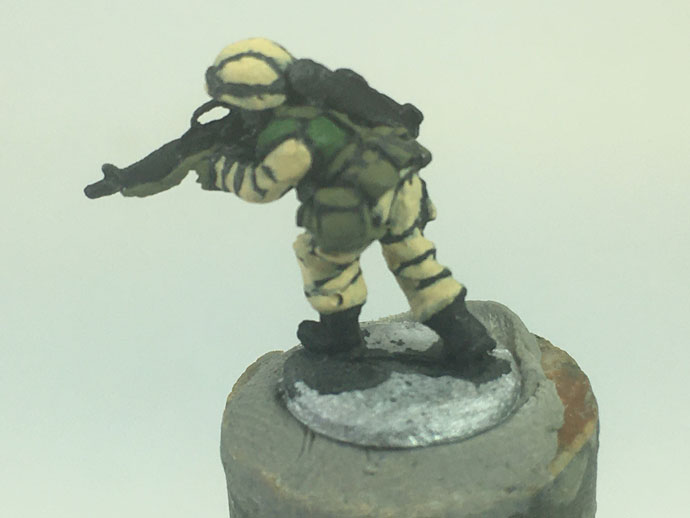
The next step is to add cloud like blotches of Beige Brown (875) on both the uniform and the body armour. Don’t go too far, try and leave plenty of the original colours and remember those seams and joints.
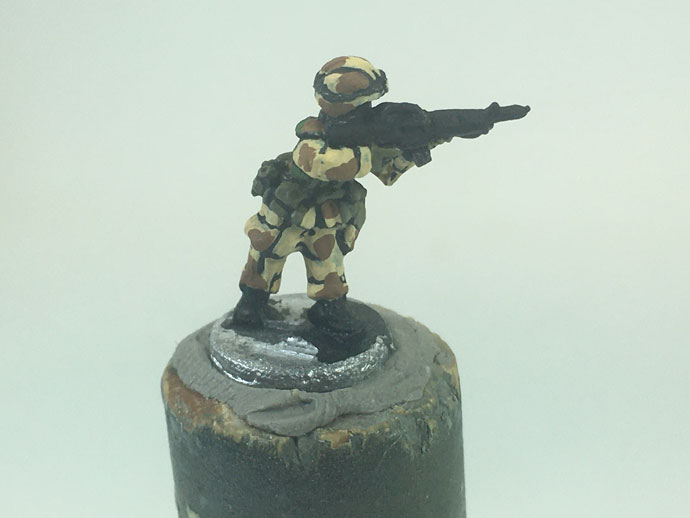
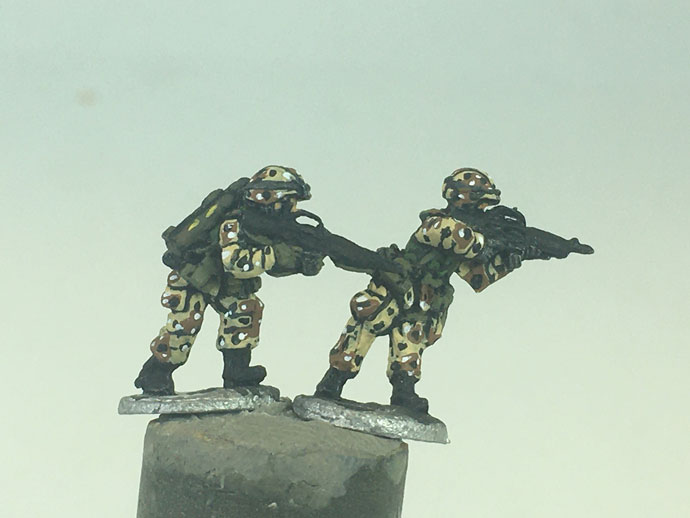
Now we get down to the trickiest part, the dots and stripes! Using a #00 sized brush I add dots to the uniform equally on the sand and brown portions, again don’t add too many as it’s all too easy to fill up the space and loose the overall effect – plus it takes longer the more dots you do!
Once you’re happy with the dots add the stripes on the body armour portion of the figure. I try and use “Y” or “V” shaped strips running on the edge of the brown to green edges. This can also be a good time to do any edge or joint tidying up with the black paint out and a fine brush in hand.
Continuing with the dot theme I go to the white dots next. They show up best against the beige brown blotches but I still put a few on the sand areas as well. I try to sometimes superimpose the white against some of the black dots for some extra colour pop.
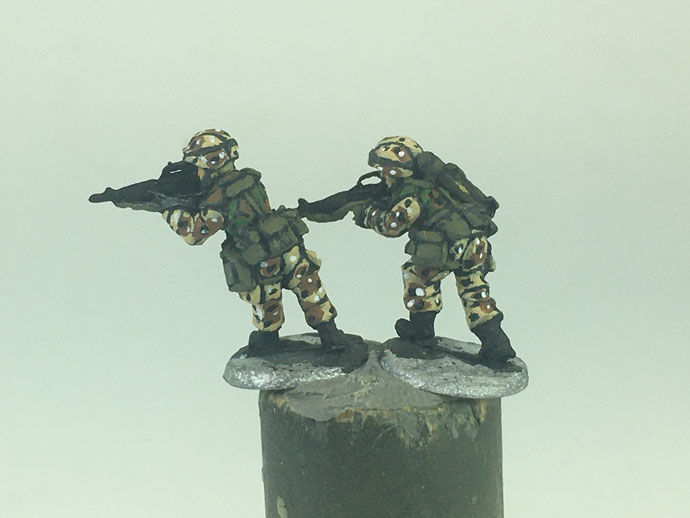
Finally, for the body armour I go back to the Dark Sand colour and add the same type of stripes I did previously with the black. This time I try and cross over the black stripes where possible to get more of a colour pop again.

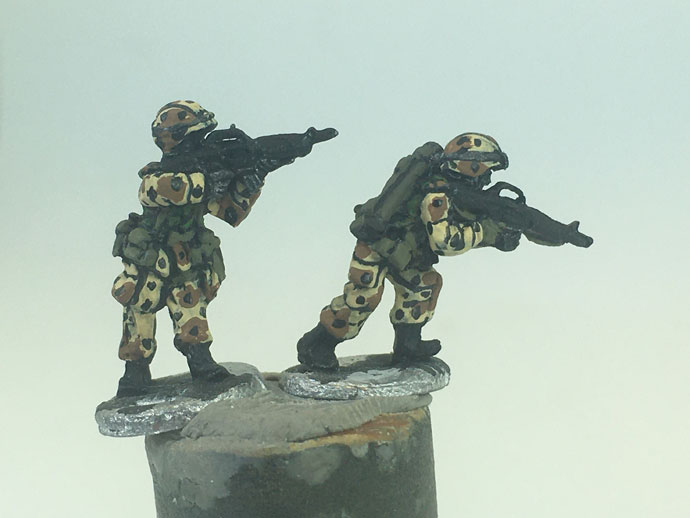
Once I’m happy with that I finish off by adding the face flesh colour, paint any equipment like LAW or Dragons etc in Olive Drab (887) with some fine yellow lines added for the instructions text and finish off by adding a dry brush over just the weapons, gloves and web gear/pouches with Deck Tan (986) to bring out the detail again separate from the uniform and body armour.
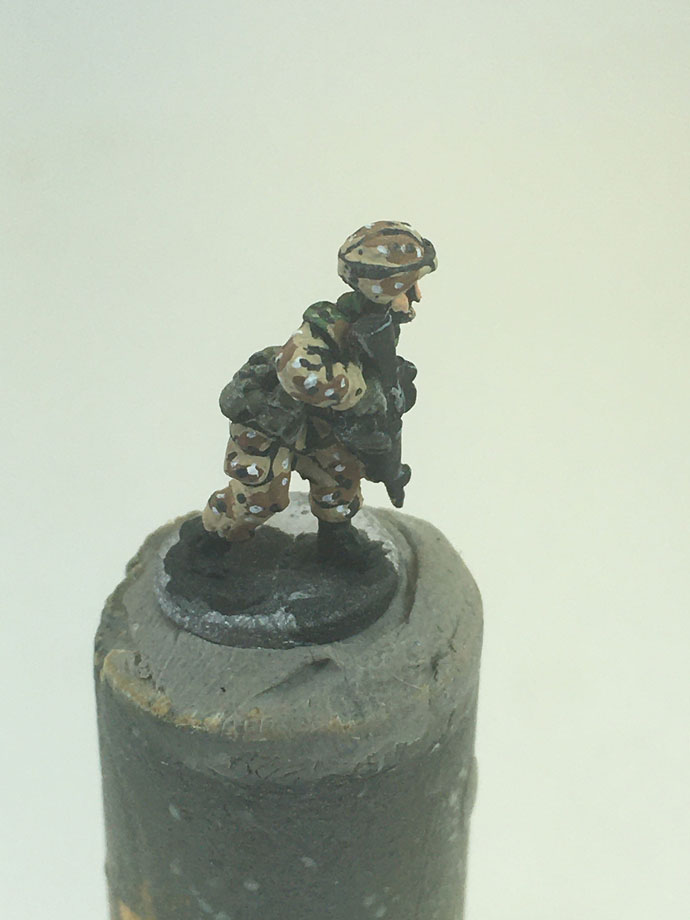

Then before they’re game ready with the desert basing of your choice. I use Acrylic house paint test pot brown mixed with Vallejo pumice gel followed by highlight drybrush with Vallejo Dark Sand.