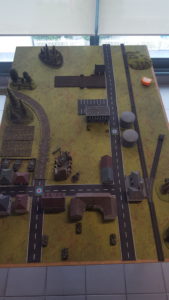
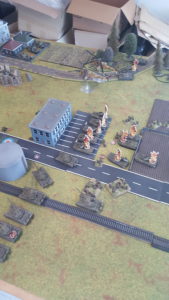
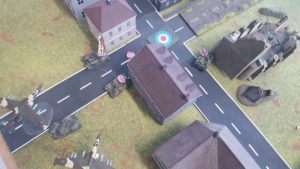
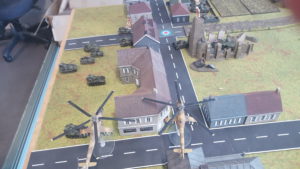
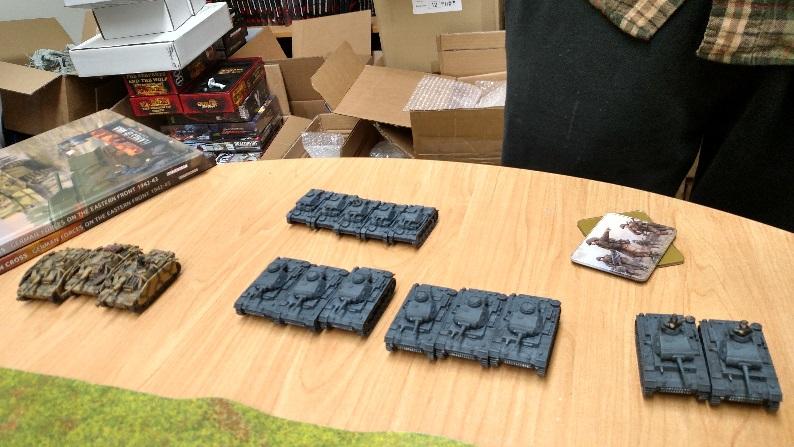
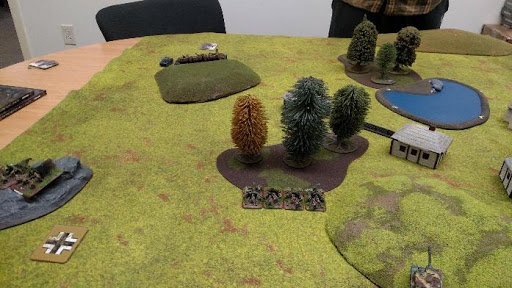
Chris and Wayne go toe to toe in this gripping Battle Report… This is one action packed battlefield with both factions prepared to sacrifice all for the win! Tune in 11:00 AM PST 15th November for the Dramatic LIVE Conclusion!
Tag: Battle Report
Bradleys Hold The Line?
With Nick Azzaro (and Brandon and Lonnie)
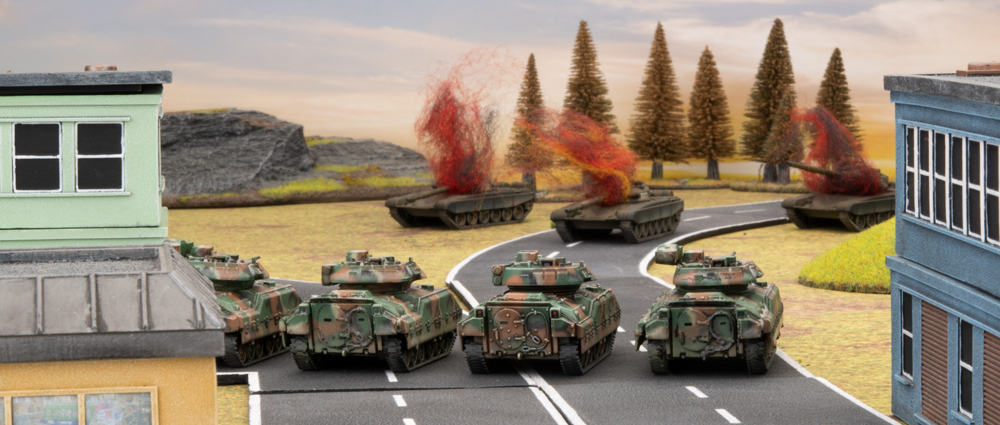
The stage was set for a confrontation outside a small town. The US forces had occupied the town prior and were dead set on defending it from the Soviet interlopers. The buildings would provide cover for the Americans as the hills and valleys outside the town would help mask the Soviet advance. As the sun rose over the small town, shots rang out.
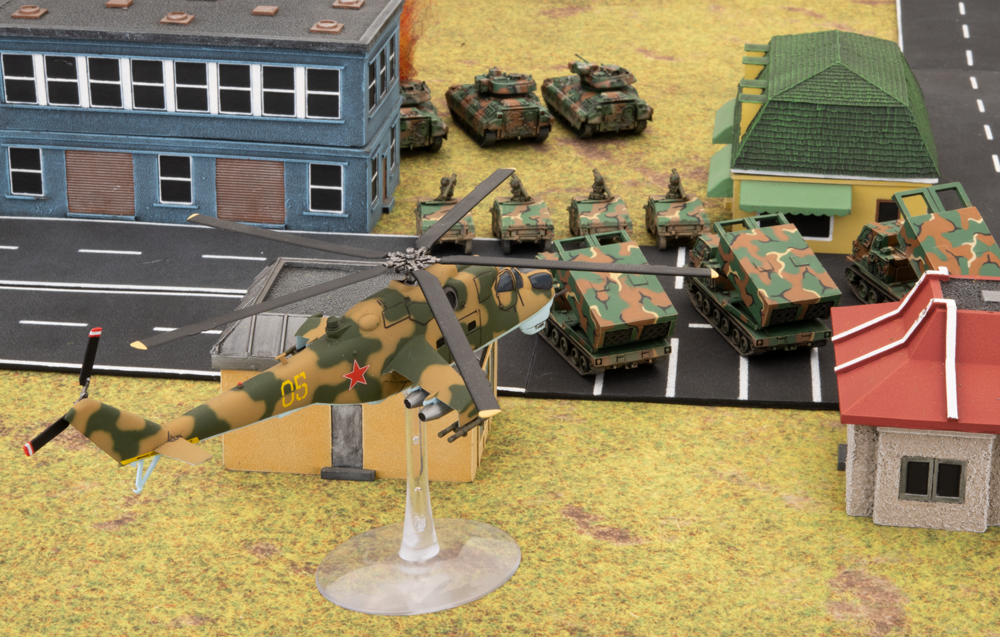
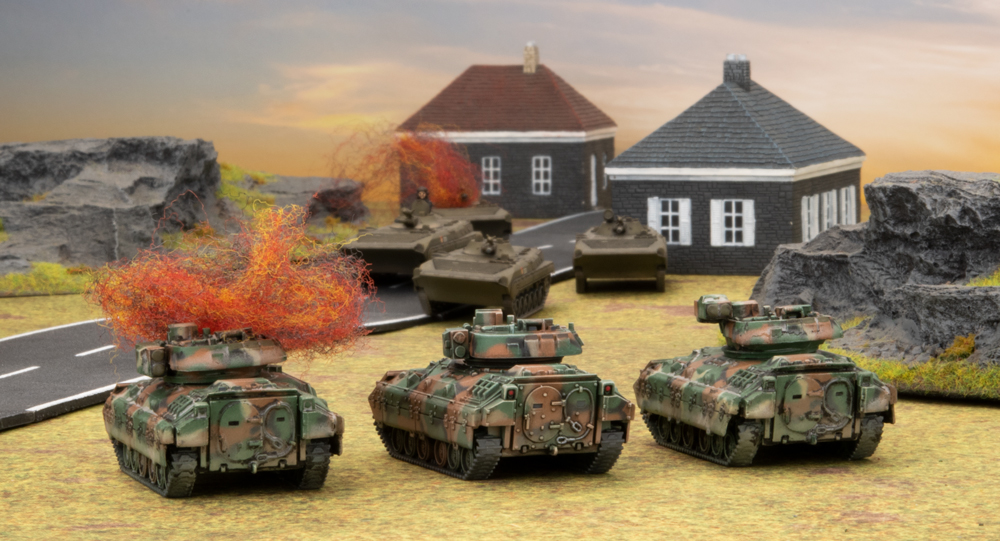
Brandon’s American list hinged on the new Bradley. The appeal is that for a relatively low points cost, he can bring to bear a large amount of firepower in the form of their TOW-2 missiles. Even in this smaller 50 points game, Brandon was able to bring eleven M2 Bradleys, across three platoons in addition to his Combat Team HQ, using the M2 Bradley Mech Combat Team formation. He fleshed out the rest of his list with three MLRS Rocket Launcher Batteries and four HMMWVs with Stinger AA missiles.
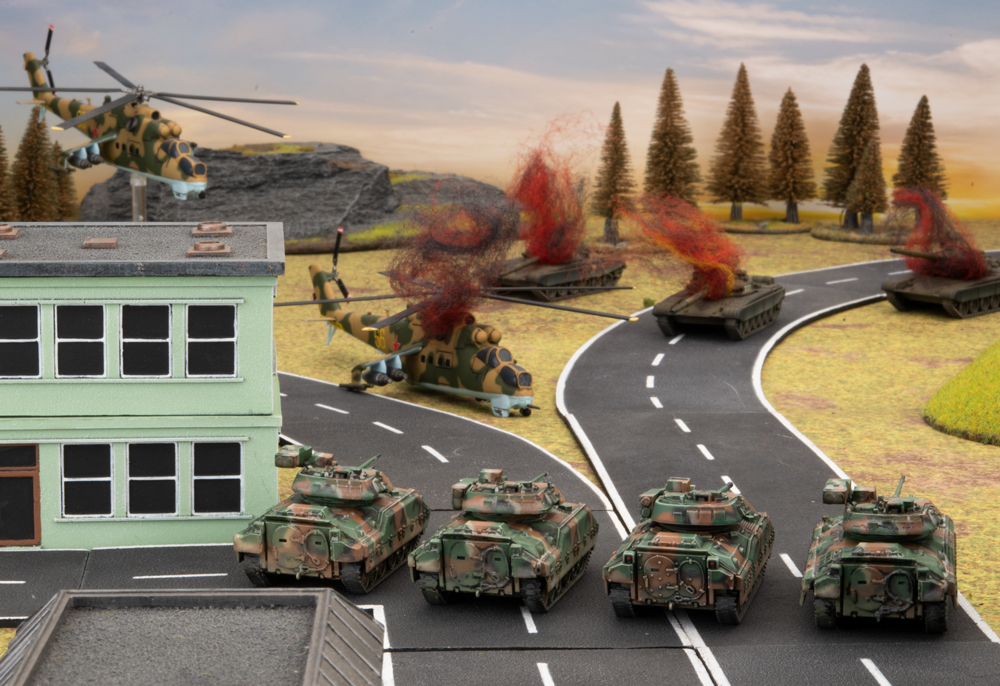
Lonnie brought the Red Thunder with a Soviet list utilizing the T-72 Tank Battalion. As such, he had his Battalion HQ T-72 accompanied by two additional companies of four T-72s each. He rounded out his forces with a small BMP-1 Motor Rifle Company and two MI-24 Hinds.
The scenario would see Brandon defending the small town from Lonnie’s Soviets in a scenario of their own devising. (With a late game surprise element.) Brandon deployed his Bradleys in a defensive perimeter around the edge of the town protecting his more vulnerable HMMWVs and Rocket Batteries in the interior, along with his HQ Bradley. Lonnie’s deployment was mostly along the long board edge opposite from Brandon’s perimeter as his plan was to overwhelm Brandon’s deadly yet somewhat softer Bradleys with the firepower from his T-72s. His Hinds would start off the board and his BMPs, filled with eager Soviets, would begin further back in his line. However, with Brandon winning first turn, this plan was not to be.
Brandon kicked the game off with a bang. Having sufficient fields of fire, he would strike first and hope to cripple any counter attack before it could form. All his Bradleys opened fire with their TOW-2 missiles to great effect. His Bradleys closest to the T-72s blasted three of the Soviet tanks off the table with the last remaining fleeing instead of facing another barrage. Brandon’s middle platoon of Bradleys only had line of sight on the T-72 command tank and made short work of it as well. The last platoon of Bradleys had the least amount of luck only being able to destroy a single T-72 leaving three of his comrades in the hunt. The American luck would continue to fizzle out as the MLRS batteries were unable to range in on the distant BMPs. However, it was a bloody and eventful turn seeing the Americans gain a strong early advantage that the Soviets would have to work to surmount the rest of the game.
Having taken a browbeating in the American turn, the Soviets were looking to get some modicum of revenge. But first they had to shore up their defenses. Lonnie disembarked his infantry from his BMPs into the cover of a shallow ravine and then shuffled the BMPs out of sight for their own protection. The remaining three T-72s would then advance with the cover of some escarpments on their right. Finally, the Reds would hope to change their fortunes with the arrival of the Hinds. The Hinds went straight to their 57mm UB-32 rocket launchers and looked to drop a salvo on a large portion of Brandon’s Bradleys. The Bradleys would fire their Bushmaster guns in vain prior to the barrage. However, it wouldn’t matter in the end as the Soviets failed their firepower rolls and left the Bradleys unharmed. The T-72s would have slightly more luck firing downrange at the central Bradleys and destroying one. But this was not the counter punch the Soviets had hoped for. They would now need to survive another turn of American shooting.
The American turn began with the HQ tank moving into firing range of the Hinds and the HMMWVs trying to get a better angle on them as well. Both the HQ tanks and the HMMWVs fired at the Hinds to no effect. The Bradley platoon nearest to the Hinds unleashed their Bushmaster guns at full tilt and managed to down one of the menacing flying tanks, however. The Bradleys on the far edge continued their punishing barrage on the T-72s. But due to some unfortunate dice, only one T-72 bailed out and the remaining two were unscathed. The rocket batteries tried to finish off the T-72s but failed in this task. The Soviets were down but they were not out and it was again their turn.
The crew of the T-72 remounted and the company advanced. The infantry and now-empty BMPs also closed the distance. The single remaining Hind moved right into the thick of the American defense in hope of punishing some of the softer interior targets. Its plan was thwarted however; as it was about to fire, the unit of Bradleys that had fired out of turn before turned their sights on it. It was blown out of the sky before it had a chance to make a difference. The T-72s, in a desperate bid for revenge, fire on the Bradleys on the far end and manage to destroy one, thus securing a small victory in an otherwise troubled advance. But it was about to get more troubling for the Reds.
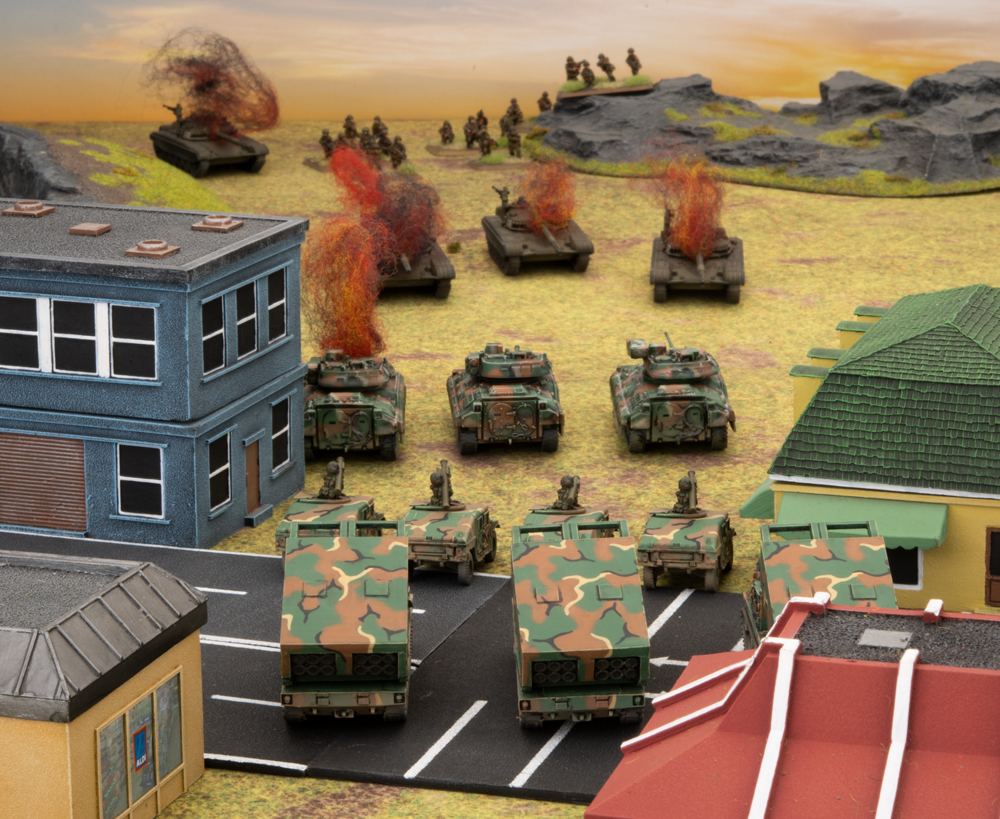
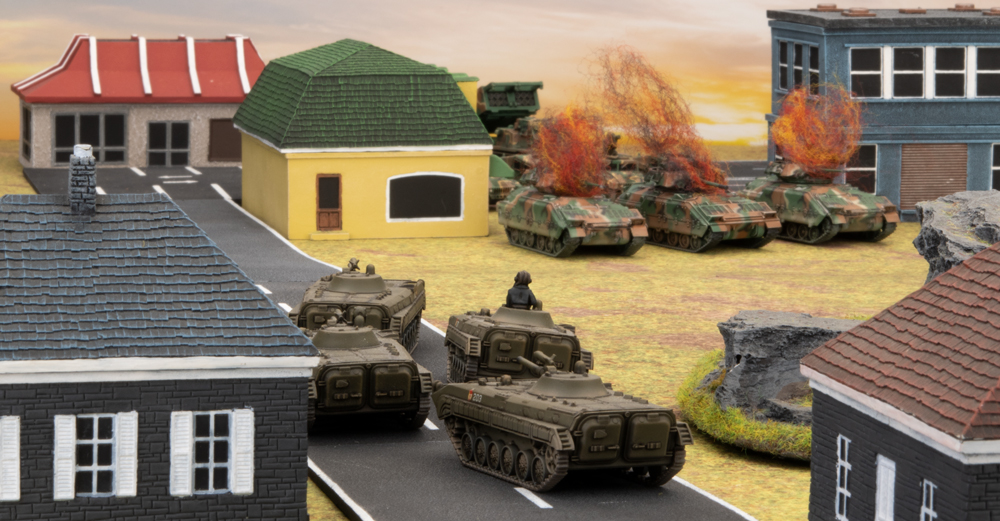
The fourth American turn would prove less bloody purely because there were hardly any targets left to destroy. The Bradleys that had dealt with the Hinds moved out of sight beyond the escarpments and the others on the far side destroyed one of the remaining rogue BMPs. The MLRS fired on the BMPs as well but only managed to spook them. The turn shifted to the Soviets, though the writing was on the wall.
In a last defiant effort, the infantry fired off their RPGs over the escarpment at the cost of a single Bradley and the BMPs tried and failed to destroy another. This ended up being the last turn as Lonnie conceded a gentlemen’s victory to Brandon instead of facing down a hail of TOW-2 missiles.
In the end, the Bradleys proficiency for destruction in the first turn left Lonnie’s Soviets an insurmountable climb. The constant pressure the Bradleys provided just wouldn’t let the Soviet advance get enough steam to crack the perimeter. Truly, the Bradley has demonstrated its efficiency and may be a contender for most aggravating transport to face, up there with the BMP. It was most definitely on the Bradley’s back that Brandon’s American victory was earned.
Happy 4th of July.
~Nick
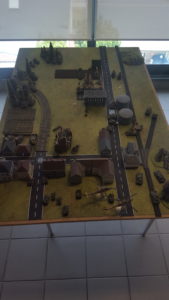
Phil v Wayne: The Defence of Shellerton Scenario
with Phil Yates and Wayne Turner, Battlefront NZ
To celebrate launch day, Phil and Wayne had a little scuffle with the Studio army collection. The scenario was the classic Defence of Shellerton, with Phil playing British (of course) and Wayne taking the lead elements of the Soviet invasion force.
Phil
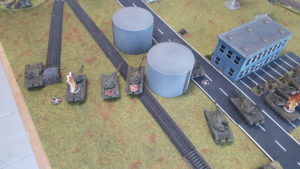
When I was ordered to hold Shellerton against the lead Soviet element, I was moderately surprised as I’d wargamed exactly that situation in training. So it was with a sense of deja vu that I deployed my forces. I put my attached platoon from the Irish Guards forward in the factory by the fuel tanks as a bastion to slow the enemy advance down the main road, placing hasty minefields on their flanks to delay any attempt to bypass them. With only one troop of Chieftains immediately available, I placed them in the farm on the left flank where they had an excellent field of fire while blocking any advance down the side road. I was surprised to find the church wrecked by an apparently random bomb, but pleased to take advantage of the cover that game me for my own tank. The artillery deployed behind the town and my Swingfires remained in reserve.
In front of the factory bastion, the killing ground was perfectly executed. The pre-planned artillery bombardment cut down the advancing infantry and destroyed half-a-dozen BMPs, while my Chieftain troop finished off the rest. The infantry even scored a couple of T-72s with their Charlie-
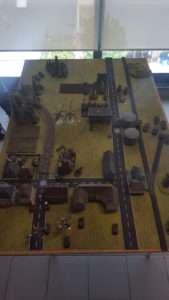
It was perhaps fortuitous that I had left my Swingfires in reserve as long as I did. When they moved up into firing positions at the rear of the town, their ambush was ineffective and quickly attracted most of the fire that had been directed at me. I lost one of the lightly-armoured vehicles to a strafing run by aircraft, and the other two were damaged, but remained in action.
Around this time, the battle started to swing. The long awaited Blowpipes arrived, promptly shooting down one of the aircraft harassing me and driving them off, and one of my reserve Chieftain troops showed up to reinforce the right flank where the Soviet tanks had finally broken through my minefields, flanking both my position and the infantry bastion. Their accurate fire quickly destroyed several Soviet tanks.
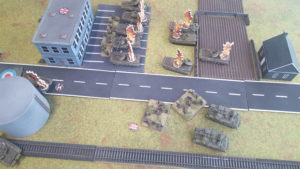
The sustained heavy fire had knocked out radio communications with the Irish Guards early in the battle, but as they were holding out well, that seemed like a minor problem, However, with the loss of every visible tank and my position being covered in a pall of dust and running low on anti-tank ammunition, it appears that the Guardsmen thought themselves the lone survivors, so when the Soviet tanks passed through their minefields with minor losses and overran their flanking anti-tank position, while the fire from the front had not abated as the SP AA guns had moved to close range, it appears that they felt they had little option but to surrender after a hard-fought battle.
Having lost my forward bastion and with the Soviet tanks advancing into Shellerton itself, my own position was overrun, and a fighting withdrawal to the next line of defence was ordered. The Battle for Shellerton was over.
The good news is that I hear that the replacements for the Chieftains we lost are likely to be the new Challengers. With their much improved front armour and engines, I doubt that I would have lost the battle. Even the heavy aircraft missiles would have had trouble penetrating them!
Wayne
Even though I worked on adding the new material to World War III: British, the original book, Iron Maiden, is really Phil’s baby, as are the scenarios. It seemed right and proper that Phil should command the British, while I took the dastardly Soviets.
As luck would have it the Soviet forces from the scenario is similar to what I have run in the past with my own Soviet force, so I had a good idea how it would handle.
I simply planned to push hard, down one flank while tying up resources on the other flank. The forward of the two objectives was on the sealed road running parallel to the railway line on my left, while the approaches to the further objective on the right provided more concealment, but was well protected by four Chieftains. On the left flank Phil had placed his dismounted Mech Platoon in a factory building and a string of minefields on the open ground around it.
My BMP-2 Motor Rifle Company and seven of my T-72s would attack the Mech Platoon and take the building and the objective behind it. On the right my other six T-72s would tie up the Chieftains, keeping them from interfering in the left-hand attack. I’d use my Hinds and SU-25 to also concentrate on the Chieftains and any reserves that may arrive.
What happened?
I started the battle as planned pushing up on the right to attack the factory building, dismounted my Motor Rifles and moving the BMPs forward to shoot up the Mech Platoon. That first round of shooting did not go well. I ended up rolling over 30 dice for just two hits. I didn’t kill a single team, let alone pin them down. On the other flank half of my T-72s failed cross checks and I wasn’t able to engage the Chieftains heavily. My Hinds failed to kill a tank and my SU-25 didn’t even turn up.
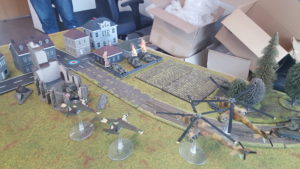
Phil’s firepower continued to prove effective, knocking out all nine of my BMP-2s in the first turn, and grinding down my Motor Rifles in the subsequent turns with his Mech Platoon and Abbot artillery. When he finally got his Swingfire anti-tank missile carriers in turn three the T-72s on the right began to suffer.
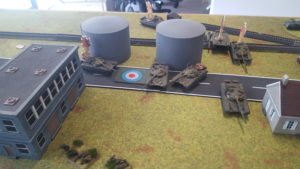
Meanwhile on my left, I pushed into the minefields with my mine plough tanks in an attempt to clear them. I lost one tank and had two bailed in the process. I eventually cleared a gap for my tanks in turn 4, but not before I had lost a T-72 to close-range Carl Gustav anti-tank fire from the factory.
Phil had brought on his Blowpipes and I lost SU-25 to them during an anti-tank missile run on the Chieftain formation commander.
Conclusion
Considering how the game was panning out to that point, it was an unexpected result. However, it does show if you keep at your plan, it can still sometimes work in spite of your terrible dice. I feel another turn and Phil’s fresh Chieftain Troop would have cleaned things up, but pushing hard won the game before that could happen.
Victor v Wayne
with Victor Pesch and Wayne Turner (Battlefront NZ)
To round out our D-Day: German coverage, Wayne and Victor threw down their expertly-painted forces on a stunner of a table and duked it out. There can be only one winner- check it out here…
Setting Up a Battlefield
with Alex and Patch
Check out my suggestions for setting up a table so you can have dynamic and exciting battles whenever you play Flames Of War. If you like the terrain I used here you can pick your own sets, and more, up right here…
Bloody Omaha Aces Campaign Game
with Andrew, Ashleigh, and Luke
Bloody Omaha Mini Campaign,
Game 1 Andrew Vs Ashleigh
Battle Report by Andrew
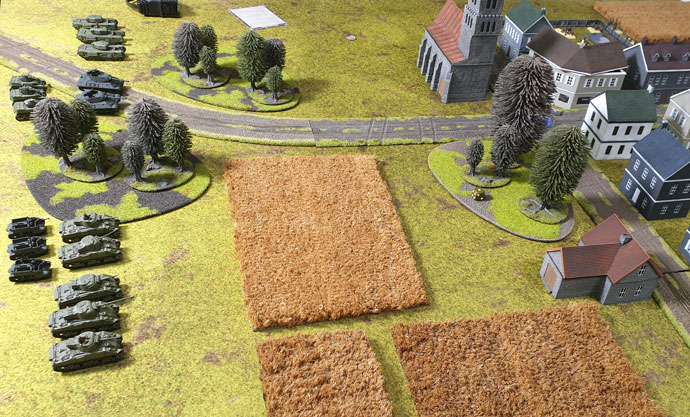
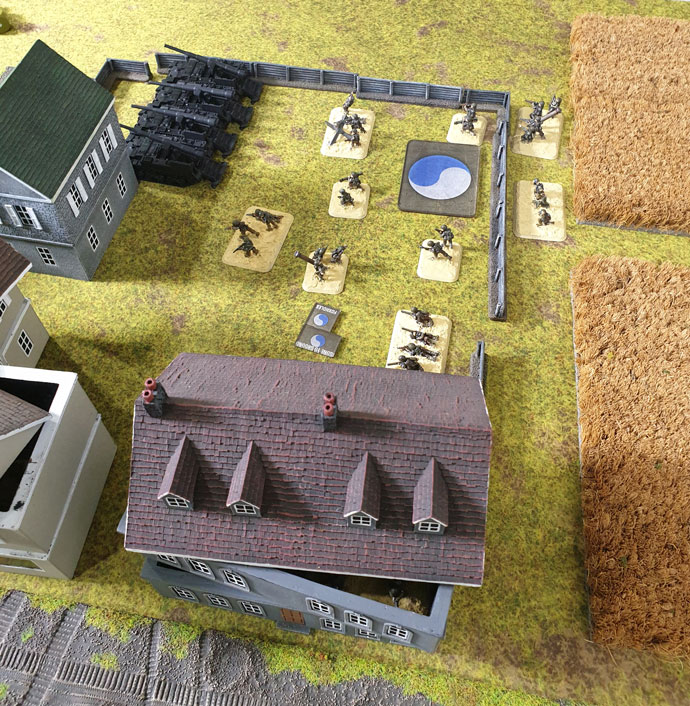
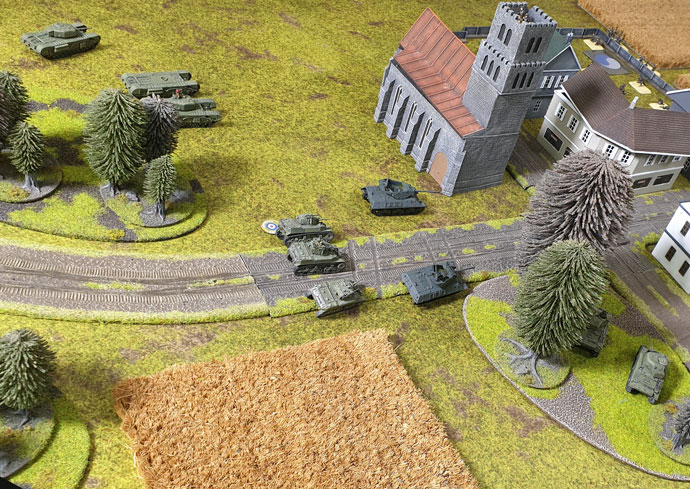
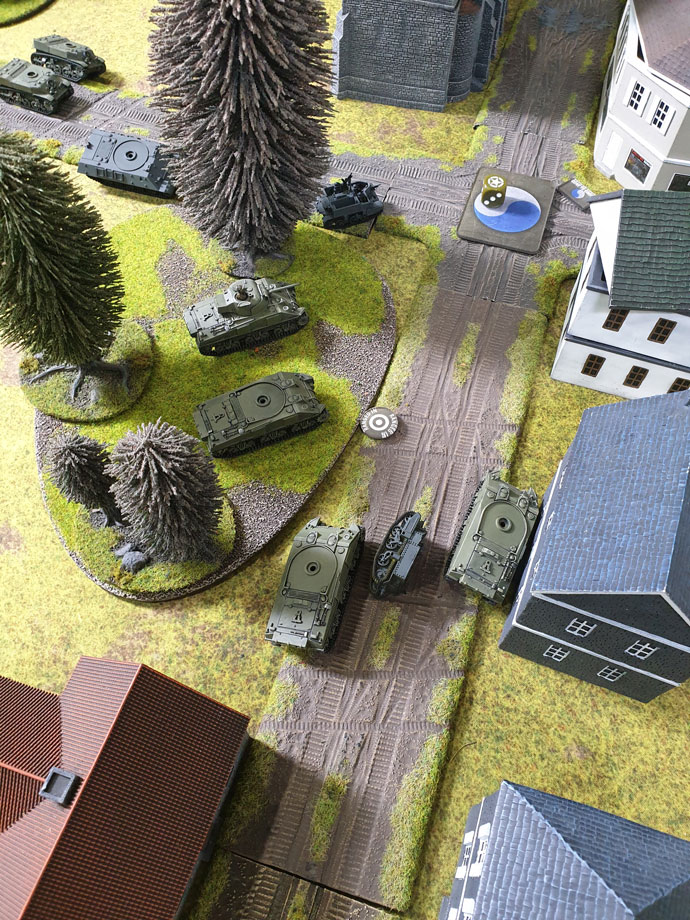
Today we decided to play a quick day long Bloody Omaha Ace Campaign! The plan was to use the Bloody Omaha deck to play three games, using our hobby league 50 point armies, playing among the NZ league members that I could. We decided to roll off the first mission in the campaign as we only had time to play three games. The Germans won the roll so I started my first game against Ashleigh (she was playing for the Germans). Her British army consisted of nothing but armor, a nasty match up for my 50 point 29th infantry division Assault Company. We were both running our 50 point hobby league armies.
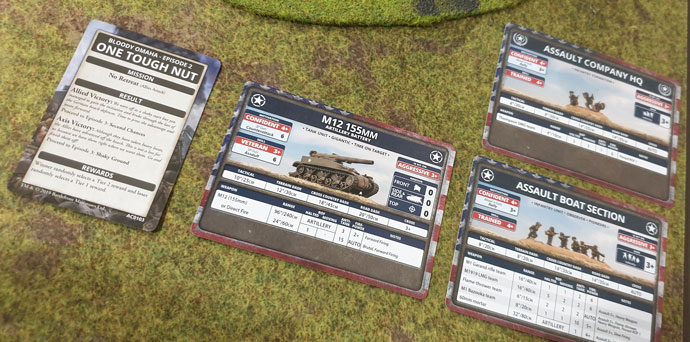
Setting up the game we were playing the Episode 2 card, One Tough Nut. This mission is No Retreat! Since both Ashleigh and I are playing Allied forces we rolled off to see who was defending, luckily I am defending. I quickly choose to defend the city thinking that was my best bet.
Bloody Omaha Mini Campaign,
Game 2 Andrew Vs Luke
Battle Report by Andrew
I also got to play in game two, this time I am playing against Luke. He brought his panzer IVs and again I was facing an all tank list.
I decided to do my normal reserves at 50 points for this match up even though I didn’t get to put my 155s in ambush. I stuck my two infantry units around the objectives and my 155 in the back comer prepping for an artillery strike.
Luke places a single Panzer IV unit in his deployment area and I was suddenly filled with hope, I only had to knock out one tank unit, then I could get to his objectives with my reserves!
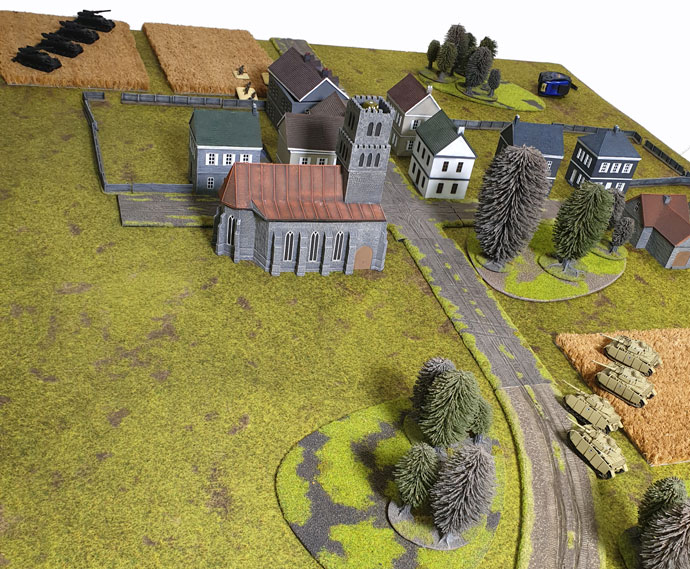
Turn one nothing really happened on turn two I saw that Luke was rushing for my 155s. He moved behind the church making hard for me to direct fire at him. I instead fired on him with infantry I had in the town, they moved forward through the buildings and opened up on his tanks, doing nothing. “Well”, I thought “That’s my artillery dead next turn”.
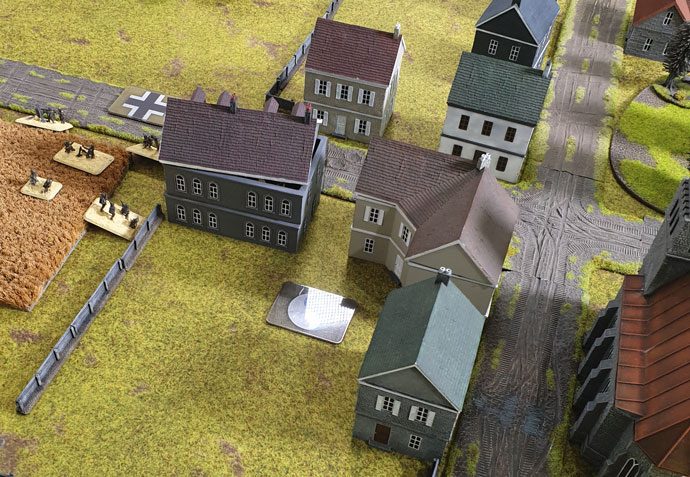
Next turn I only lost two of my 155s, a bargain my 2 artillery for two Panzer IV tanks. On my turn I was able to bring in an infantry platoon from reserve, and they killed the last two tanks! Hurrah, now to deal with the rest of Luke’s tanks coming in from the other side of the table!
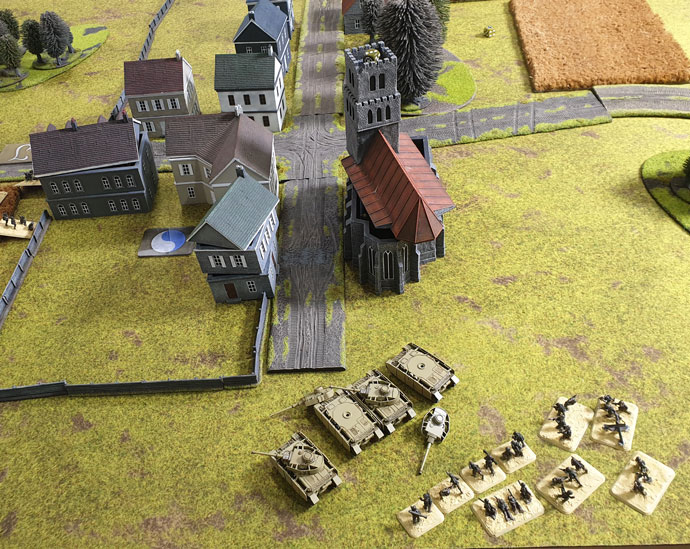
On my turn I moved one of my infantry platoons to reinforce the forward objective and got one more reserved that made a beeline to Luke’s table edge getting 2 turns away from capturing the objective!
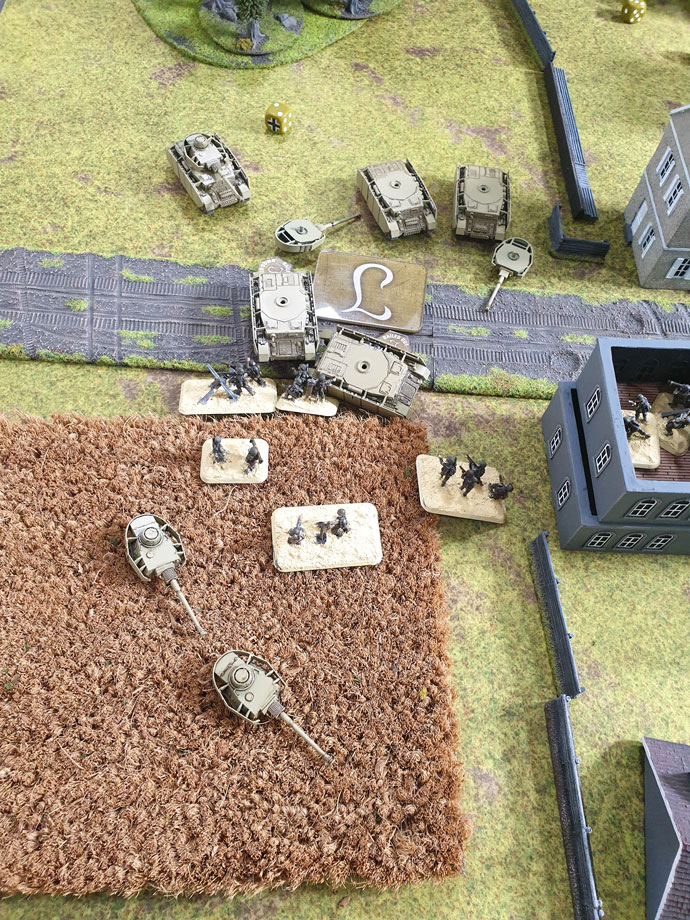
Feeling the pressure Luke assaults my infantry and two of me bazookas bail two of his tanks on their way in. He misses, my bazookas miss on their assault. Luke fails his counter assault and I take his two bailed tanks! His company command moves in to assault and my bazookas straight up killed both of Luke’s HQ tanks, winning me the game, and earning themselves a nice medal to boot!
FUBAR Battle Report
with Wayne and Andrew
Wayne and Andrew fight on the beaches of Normandy.
Dave vs Brian – T-34s vs Panzers Battle Report
with David Griffin
Dave’s Forces:
6pts T-34 HQ
23pts T-34 Tank Company, 3x T-34
13pts T-70 Tank Company, 10x T-70
30pts SU-152 Heavy SP Battery, 2x SU-152
14pt Light Tank-Killer Company, 4x Long 45mm
9pts Heavy Tank-Killer Company, 2x 57mm
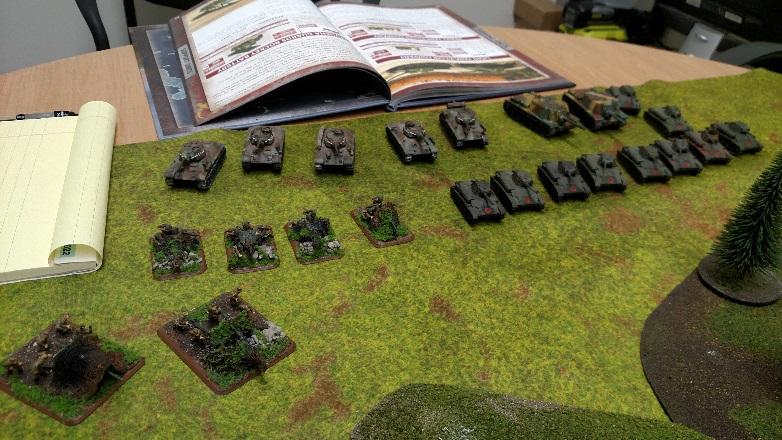
Brian’s Iron Cross Panzer III Company with Ghost Panzer Support
16pts Panzer III (Uparmoured) Tank Company HQ, 2x Panzer III
15pts Panzer III Tank Platoon, 3x Panzer III (short 5cm)
15pts Panzer III Tank Platoon, 3x Panzer III (short 5cm)
10pts Panzer II Light Tank Platoon, 5x Panzer II
39pts StuG (late) Assault Gun Platoon, 3x StuG (late 7.5cm)
We decide to try out some of the new lists and threw together an interesting Free For All. I positioned the SU-152 in the middle with both AT gun groups on the left in cover facing the PzIIs and StuGs, both tank groups on the left facing his PzIII tanks.
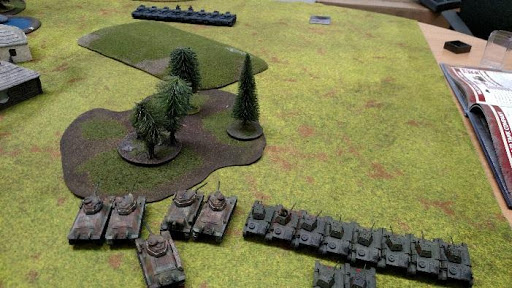
The 45s then blitzed to the side and engaged the Pz IIs killing one and bailing one. The T-34s killed a Pz III in the Hq and the T-70s on the right moved forward to get side shots but missed entirely. My SU-152s moved to the left side and engaged the Stugs, missing both shots.
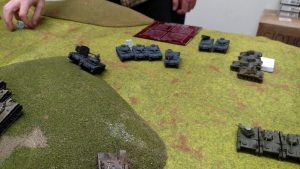
Needless to say, with my luck, my SU-152 ran away, leaving two poor 45s all by themselves on the flank. Time to try to kill some platoons and break the company. The 45s kill a Pz II and Bail another while the T-70s get in and bail one of the HQ Pz III. The T-34s move forward and kill two Pz IIIs in the send platoon. Return fire is substandard this time, but succeed in bailing all T-70s.
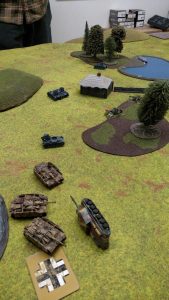
8-1 victory to the Germans. It will take some work to get used to the overworked issue on all the units, although the better save on the AT guns are a relief and kept them in the fight.
I don’t think I will let Brian use my dice again.

