After a busy week last week managed to get a little build time over the lunch breaks.
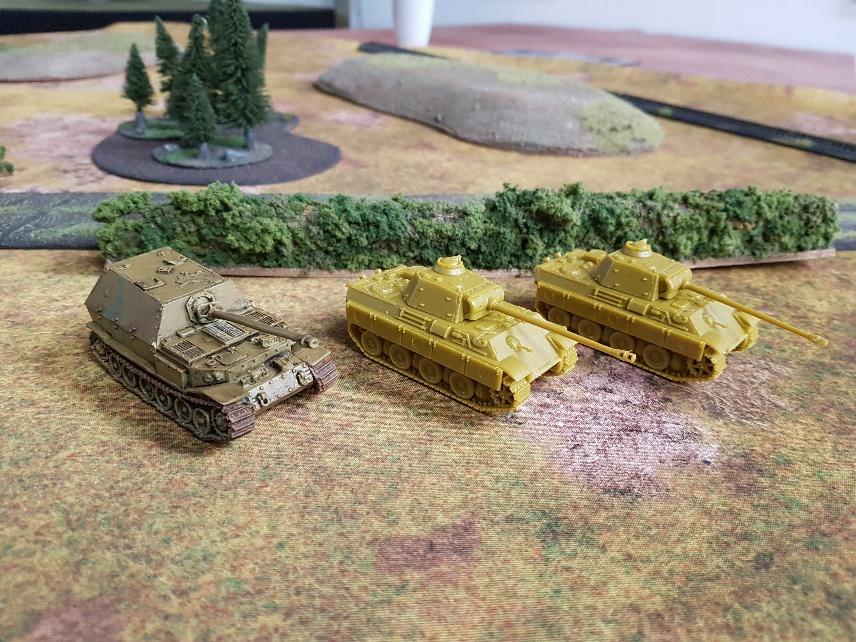
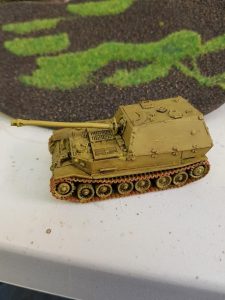
So up first are the armies big guns the Ferdinand and Panthers. I like to have a fairly dark scheme to my army so I start my undercoat with Grenadier Green before the base coat of Panther Yellow.
Next up is a wash and building the Panther Yellow back onto the tank before the camo and decals and then the weathering. I am a going for a dirty battle-worn tank rather than factory fresh.
I am the first to admit that my painting skills rank as mediocre at best. However, the results which I manage to achieve against the battles of children, work and The Wife are more than acceptable for tabletop games. I’m happy with the results and what it looks like, and whilst not ever going to win me any awards, the schemes and methods I use allow me to have a completely painted army to game with, in not a lot of time. Which is key when having so many models to paint with an army such as Soviets!
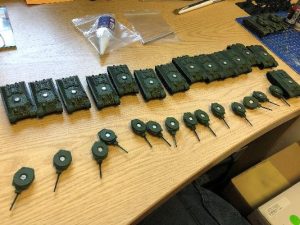
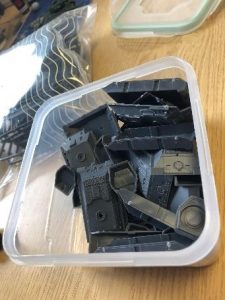
I might be starting to regret taking so many tanks in my list… There was so much clipping and gluing.
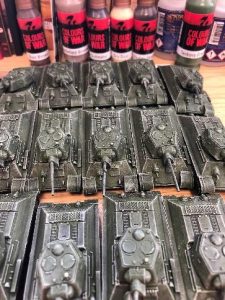
Tanks: Step 1 after assembling the models and spraying them with a primer, I spray the models again with Tankovy Green for the hulls and turrets. I highly recommend leaving the tracks separate to the hull, as it’s easier to paint the tracks black now and then attach them later rather than risk getting excess paint onto my nicely sprayed, even-tone hulls, when I’m painting all the nooks and crevices.
Step 2 I wash the whole tank and road wheels on the tracks with Zhukov Shade, ensuring that none of the wash pools on the tank, but gets into all the details.
Step 3 Using Tankovy Green from the bottle, I use a mixture of drybrushing and layering to not only reduce the darkness of the wash but it serves to highlight the edges of the tank, and any straight lines to make them ‘POP’ Then, using Tankovy Green from the bottle, I paint the road wheels, ensuring that I don’t get any green on the tracks.
Step 4 is to apply decals anywhere you want them on the tank. Here I have applied them to the turrets. Whilst these are drying I used Boot Brown on the tracks to give them the illusion of being worn and used, over the black base coat.
Step 5 over the Green highlight, as well as the decals to help them blend onto the paintwork, I use Dry Dust as an extreme highlight on the top of the hull and the turret to create an instant bling to the tank.
Step 6 is to paint the exhausts and machine guns Dark Gunmetal. I then drybrush Dark Gunmetal over the tracks, leaving just a little Boot Brown showing through. After the exhausts and MG have dried, I apply a dilute wash of Ordnance shade over them to dull the shine down and create shading on the metal areas.
Step 7 after attaching the tracks to the hull and letting them dry, I complete a final drybrush/a light specking of Battlefield Brown in a random and haphazard pattern around the tracks, road wheels, front and rear of the hull, to simulate road dust and dirt splashes.
Step 8 finally, I use a small amount of delicate drybrushing to simulate cordite stains and exhaust stains on the front of the barrel and below the exhausts, with Black from the Quartermaster’s set. This is just an approximation, not exact, but rather to give the impression of.

 So up first are the armies big guns the Ferdinand and Panthers. I like to have a fairly dark scheme to my army so I start my undercoat with Grenadier Green before the base coat of Panther Yellow.
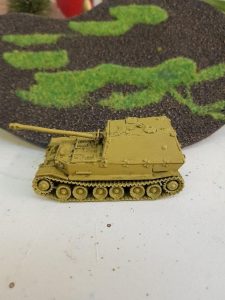
 results which I manage to achieve against the battles of children, work and The Wife are more than acceptable for tabletop games. I’m happy with the results and what it looks like, and whilst not ever going to win me any awards, the schemes and methods I use allow me to have a completely painted army to game with, in not a lot of time. Which is key when having so many models to paint with an army such as Soviets!
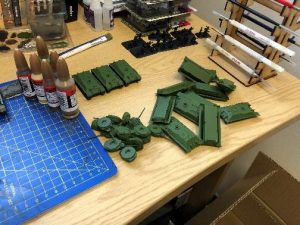 Tanks: