
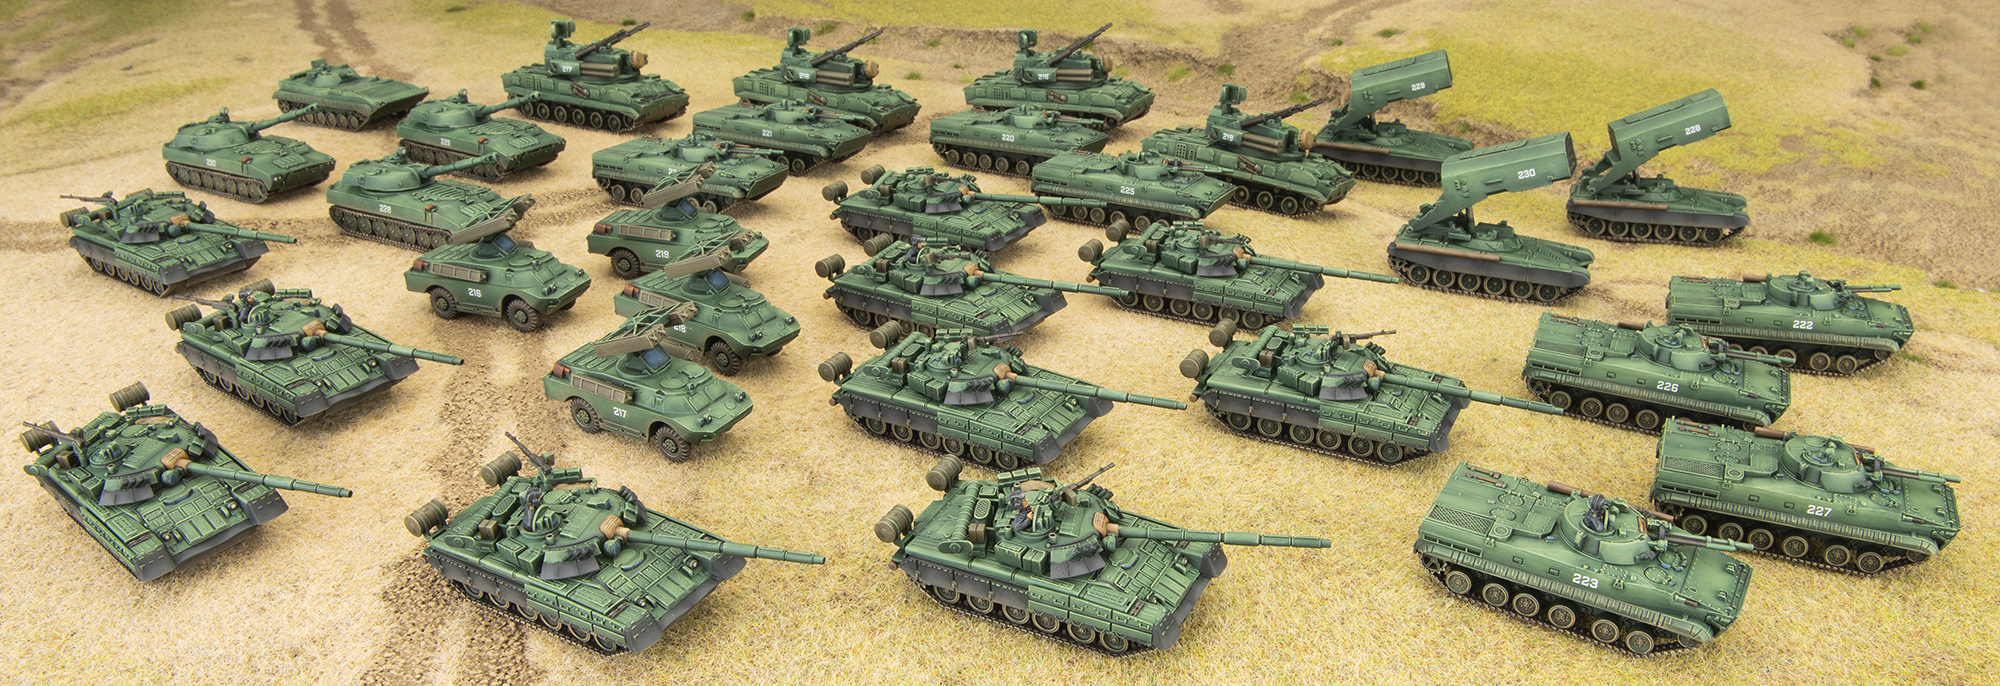
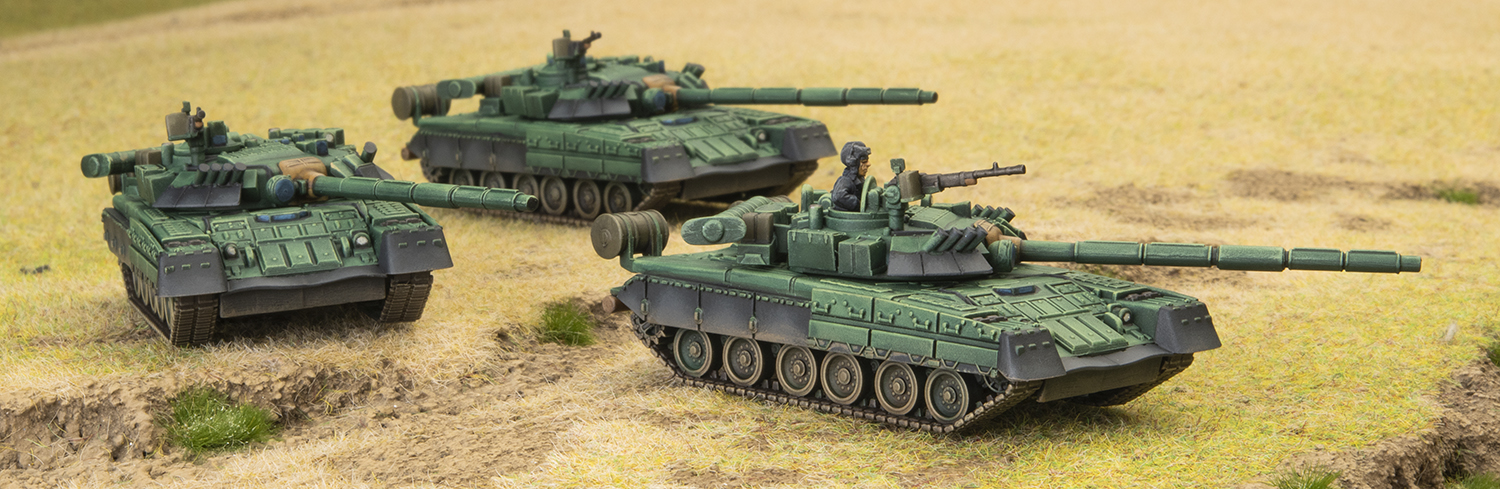
With this force I toiled for a while about whether or not to do camouflage or plain green. There are some really cool camo schemes out there for Soviet tanks, and it was very tempting. However when my army lists started to contain more and more vehicles (tune in for Victors WWIII Soviet list at 3pm) , I settled on plain green to ensure I’d get them all finished in the time frame. But what shade of green?
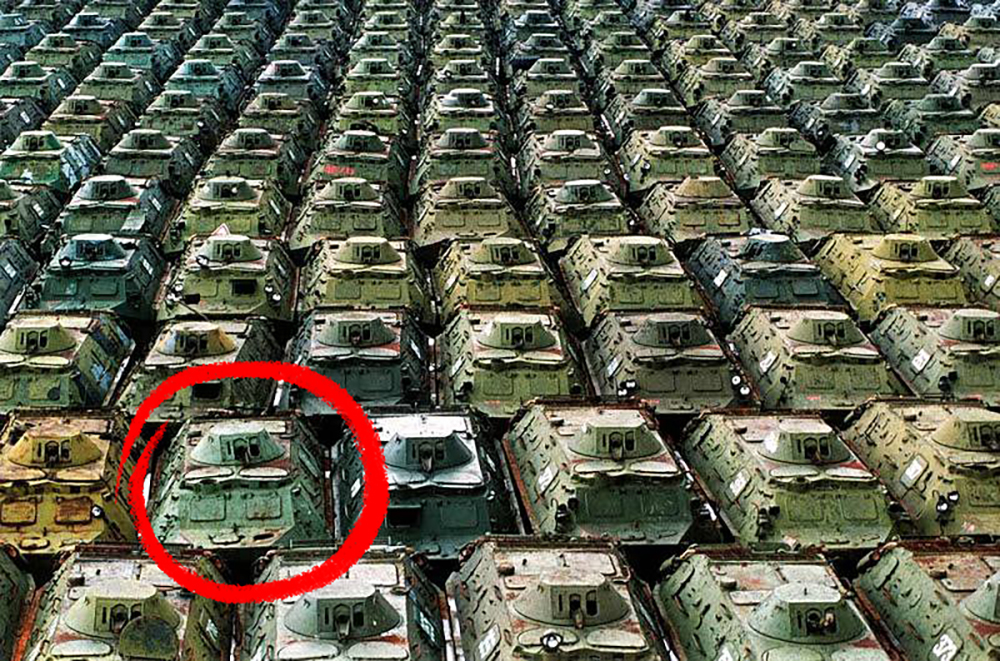
As you will have seen in Chris and Evan’s article (What is soviet green?) there no one green to rule them all. I’ve painted plenty of drab olive greens before, so I aimed for something more vibrant.
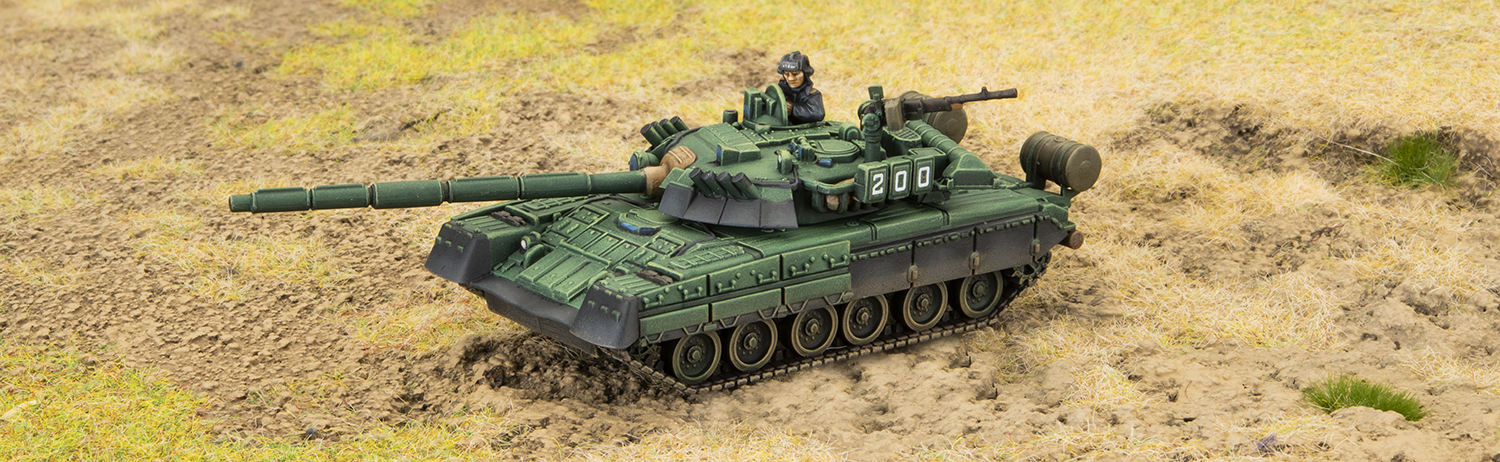
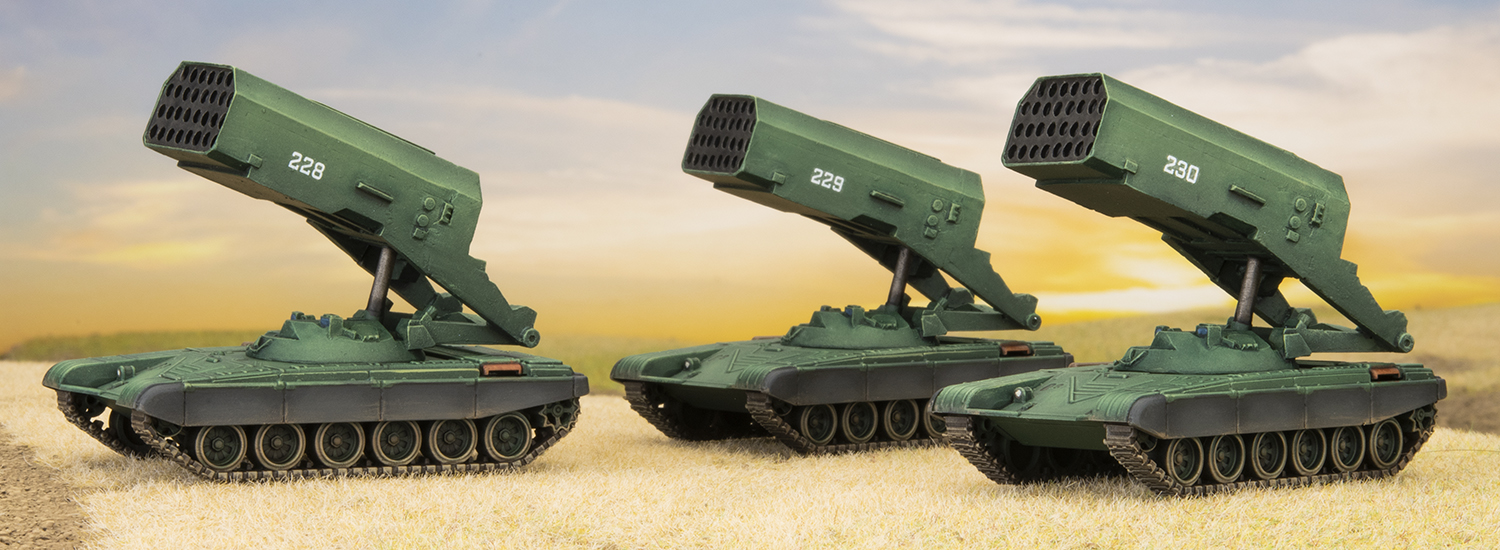
I started by airbrushing a dark green, and then panel fading with a pale green, intentionally going quite light. Next was a dry-brush and a wash to tone it all down, followed by a second dry-brush to bring back the edges. This is a really quick way to get a lot of tonal depth on your tanks quickly.
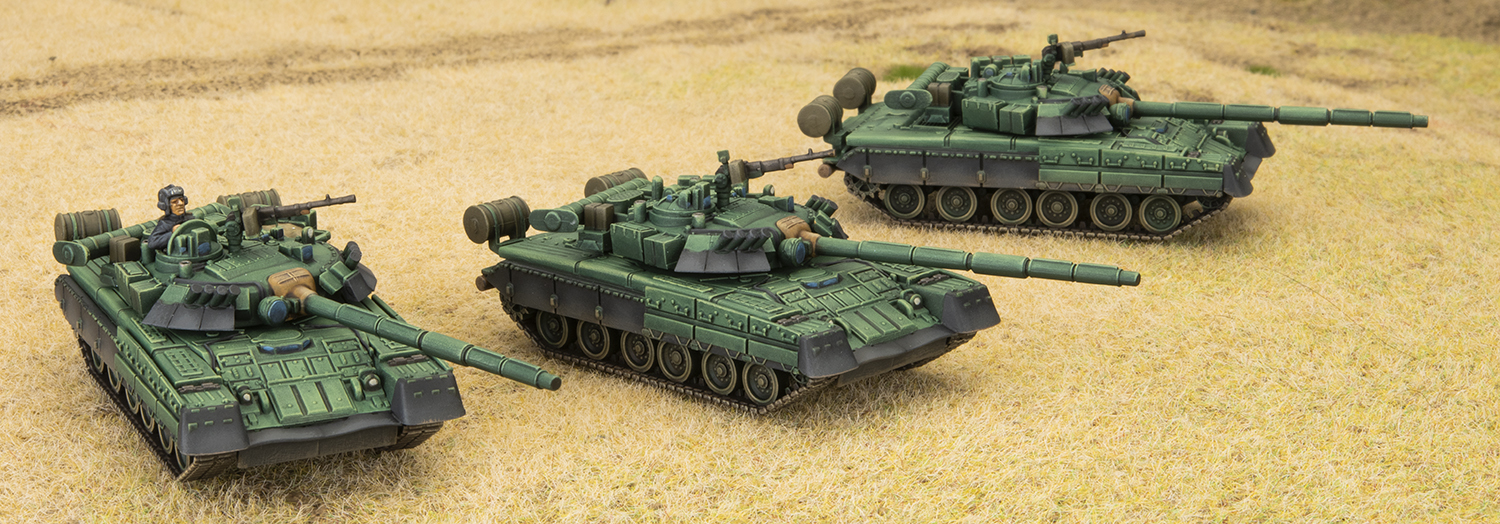
The result is quite an intense green, more towards blue than yellow. It won’t be for everyone tastes, but I’m quite happy with it and it pops on the table.
I chose to paint the rubber parts to add another colour to break up the green. In reality they would likely be painted the same time as the tank, but there are examples with bare rubber. Same goes for the wooden un-ditching logs, tools, and exhausts where paint might have come off and rusted over time.
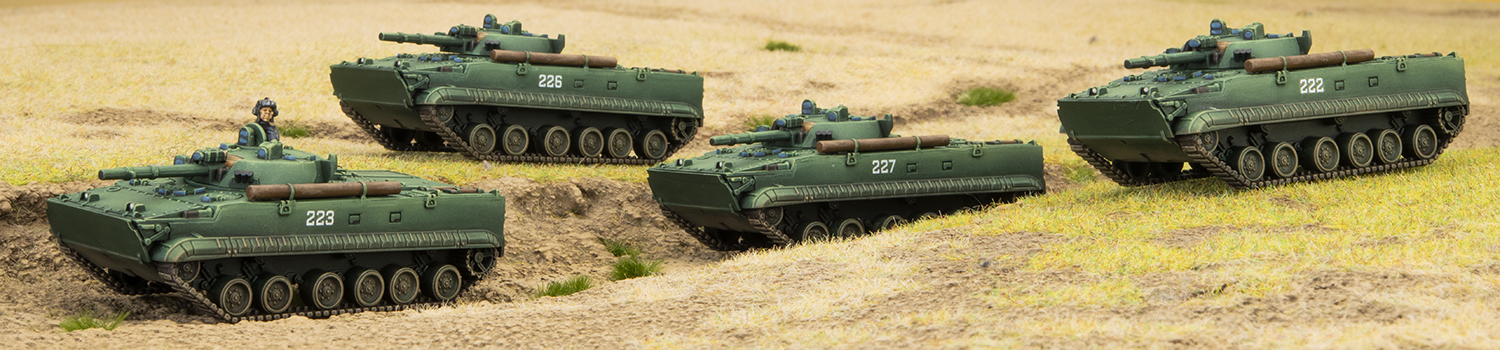
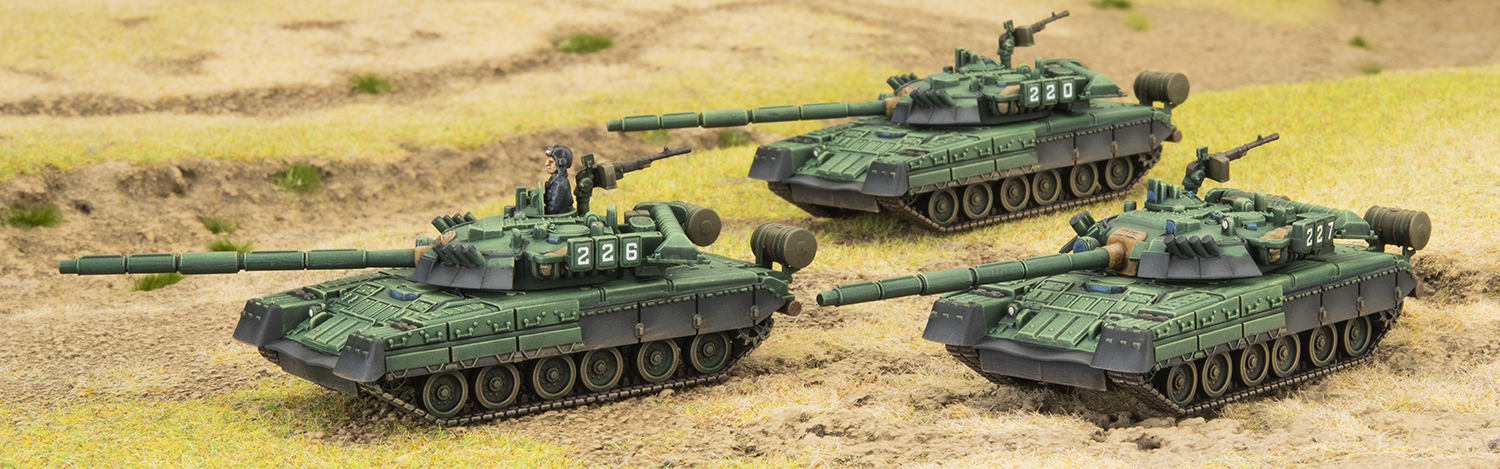
Another additional colour I used was an olive drab, which I used for anything consumable (MG ammo tins, fuel drums, missile canisters, etc).

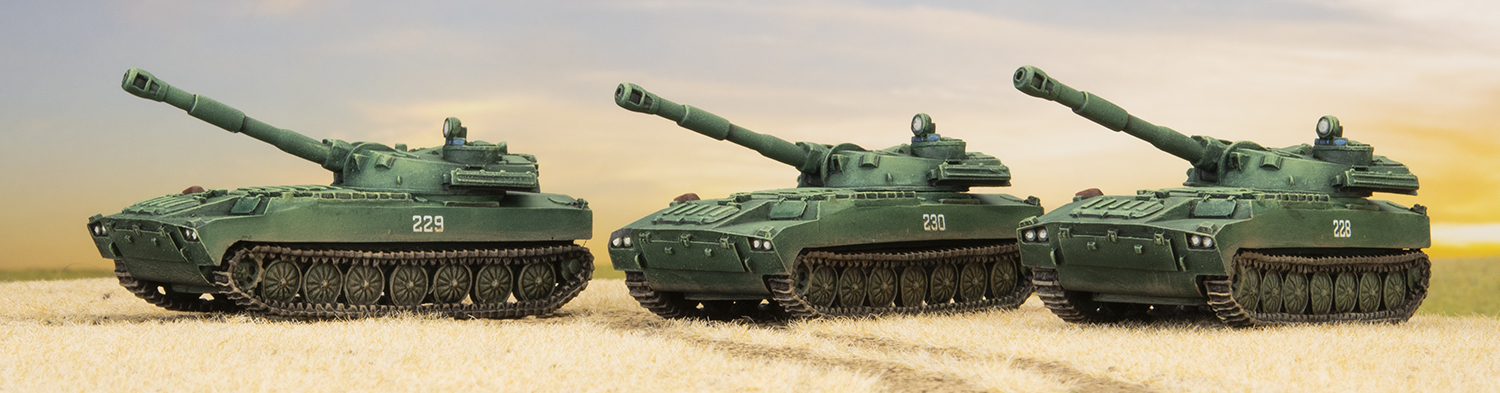
So even with a “green horde” I’ve managed to get some other colours in there which hopefully add some visual interest without looking too patch work.
That’s 34 vehicles completed in 18 evenings, the largest army I’ve ever painted, and the fastest. Time for a break before I work on the infantry to ride in the BMP-3’s. I’m looking forward to using these all in a game soon!
– Victor