with Victor Pesch (Battlefront NZ)
I’m currently starting a new force from D-Day: German, the Fallschirmjäger StuG Assault Gun Company. Instead of having it themed for Normandy, I’m using it to represent Fallschirmjäger & StuGs in the Italian Campaign.
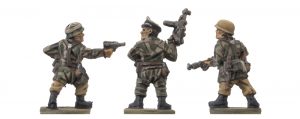
Here’s how I’m painting the new Late-War Plastic Fallschirmjäger figures for my Italy themed platoon in tropical uniforms.
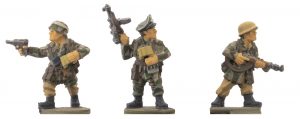
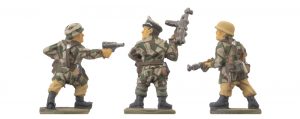
Basecoat
Wash
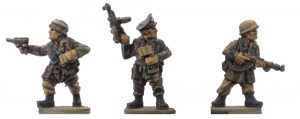
This step is simple as I just cover the entire figure with Black Wash. This darkens everything quite a lot, but I like the way it defines all the elements. It also makes it easy to re highlight with the same base colours without having to find lighter shades.
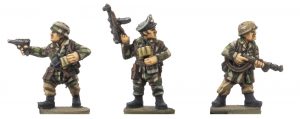
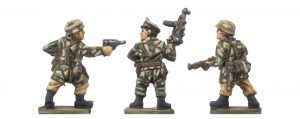
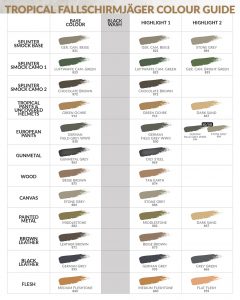
As mentioned above, I generally go back with the base colours and highlight the raised surfaces of everything. Then I sometimes do a second highlight with a different colour on some items.
See below for all the colours I used, but feel free to experiment with your own:
Quick Tip- Worn Leather
A simple way to achieve a worn leather look on straps and bags is to gently dab the edges with a lighter colour. It’s like an edge highlight but the dabbing action gives it a more irregular, worn look.
Now that I’ve figured out my colour choices, I’ve got a lot more figures to paint, and also all the StuGs! I think the platoon will look quite interesting with it’s mix of yellow and field grey pants, and the yellow un covered helmets.
Speaking of uncovered helmets, one last tip: Sponge on some German grey to show the yellow paint chipping off.
