with Tama Mascelle
The release of the D-Day: British list book is upon us, and for me personally I am excited to play with one formation in particular; Late War British paratoopers. Not only because this is the only formation I have fully based and painted, but also because of the versatility within the formation and the great history behind the men of the “Red Devils”.
The other big benefit is that for a newer player like myself, or at least a player that doesn’t get to game every weekend like he would like, the Airborne Formations provide a great deal of variety and have a huge range of tools, so they have a lot of options for different weapons and cope well with different play styles.
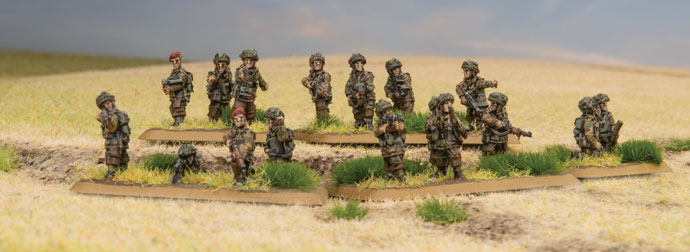
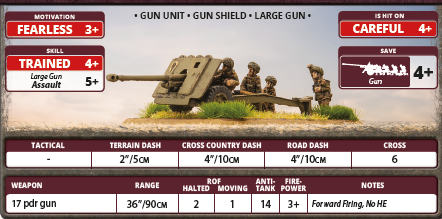
company’s stats. Their Fearless Motivation indicates that you can be sure that no matter the objective, the men of the 6th Airborne would stop at nothing to secure it. The Trained Skill rating of British is reflective of their relative inexperience, but brings with it the benefit of being able to fit more into your force.
This stat can be the make or break of any battle, as infantry caught out in the open and pinned down by artillery can quickly be torn to pieces by an infantry platoon or MG team, having the ability to quickly unpin your men and keep the momentum of an assault swinging in your favour can often be the key to victory in a battle. It’s also worth noting that this stat is spread across the board with all airborne troops and support weapons.
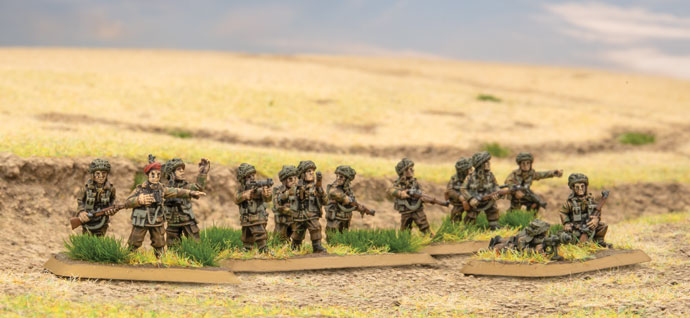
Jerry’s side.

Finally for your direct infantry fire support we have the option to take up to four teams of the trusty Vickers HMG, alongside providing area denial to fragile areas along your battle line, the Vickers HMG also has the ability to fire an “artillery barrage” with a range of 120 centimeters, essentially having your HMG teams act as secondary (very light) arty for your formation.
Now even with all that variation, coming up against panzer formations can be extremely difficult and daunting. That’s why I like to pair my Parachute formations with a tried and tested Sherman Armoured Squadron from the 11th Armoured Division, made up of a Sherman HQ consisting of 2x Sherman 75mm, and two large Sherman Armoured troops, made up out of three Sherman 75mm and one Sherman Firefly each.
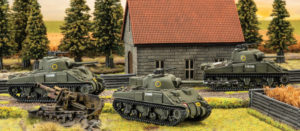
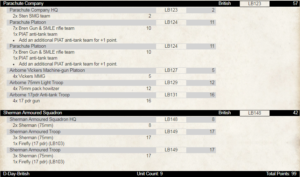
To recap, my go to Parachute/Sherman list is as follows:
This build is excellent for someone like myself, who has yet to master either Infantry or Armour tactics and prefers not place their eggs all in one basket. Having the Paras support your Shermans enables you to move freely without fear of being overwhelmed in an infantry assault and also gives you an added option of assault Anti tank positions with Infantry. Likewise having Shermans support your Paras gives added fire power to assaulting heavily fortified infantry positions and also against a determined German armoured counter attack.
The other bonus is that every feature of this force is part of a Formation, so my opponent has to break two Formations to rout me entirely, and while there are certainly other options I might take with a little more potency, the buffer of having two Formations is valuable for less experienced players (like me).

