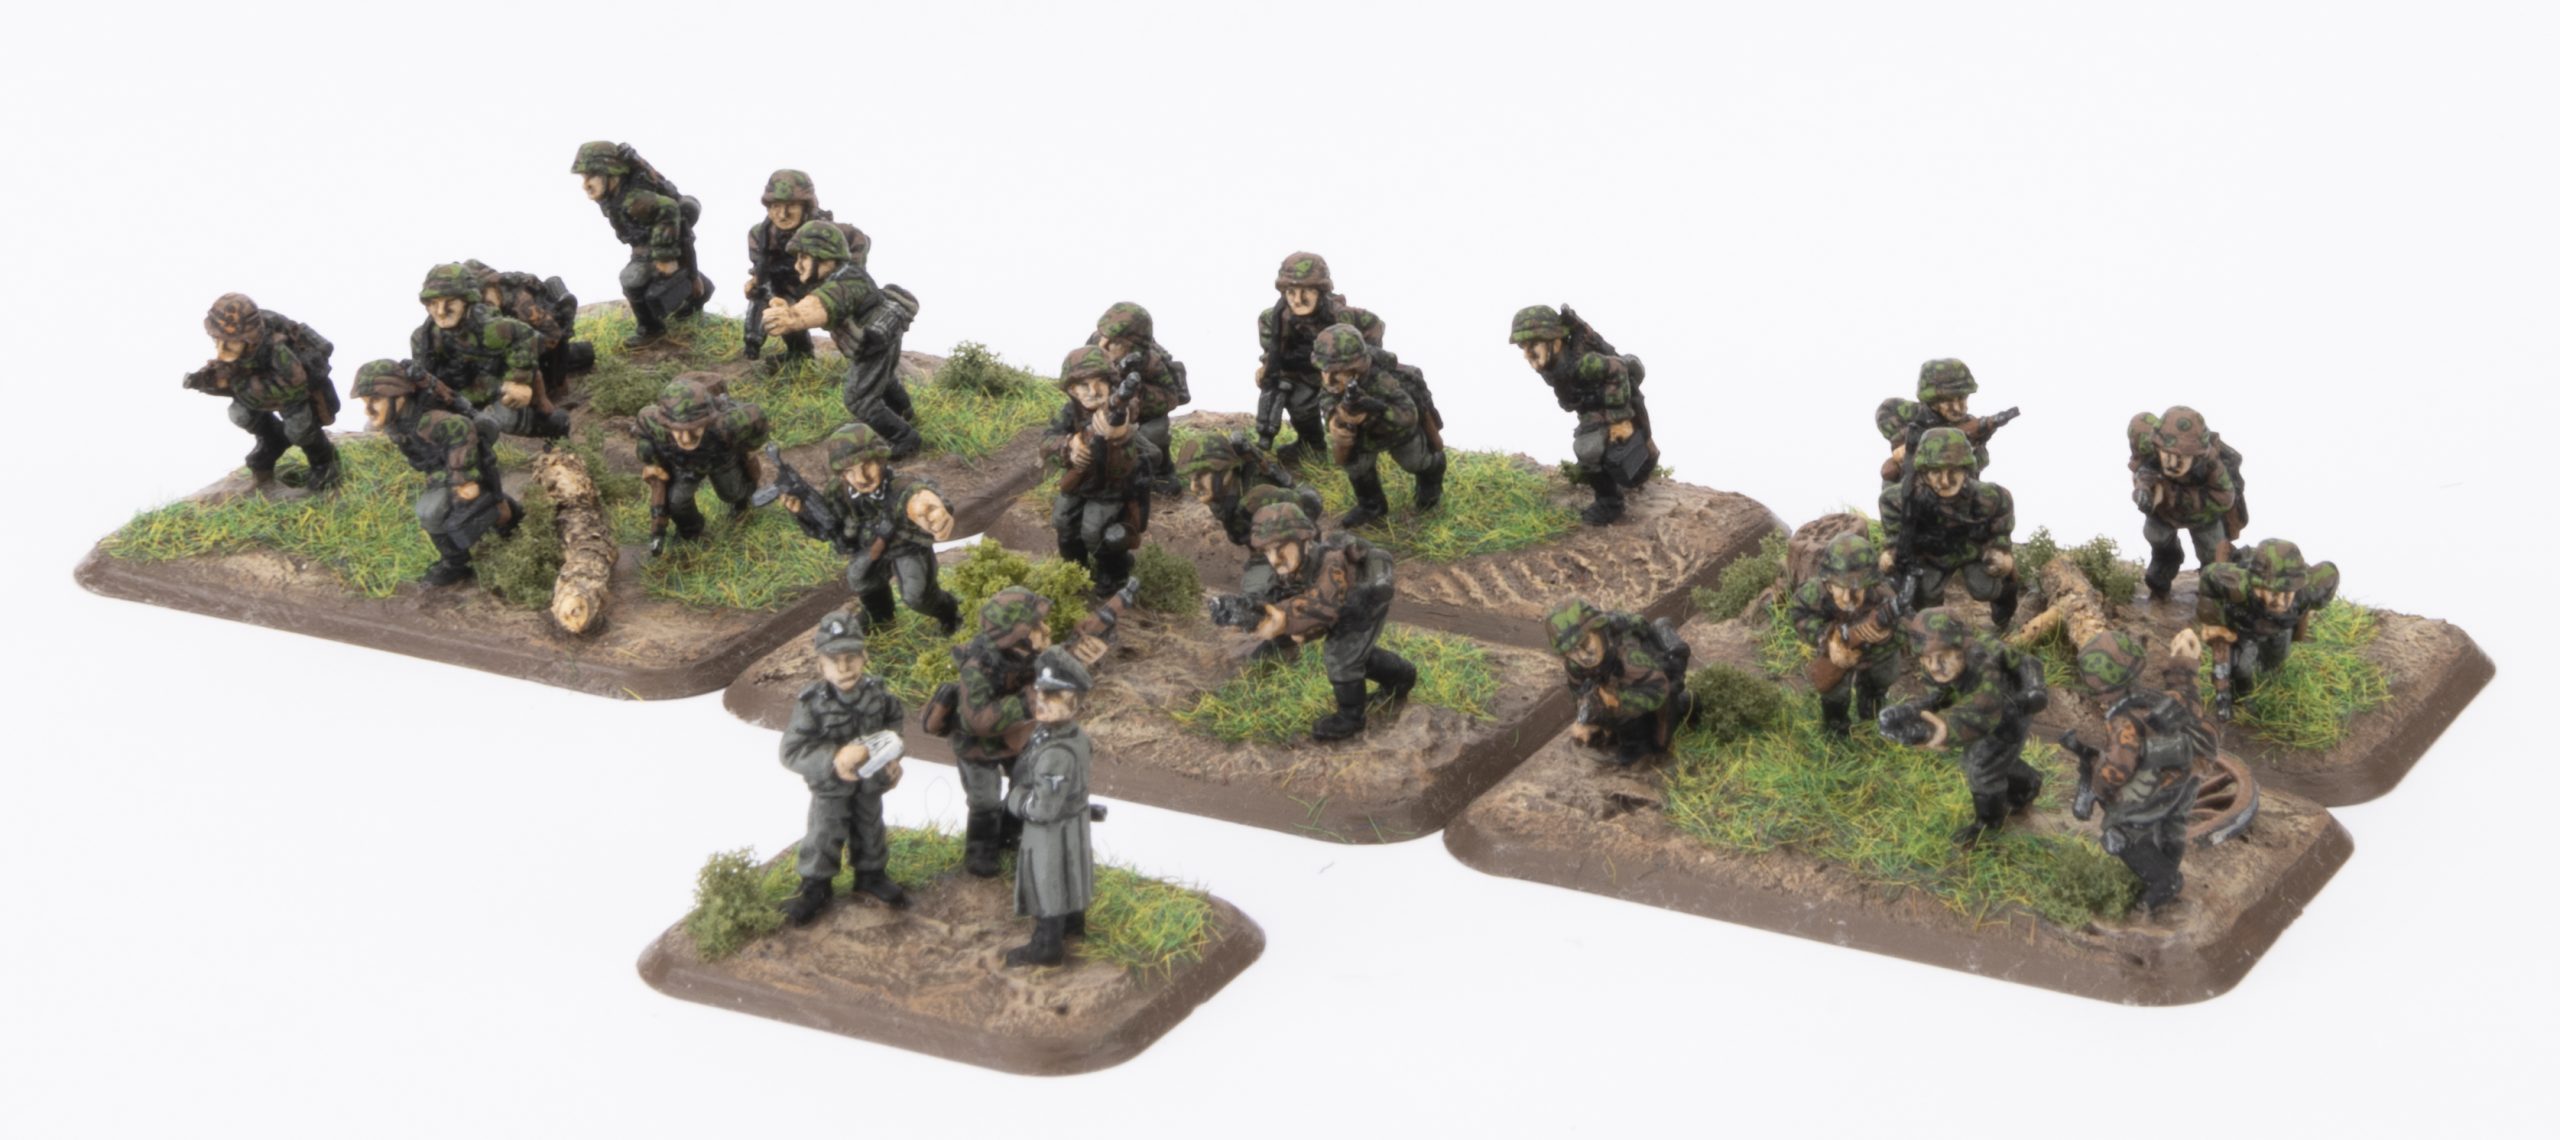
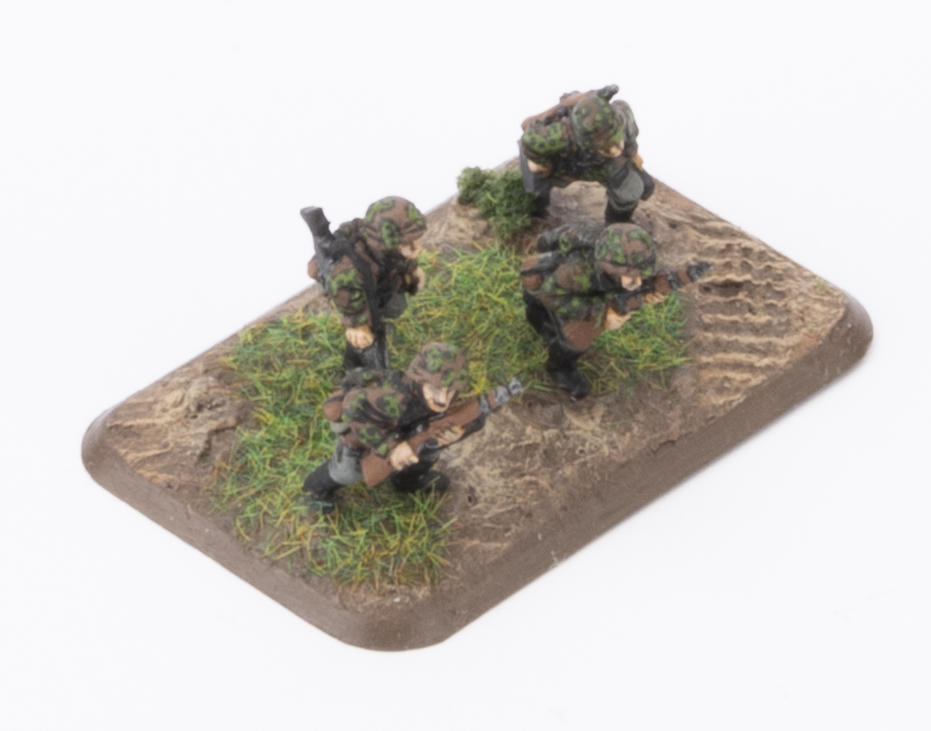
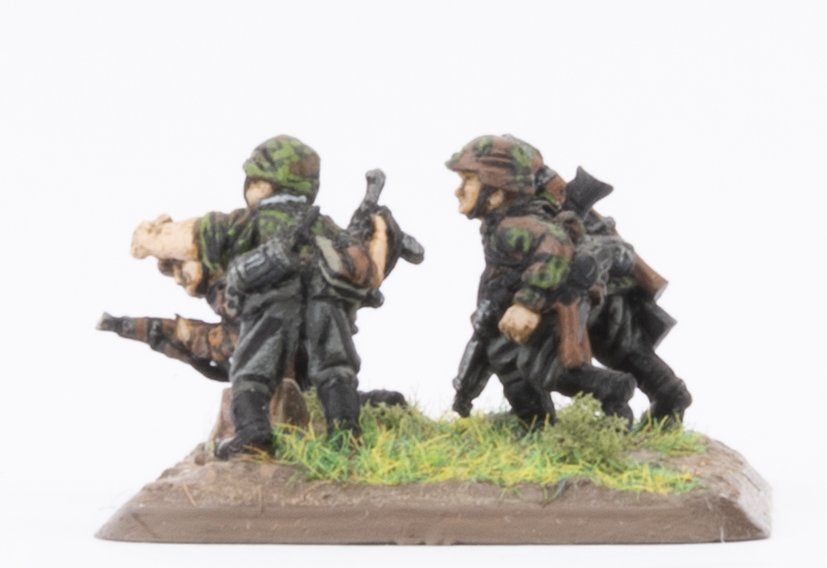
Many years ago Simon Hooker wrote a great article on the Flames Of War website and ever since it has been Evan’s “go-to” whenever he needed to paint SS figures. We wanted to share it with you again today in case you missed it among all the other great content on the website. All we’ve done is updated the article with some great pictures of Evan’s own Waffen-SS (Mid War) infantry.
Plane Tree
A Major of an SS reconnaissance section was the first to suggest the Waffen SS be equipped with camouflage clothing.
This lead to the development and widespread use of camouflage zeltbahns (Tent/Poncho), smocks and helmet covers within the SS. The use of the Wehrmacht’s splinter pattern zeltbahn predates those used by the SS, but I will go further into this pattern in another article.
The earliest clothing was tested in 1937 by a professor who based his studies on the effect of sunlight through trees. The Plane Tree pattern is the earliest used by the SS and can be seen in pre-war photos.
It is a reversible material that has a “spring” green and “autumn” brown side which a soldier can change depending on the surrounding vegetation. Plane Tree camouflage clothing was used up until around 1944.
For Painting Plane Tree camouflage I start with a black undercoat, in fact I start with a black undercoat on all my WWII miniatures as the colours tend to turn out a little bit more drab.

Now on to colours. I use GW paints mainly due to the fact that I have easy access to this range and have made up my own colour recipes for consistency. Please experiment with different brands of paint to get the colour to match and let me know what colours you come up with (Particularly Vallejo as I’m just starting to explore this range).
The “spring” side colour scheme starts with a base coat mixture of 50:50 Castellan Green and Elysian Green. If you look at the photo of the soldier wearing the Plane Tree smock you can see two shades of green. In 15mm scale you would never be able to distinguish between these two shades, so one shade of green is enough.
The next step is to add some random shapes and dots in a 50:50 mixture of Rhinox Hide and Steel Legion Drab.
Once this has dried a third and final colour is added. Officially this should be black, but of all the examples of Plane Tree clothing I’ve seen, the black is always a washed out shade. This time a 50:50 mixture of black and Castellan Green is added in further random shapes and dots.
To finish the pattern off, using the base colour green, add small dots on top of the black shapes. You should get a pattern like the one in the step-by-step guide and your Plane Tree camouflage is complete.
| Spring Plane Tree | Vallejo |
| Base Green | German Camo Bright Green (833) |
| Brown | German Camo Medium Brown (826) |
| Black/Green | German Camouflage Extra Dark Green (896) |
Oak Leaf
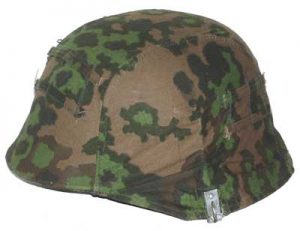
Oak Leaf camouflage was introduced in 1942-43 and followed the same principles of creating a pattern of sunlight through trees as the plane tree did. In addition to zeltbahns, smocks and helmet covers, padded reversible winter parkas and panzercrew overalls were made from this material.
Like Plane Tree, Oak Leaf was reversible with one side being “spring” green/brown and the other “autumn” orange/brown. Oak Leaf was the most common of the SS reversible materials and saw use up until the end of the war.
| Spring Oak Leaf | Vallejo |
| Base Brown | German Camo Pale Brown (825) |
| Dark Green | German Camo Dark Green (979) |
| Green | German Camo Bright Green (833) |

The next step is to add a dark green, made up of 2 parts Castellan Green to 1 part black, in the form of random shapes and dots.
Once the dark green has dried, mix up a light green using the same formula as that used for the Plane Tree base (50:50 Castellan Green/Elysian Green). Add the light green to the dark green shapes and dots, being careful to leave a dark green border as seen in the step by step guide.
To finish the camouflage off add a few dark green dots to the light green shapes. There you have it: completed Oak Leaf camouflage.
As I mention both Plane Tree and Oak Leaf are reversible. I’ve only used the “spring” colours as the army I’m building is based around the time of the Normandy campaign. If you’re collecting a German army around the time of the battle of the bulge for example, then you’ll want to paint your camouflage in autumn colours. The best way to do this would be to use the guide above, but replace the colours with autumn hues.
So what are you waiting for grab your miniatures, paint brush and paints …and get painting.
Thanks to Simon for this great article…
Additional painting tip from Evan
I’ve painted some autumn camo. I just used the same technique for the “spring” camo pattern as in Simon’s article above, but I swapped two of the colours for the “Spring” camo.
I kept the base brown, but swapped the Dark Green for Camo Black Brown (822 and the Light Green for Light Brown (929) – and then I just followed Simon’s instructions. This, worked really well for me.
Cheers,
~ Evan.
