with Aaron Te Hira-Mathie
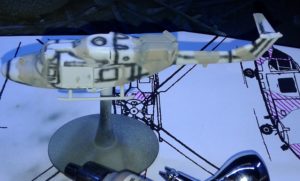
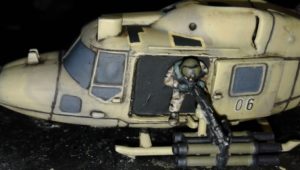
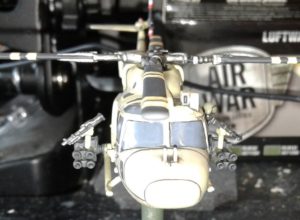
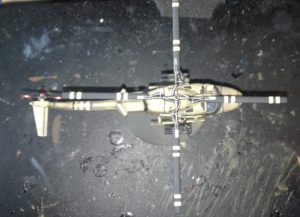
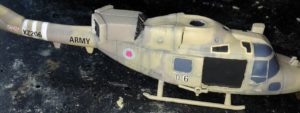
Oil War themed Westland Lynx AH.1
For the Lynx I was far more heavily influenced by the Lynx helicopters used by UK forces during Operation Granby.
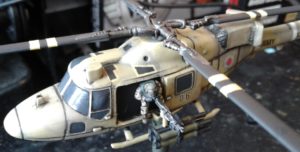
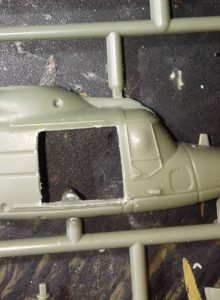
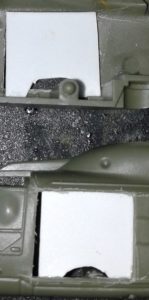
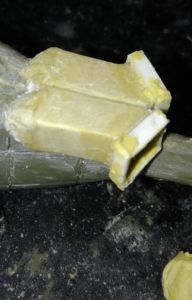
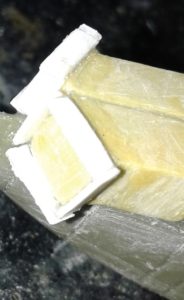
Step 3: After looking at a lot of pictures of Operation Granby era Lynx helicopters, one of the most striking additions were the squared off exhausts designed as a countermeasure to defeat heat seeking missiles. Initially I started to build these exhausts out of plastic card, however as I started to do this it was proving to be time consuming and complicated. However before giving up on the idea, I thought that I would try to make a simplified model using Miliput … with some plastic card embellishments.
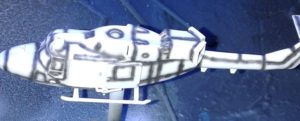
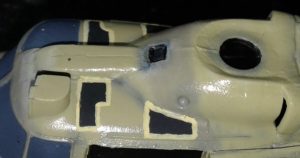
Normally I would then start with a base colour, however in this case I decided to ‘pre-shade’ the model. To do this I sprayed Vallejo Model Air 71.251 (NATO Black) along panel lines and where details meet the main part of the model. The reason to do this is add a small amount of subtle depth to the follow on paint work.
Step 5: After the pre-shade I moved on to starting the camouflage pattern. I started by spraying Vallejo Model Air 71.138 (US Sand), the darker of the two main colours in the pattern. In order to make the pre-shade work is to ensure that the paint going over it needs to be quite thin and built up in layers so that the differences in the tones of the primers shows through. How much you build up the main coat determines how heavily worn the final paint looks.
Once the tan colour was applied, I moved onto the yellow colour, in this case Vallejo model Air 71.143 (UK Light Stone). This colour was applied by building up thin layers until the desired effect was reached.
As you see the two colours are quite close to each other. This was an intentional choice as the Operation Granby aircraft were painted in the two colours that I used, therefore the camouflage scheme on the real aircraft is not particularly defined.
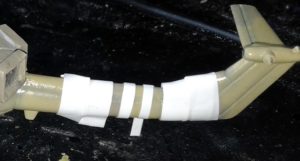

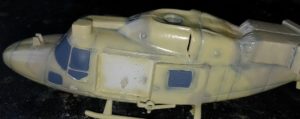

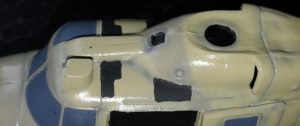
Step 9: I took this opportunity to paint some of the smaller details like the flashing light at the top of the tail, and the front grills of the exhaust system.
– Flashing light Vallejo Model Color 70.947 (Red)
– Grills Vallejo Model Color 70.865 (Oily Steel)
Then I coated the grills at the front of the exhaust box with Vallejo Game Color 73.201 (Black Wash).
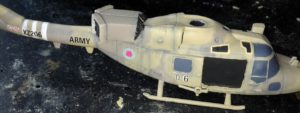

Step 10: I then applied the decals from the kit, and added a couple of decal numbers on the doors from my spares stash. Once the decals were dry, I then re-coloured the roundels to the more lightly colored ‘lo-viz’ type by
carefully hand brushing Vallejo Model Air 71.103 (Grey Blue RLM84)over the blue sections and a mixture of Vallejo Model Color 70.947 (Red) and Vallejo Model Color 70.993 (White Grey) over the
red sections of the roundels.


- Uniform, Vallejo Model Color 70.884 (Stone Grey), with Vallejo Model Color 70.873 (US Field Drab) DPM camouflage shapes.
- Boots, 70.880 (Khaki Grey)
- Gloves and vest, Vallejo Model Color 70.920 (German Uniform)
- Helmet, Vallejo Model Color 70.887 (US Olive Drab)
- M60D, Vallejo Model Color 70.863 (Gunmetal Grey) with a Vallejo Game Color 73.201 (Black Wash) overcoat.
Step 14: I then painted the main and tail rotors with Vallejo Model Air 71.251 (NATO Black), with Vallejo Model Color 70.916 (Sand Yellow) stripes on the main rotor, with Vallejo Model Air 71.279 (Insignia White) and Vallejo Model Color 70.947 (Red) stripes on the tail rotor. The mechanical parts of the rotor system I painted with Vallejo model Color 70.865 (Oily Steel) overcoated with Vallejo Game Color 73.201 (Black Wash).
So that’s my air support and armour sorted, all that’s left is my infantry in Desert DPMs. Coming right up…
