
with Scott McCorley
An FO is someone who spots for the artillery unit or battery and their primary role is to guide the rounds on target with the help of a laser range finder that gives a 10 figure grid reference, or with a tested method of map to ground with the help of an artillery protractor and a 8 figure grid reference.
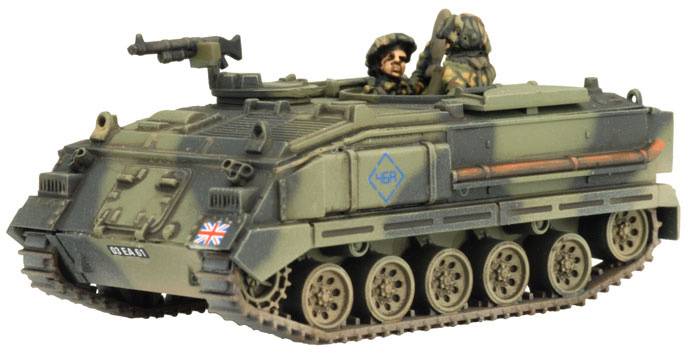 A grid reference allows the FO to give a more accurate target indication when calling in a fire mission. The grids themselves, one grid square is 1000m x 1000m with a 4 figure reference, 6 figure increases it to within 100m x 100m, 8 figure to 10m x 10m, and 10 figure to 1m x 1m which allows for more accurate fire control. Most rounds land between 30 and 90 seconds from firing. This also depends on the rounds used, for example a normal HE round from a M109 155mm can be fired up 15km or an Excalibur round to 40km. So having a FO is mission critical as they can direct the fire support to help suppress or cover the axis of advance. Same can be said for JTAC’s
(Joint Terminal Attack Control) for strike aircraft.
So how does this become relevant in our games of WWIII: Team Yankee? There are many ways our FOs can be used in our games be it to spot or range in on a new viable target location. Having our FOs in cover and in prime position with good line of sight is a must for the continued use of our artillery in subsequent turns. Having an FO twill help with the +1 to range going a long way, especially if your target may be in short or tall terrain or covered by a smoke screen. Remember, any team leader can also spot for your artillery but only the FO has the +1 to range in.
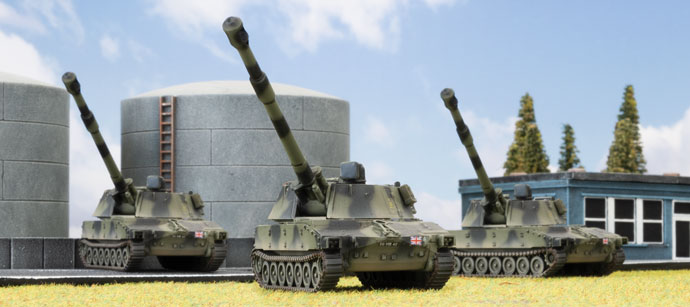
Now let’s move onto the Artillery and what the FO has to work with out in the field.
So using your artillery on the enemy infantry is a good start as it can prepare the way for your own infantry or tanks for an assault, but can also pin enemy infantry down, and is very useful if there are any ATGM (Anti-Tank Guided Missiles) in the unit. Now if you are going to use your artillery to help launch an assault this can be tricky as it requires some good judgment on the template and ranging in so that you won’t get that danger close or within 4” of the template with any of your teams.
 Key to achieving this is one: by having good line of sight from available team leaders and FOs (remember the +1 as this helps against target in cover) so that you can position that marker where you need it, preferably at the back of the enemy platoon. The goal here is not to kill but to keep they heads down so that your infantry can benefit from the reduced fire while launching an assault. Also if you chose not to lunch an assault you can, with the added effect of repeat bombardments, force the infantry to re-roll their saves.
As most tanks have a top armour of two it makes it hard to destroy them, and the chance of making them bail quite low so it’s best to leave heavy armour to the dedicated anti- tank units like milians and spandrels. The best use in this case is to go after soft skinned AFVs as their top armour is ether one or zero and if it’s a transport a good chance to take out some pesky infantry as well. Also of the opportunity arise direct fire is also good against AFVs as most SPs artillery (self-propelled guns) have a good AT and FP to destroy them.
So that’s two ways of basic use of artillery and our FO, but here is where things can get interesting.
Other types of arty like the rockets, mortars and special shells, deployment of arty, the use of ranged in markers for certain missions and smoke bombardments is where we’re headed next. First of the different types and how to use them.

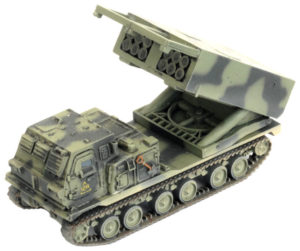
Rockets are great for coverage and area suppression of a target being a salvo rather than arty, so a bigger template. This is great for getting large blobs of infantry or AFVs that are too spread out for normal arty to target and hit, even better now with the new weapon system like the British MRLS.
Now once again don’t think you will be able to destroy tanks, as rockets tend to have a low AT rating.
Next up the mortar. Mortars like rockets don’t have the AT rating so don’t expect them to take out tanks or AFVs in droves. Best use for these is to lay down some smoke to ether get your infantry in position for an assault or to cover a flank of your precious tanks from enemy AT fire while they advance. Also don’t forget if they are targeting infantry repeat that bombardment next turn to make them more effective.
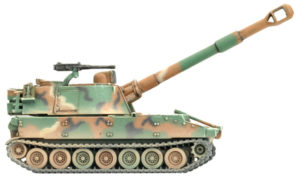
Now onto the special shells. While all types of special ammo will require you to pay the extra points, what you want to know is it worth taking. Well yes and no, first let’s talk about the types, most arty like the M109s and the 2S3s give you the option to take thing like copperhead rounds or the reds equivalent. The drawback to these is its either direct fire which requires line of sight or an FO to guide it onto the target. Great for tanks as it has a higher AT than normal and gives you a better chance to do damage to them.
Next up minelets, oh boy do I love these! The best job for mines is choke points- good old choke points. For those of you not military-minded a choke point is where you funnel the enemy into a kill zone so you can wipe them out or manage a larger force by a smaller one. So for example West Germans, Leo 2 Company up against a BMP horde. Just seeing this can give a player nightmares but with the use of minelets you can force your opponent to reposition their units around the mines and giving you the best use of your guns. Best used in conjunction with the terrain as well to achieve that choke-point.
Bomblets operate on the same principal as rockets, great for suppression.
Also don’t forget Smoke bombardments as these are great for covering the advance of your forces especially out in the open.
 Now for the last use arty the ranged in maker and there deployment. As for deploying your big guns, generally you want them somewhere you get great table coverage and out of line of sight to avoid counter battery fire from enemy arty. Unless your goal is to use the arty as a direct fire platform, I’d
advise against it as your arty is very soft skinned and prone to being destroyed if able to be seen. The other one is the deployment of the ranged in marker at the start of deployment for certain missions, if placed well can give you an advantage from the start. Choosing were to place it can be difficult but if placed in a wood in the enemy deployment zone this can then deter infantry and keep them pinned from turn one, it also helps avoid the +1 to range in for the template if it touches short or tall terrain and smoke.
Another is to place it in the most likely axis of advance of the enemy’s route as it can force them to rethink how to move and allow you to set up that all important choke point. So that is some of the uses for arty and FO’s.
Lastly weighing up the cost of arty to things like air support it can become a difficult choice, especially if you are a Soviet or East German player, NATO players might find it a bit easier. At the end of the day it comes down to what role you want them for, be it cheap mortars and rockets for suppression and smoke or arty for range and the direct fire just in case things start to look bad.
 I hope you have enjoyed this rollercoaster ride with me today about artillery and FOs I wish you the best of luck in the future, so get out there play some games try new thing with your arty and remember it’s not just to pin infantry and that they are other ways out they that can give you the tactical edge in the fight.
So enjoy and happy spotting.