
 Scroll
Every year, The Marine Toys for Tots program sets out on their mission to bring the joy of Christmas and send the message of hope to America’s less-fortunate children. We are proud to support this worthy cause once again.
View More


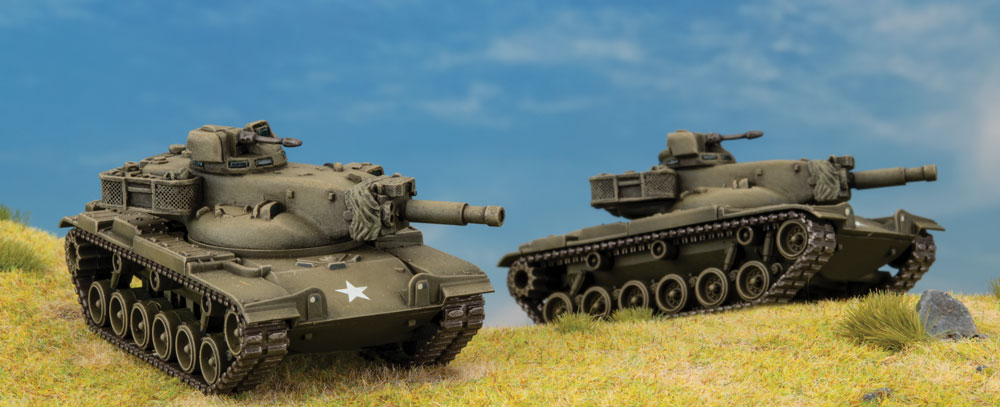
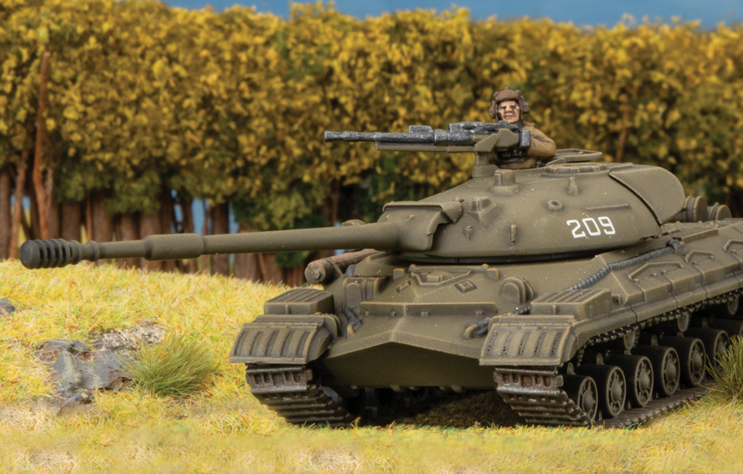
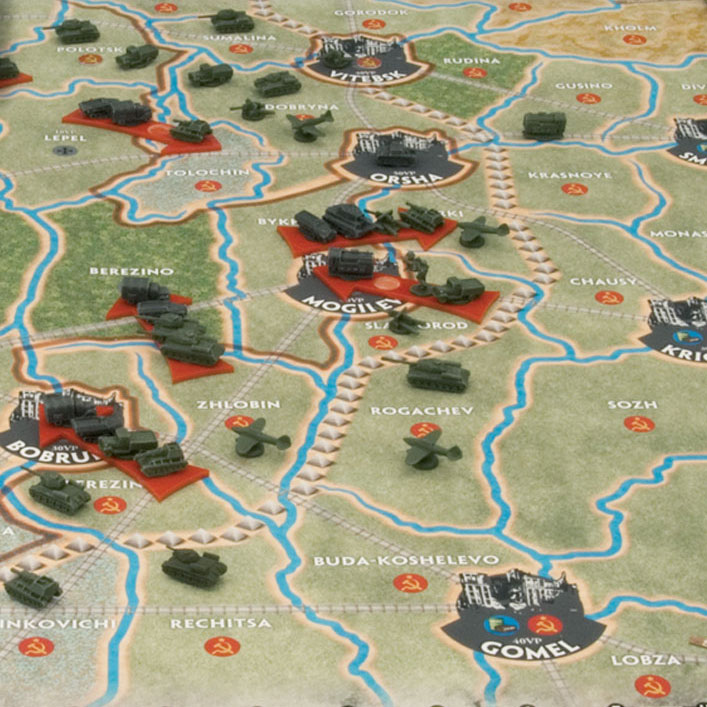
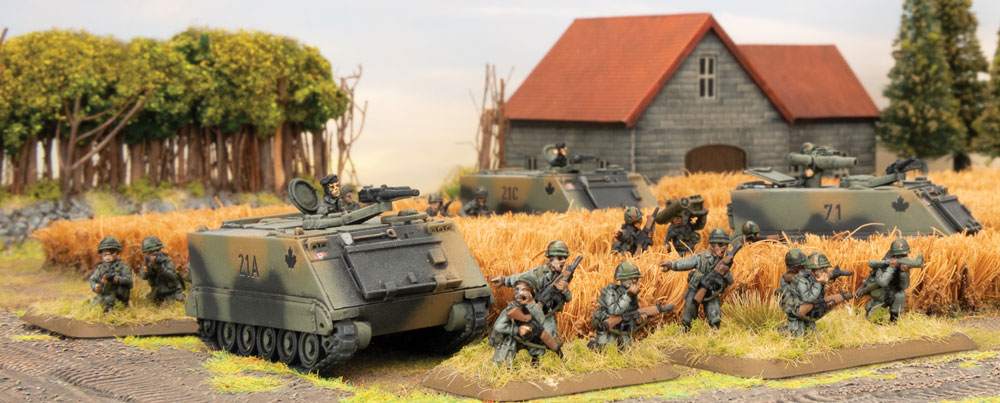
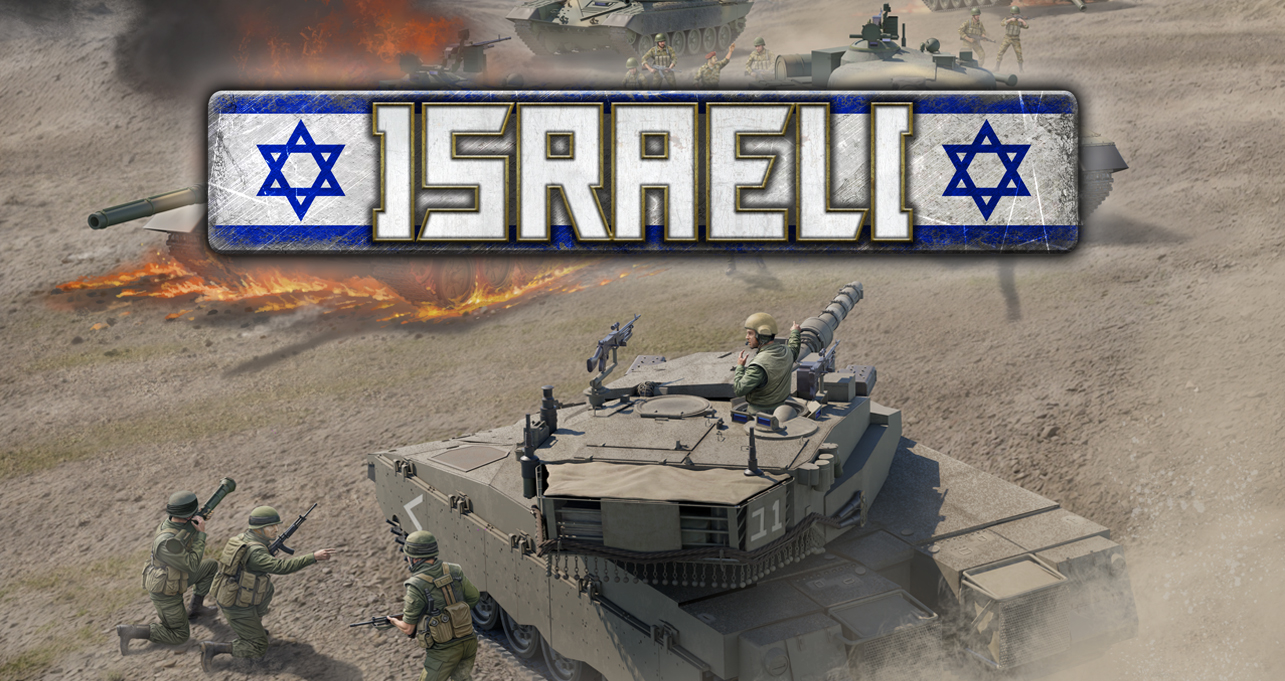
The end of World War II had left the world in a state of flux. The world that emerged from the war was a very different place to how it existed in 1939. New power blocs had formed and old and new friends kept a wary eye on one another.
Shop Now